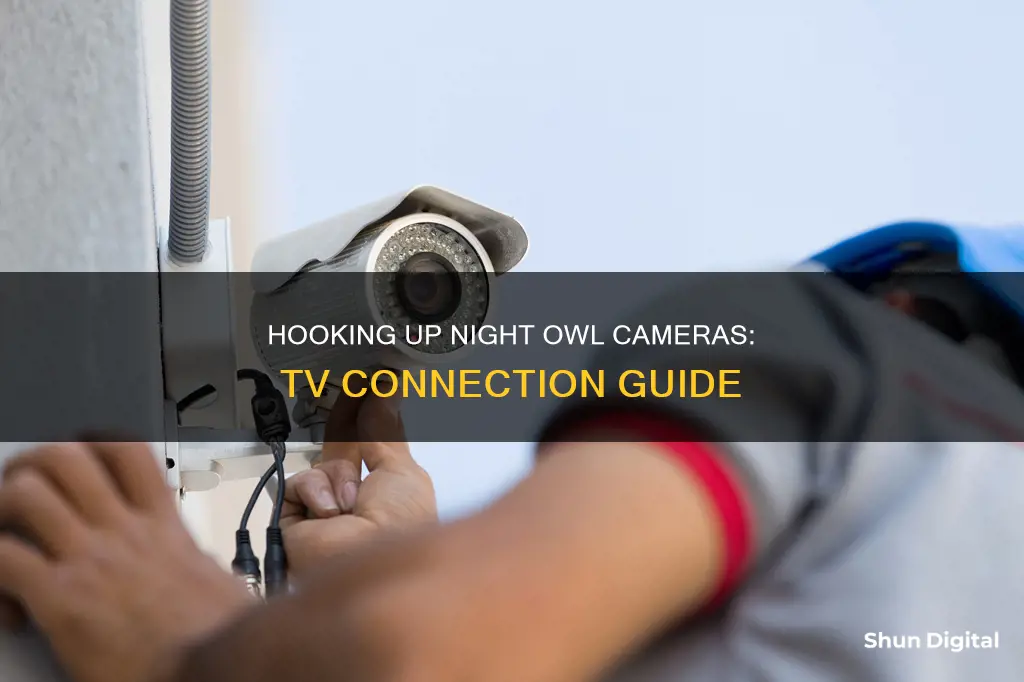
Night Owl cameras can be connected to a TV or monitor using either a VGA or HDMI cable. For older systems that use Night Owl Connect, a TV or monitor is required for the initial setup. However, for devices that use the Night Owl Protect App, this is not necessary as the system can be set up on a mobile device.
| Characteristics | Values |
|---|---|
| Is an internet connection required? | No, but an internet connection is needed to view the system remotely on a computer or smart device. |
| Is a TV or monitor required? | For devices that use the Night Owl Protect App, this is not required. For older systems that use Night Owl Connect, a TV or monitor is required for the initial setup. |
| Are the cameras weatherproof? | Yes, but Night Owl recommends placing all outdoor cameras under an eave or awning to shield them from overexposure to the elements, which could reduce the camera's lifespan. |
| Why does the camera stop working at night? | The camera may not be receiving enough power for the LEDs needed for night vision. Try plugging the camera directly into the camera power adapter, bypassing the splitter, to see if the LEDs turn on. |
| How should the cameras be mounted? | During the Startup Wizard, you will be prompted to adjust the motion detection area of each installed camera, so the cameras should be installed in their final location. The cameras should be mounted at least 7 ft. above the ground and angled slightly down. |
| How do I fix connection issues with the Night Owl App and/or Night Owl CMS Software? | Verify that all wires are connected properly to your DVR/NVR. Ensure that the latest firmware is installed and that the application is updated. Check your network upload speeds and compare them to the recommended internet speeds for your product. |
| How do I connect my DVR/NVR via VGA or HDMI cable? | Night Owl provides product setup videos on their website, including instructions for connecting your DVR/NVR via VGA or HDMI cable. |
What You'll Learn

Connecting Night Owl DVR via VGA Cable
Connecting your Night Owl DVR to a TV monitor via a VGA cable is a straightforward process. Firstly, it is important to note that this connection is only necessary for older Night Owl systems that use the Night Owl Connect app. For newer devices that use the Night Owl Protect App, setting up your system on your mobile device is possible, and connecting to a TV or monitor is not required. However, if you prefer to connect your Night Owl DVR to a TV monitor, here is a step-by-step guide:
Ensure you have the correct equipment:
- A VGA cable. This cable will be used to transmit the video signal from your Night Owl DVR to your TV or monitor.
- A power adapter for your Night Owl DVR.
- A TV or monitor with a VGA input port.
Once you have gathered the necessary components, follow these steps:
- Power off both your Night Owl DVR and the TV or monitor. This is important to avoid any potential damage to the equipment during the setup process.
- Using the VGA cable, connect one end to the VGA output port on your Night Owl DVR, and the other end to the VGA input port on your TV or monitor. Ensure that the connections are secure and that the cable is properly plugged in.
- Power on both the Night Owl DVR and the TV or monitor.
- Locate the input source settings on your TV or monitor. This is usually accessible through the remote control or the menu buttons on the TV or monitor itself.
- Change the input source to the VGA option. This will vary depending on your TV or monitor model, but it is typically labelled as "VGA", "PC", or "Computer".
- Allow a few moments for the devices to establish the connection.
- Your Night Owl DVR should now be connected to your TV or monitor via the VGA cable. You should be able to view the footage from your Night Owl cameras on the TV or monitor screen.
Note: After the initial setup, if you wish to disconnect the TV or monitor, you can do so. The connection is only required for the initial configuration.
Cameras: Are They Really Watching You?
You may want to see also

Connecting Night Owl DVR via HDMI Cable
To connect your Night Owl DVR to your TV using an HDMI cable, follow these steps:
First, ensure that your TV has an available HDMI port. Modern televisions typically have multiple HDMI ports, allowing for connections from various devices.
Locate the HDMI port on your Night Owl DVR. It is usually found on the back or side of the device, depending on the model of your DVR. The port will be labelled and is often colour-coded (for example, HDMI 1, HDMI 2).
Using an HDMI cable, connect one end of the cable to the HDMI port on your Night Owl DVR. Ensure that the connection is secure by gently but firmly pushing the connector into the port until you feel it click into place.
Take the other end of the HDMI cable and plug it into an available HDMI port on your TV. Again, ensure that the connection is secure and that the cable is properly seated in the port.
Power on your Night Owl DVR and TV. Use the TV's remote control to select the appropriate input source that matches the HDMI port you connected the DVR to. For example, if you connected the DVR to HDMI port 2 on your TV, select "HDMI 2" as the input source.
Once you have selected the correct input, your TV should display the feed from your Night Owl DVR. You can now view and monitor the footage captured by your Night Owl camera system on your television screen.
Note: If you are using an older Night Owl system that uses Night Owl Connect, you may need to keep the TV connected during the initial setup. After the initial setup is complete, you can choose to disconnect the TV if you wish to view the footage on another device, such as a mobile device or computer.
Accessing Live Camera Feeds on Your Mobile Device
You may want to see also

Night Owl Wi-Fi NVR setup
To set up your Night Owl Wi-Fi NVR, you'll first need to decide where to place your recorder. Unlike other brands, Night Owl's patent-pending recorder includes built-in Bluetooth technology, so you won't need a monitor, keyboard, or mouse to set it up. Instead, you can use the Night Owl app on your smartphone or tablet.
The Night Owl app is free to download and compatible with Apple and Android devices. It also features 2-step verification and single sign-on for added security and convenience.
Once you've downloaded the app, you'll need to connect your cameras to the Wi-Fi NVR. Night Owl's AC-powered Wi-Fi systems connect wirelessly, so you won't need to run cables through your walls or attic. Simply use the provided power adapters and plug each camera in.
After your cameras are connected, you can use the app to set up and control your security system. The app allows you to monitor and manage your security system in real time from your mobile device. You can also use the app to send preset messages to guests, activate a siren to ward off intruders, and enable 2-way audio to hear and speak through your cameras in real time.
For devices that use the Night Owl Protect App, you won't need to connect your NVR to a TV or monitor. However, for older systems that use Night Owl Connect, you will need to connect your NVR to a TV or monitor for the initial setup. Once your system is set up, you can disconnect the TV or monitor if desired.
Accessing Yi Camera Footage on PC: A Step-by-Step Guide
You may want to see also

Night Owl Camera BNC Connectivity
Night Owl cameras use BNC (Bayonet Neill-Concelman) connectors to transmit video and power signals. BNC connectivity is a standard type of connection for analogue CCTV and surveillance camera systems. Here is a step-by-step guide to achieving BNC connectivity with your Night Owl camera:
Testing and Preparation:
Before you begin, test each camera locally to confirm it functions properly. Ensure you have all the necessary cables and connectors, including BNC-BNC couplers to extend the length of your BNC cables if needed.
Connecting the Camera:
Connect the ends of the cable attached to the camera to the ends of a video/power cable labelled 'TO CAMERA ONLY'. This will ensure the correct connection between the camera and the power source.
Connecting to the DVR:
Connect the BNC connector of the video/power cable labelled 'TO DVR ONLY' to an open video input on your DVR (Digital Video Recorder). This will allow the DVR to receive and record the video signal from the camera.
Power and Output:
Check the power output and current to ensure the camera is receiving sufficient power. Adjust or bypass the splitter if necessary, especially if using Night Vision, as this requires additional power for the LEDs to function.
Final Steps:
Once you have confirmed that all connections are secure and functioning, proceed with the initial setup of your wired DVR. You may need to connect your DVR to a TV or monitor for this step, depending on your system. After setup is complete, you can choose to disconnect the TV or monitor if desired.
By following these steps, you can successfully achieve BNC connectivity with your Night Owl camera, allowing for reliable video and power transmission.
CVS Camera Surveillance: What You Need to Know
You may want to see also

Night Owl Connect App setup
To set up the Night Owl Connect App, you will first need to connect your NVR to a TV or monitor for the initial setup. After the system is set up, you can disconnect the TV or monitor.
To download the Night Owl Connect App, go to the App Store or Google Play Store on your iOS or Android smart device and search for Night Owl Connect. For viewing on a PC or Mac, you will need to download the Night Owl Connect CMS.
Each Night Owl system and product is only compatible with a specific app or CMS. If you are unsure which app or CMS your product uses, you can check your Quick Setup Guide, Manual, Series Support Page, or click an icon on the Night Owl website to see a compatibility list.
For devices that use the Night Owl Connect or older apps, the app may require two passwords. The first password is to log into the app, and the second is the DVR's admin password. To add a device to the app, enter the DVR's admin password. You must also confirm your email by clicking the "Confirm Email" link in the verification email sent by Night Owl during setup.
Simplisafe Cameras: Watching or Not?
You may want to see also
Frequently asked questions
You can hook up your Night Owl camera to a TV by connecting your DVR via VGA or HDMI Cable.
For devices that use the Night Owl Protect App, you do not need a TV as you can set up your system on your mobile device. For older systems that use Night Owl Connect, you will need to connect your NVR/DVR to a TV or monitor for the initial setup.
Yes, after your system is set up, you can disconnect the TV or monitor if you wish.
You can view your Night Owl camera footage on a computer or smart device. To do so, you will need to connect your NVR/DVR to your router.


