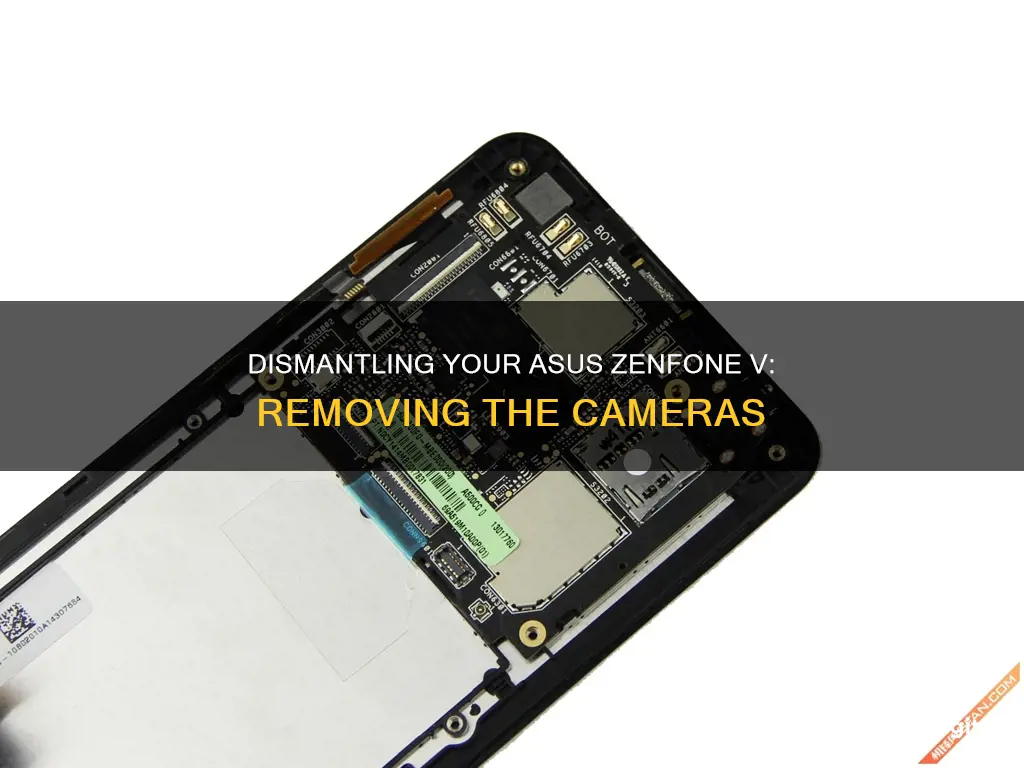
If you want to remove the cameras from your Asus Zenfone, you will need to disassemble the phone. This will involve prying off the back cover, removing the screws securing the middle frame, and disconnecting the battery power cable. You will also need to remove the motherboard, which will give you access to the front and rear cameras. It is important to note that disassembling your phone may void your warranty, and you should proceed with caution as you can easily damage internal components.
What You'll Learn

Removing the back cover
To remove the back cover of the Asus Zenfone V, you will need to proceed with caution as there is a risk of puncturing the battery. It is important to note that the process may vary slightly depending on your specific model. Here is a step-by-step guide:
Step 1: Heat the iOpener
Place the iOpener in the microwave and heat it for 30 seconds. This will help soften the adhesive securing the back cover. Always exercise caution when handling heated items.
Step 2: Apply the iOpener
Once heated, apply the iOpener to the sides of the phone. Hold it in place for approximately 10-15 minutes or until it cools down. This will help loosen the adhesive.
Step 3: Reheat and Repeat
Reheat the iOpener and repeat the process on the other side of the phone. This will ensure that the adhesive is evenly softened on both sides.
Step 4: Slide a Jimmy Along the Edges
Gently slide a thin tool, such as a pry tool or a spudger, along the edges of the phone to break the adhesive further. Be careful not to apply too much force, as this may damage the phone.
Step 5: Use Opening Picks
Use opening picks or a similar tool to gently pry up the back cover. Start from one corner and slowly work your way around the edges. Be patient, as the adhesive may still be strong.
Step 6: Repeat Heating if Necessary
If the back cover is still firmly attached, repeat the heating and prying process as needed. Apply gentle and even pressure to slowly separate the back cover from the phone.
Step 7: Fully Remove the Back Cover
Once you have pried up the edges of the back cover, you should be able to lift it off completely. Take your time and be cautious of the exposed battery and internal components.
With the back cover removed, you will have access to the internal parts of the phone, including the battery, speaker, rear camera, and motherboard. Remember to follow appropriate safety measures when handling electronic components and batteries.
Protect Your Privacy: Buy a Camera-less TV
You may want to see also

Disconnecting the battery power cable
To disconnect the battery power cable of your Asus Zenfone V, you will need to first pry up and remove the back cover. This will give you access to the internal parts, including the battery.
With the back cover removed, locate the battery power cable. It is important to note that the battery is exposed along the edges of the case, so be cautious to avoid any puncture risk. Using an ESD safe tool, gently disconnect the battery power cable from the battery.
Once the cable is disconnected, you can proceed to remove the battery. However, it is important to make sure that you handle the battery with care and avoid any potential hazards associated with lithium-ion batteries.
If you are replacing the battery, make sure to install it in the correct orientation and ensure that the connections are secure before reassembling the device.
Overall, disconnecting the battery power cable on the Asus Zenfone V is a relatively straightforward process, but it requires caution and precision to avoid any potential damage to the device or injury to yourself.
Hooking Up Your Camera: Displaying Photos on Your TV Screen
You may want to see also

Removing the middle frame
To remove the middle frame of the Asus Zenfone 5, you will first need to pry up and remove the back cover. Once the back cover is removed, you will be able to access the middle frame.
The middle frame is secured by thirteen screws, so you will need to remove these with a screwdriver. Be sure to keep the screws in a safe place so that you can reassemble your phone if needed. With the screws removed, you can now lift and remove the middle frame.
It is important to note that disassembling your phone may void your warranty, so proceed with caution and ensure you are comfortable with the process before beginning. Additionally, always handle electronic components with care to avoid damage or injury.
Stream Internet Cameras on Your Magic Mirror
You may want to see also

Heating up the iOpener
To heat up the iOpener, follow these steps:
Firstly, it is recommended to clean your microwave before proceeding, as any residue on the bottom of the microwave may end up stuck to the iOpener. Place the iOpener in the centre of the microwave, ensuring that it is not stuck and can spin freely. Heat the iOpener for thirty seconds. The time may vary depending on the wattage of your microwave, and the iOpener is sufficiently heated when it is barely too hot to touch. Throughout the repair procedure, as the iOpener cools down, reheat it for additional thirty-second intervals.
Be careful not to overheat the iOpener, as this may cause it to burst. Do not attempt to heat it over 100˚C (212˚F). Never touch the iOpener if it appears swollen, and always use oven mitts if necessary. If the iOpener is still too hot in the middle, wait for it to cool down before reheating. A properly heated iOpener should stay warm for up to 10 minutes.
Remove the iOpener from the microwave by holding it by one of the two flat ends to avoid the hot centre.
If you do not have access to a microwave, the iOpener can be heated using boiling water. Simply fill a pot or pan with enough water to fully submerge the iOpener, and heat the water to a boil. Turn off the heat, and place the iOpener in the water for 2-3 minutes, ensuring it is fully submerged. Use tongs to remove the iOpener from the hot water, and dry it thoroughly with a towel. The iOpener will be very hot, so be careful to hold it only by the end tabs.
The iOpener is now ready to be used to apply heat directly and evenly to case components joined with adhesive.
What My Camera Sees: True Reflection?
You may want to see also

Using a spudger to release clasps
To remove the cameras from an Asus Zenfone V, you will need to disassemble the phone. This will involve prying up and removing the back cover, unscrewing the middle frame, and disconnecting the battery power cable.
A spudger is a versatile tool used for prying, scraping, or pushing. It is an essential item in any toolkit, and you can find them made of plastic or metal. They are also available in various sizes to fit different needs. When disassembling your Asus Zenfone V, a spudger can be used to carefully pry and release clasps holding the various components in place. Start by prying up the back cover with the spudger to gain access to the internal parts. Be gentle to avoid damaging any of the components or wires. Once the back cover is removed, you will be able to see the battery, speaker, rear camera, and motherboard. With the spudger, carefully release the clasps securing the middle frame, which will give you better access to the camera components. The spudger's tapered point can help guide and separate wire bundles without causing damage. You can then proceed to disconnect the necessary cables and remove the camera modules. When removing the cameras, be cautious of any remaining adhesive or glue residue that may be present. Use the spudger to carefully scrape off any adhesive residue without damaging the surrounding parts. With the spudger's help, you can efficiently release clasps, separate components, and clean up any remaining adhesive during the disassembly process of your Asus Zenfone V.
Unblocking Websites: A Camera Chrome Guide
You may want to see also
Frequently asked questions
To remove the back cover of your Asus Zenfone V, you will need to pry it up and remove it.
To remove the camera, you will need to first remove the back cover. Then, disconnect the battery power cable and remove the battery. Finally, use tweezers to disconnect the press fit connector underneath the tape, right above the silver plate.
You will need an iOpener, a jimmy, opening picks, a #00 phillips head, a spudger, and tweezers.
First, heat up the iOpener in the microwave for 30 seconds. Then, place the iOpener on the side of the phone until it cools down (around 10-15 minutes). Next, reheat the iOpener and place it on the other side of the phone. Gently slide the jimmy along the edges of the phone to break the adhesive. Use the opening picks and opening tool to pry the back cover off. Finally, follow the remaining steps outlined in the previous answers to disconnect the camera.


