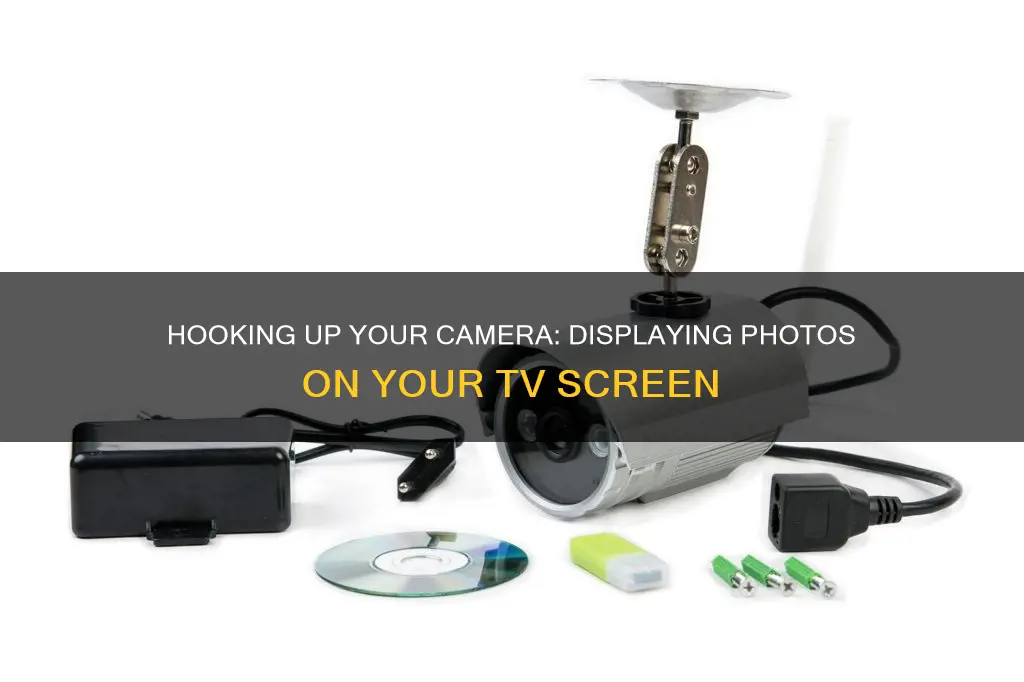
There are several ways to connect a security camera to a TV, and the best method depends on the type of camera and the TV you have. The most common types of security cameras include CCTV (analog) cameras, HD-over-Coax security cameras, IP security cameras, and wireless cameras. Before connecting your camera to your TV, ensure that your TV is compatible with the camera. For instance, check if your TV has the necessary input, such as HDMI, AV, or BNC, and confirm if it can display the camera's video quality. Once you've determined compatibility, you can proceed with the appropriate connection method.
How to Hook a Camera to a TV Screen
| Characteristics | Values |
|---|---|
| Camera Type | CCTV, IP, HD-over-Coax, Wireless |
| TV Input | HDMI, AV, BNC, Ethernet, VGA |
| TV Compatibility | Supported input, video resolution, smart TV integration |
| Connection Method | DVR, NVR, HDMI Cable, Ethernet Cable, Wireless |
| Power Supply | Power Jack Plug Adapter, DC Power Supply |
| Camera Setup | Install, Connect Cable, Power, Connect to TV, Select Input |
What You'll Learn

Connecting a CCTV camera to a TV
Step 1: Identify Your CCTV Camera Type
Before setting up your CCTV camera, it is essential to identify its type. Different types of CCTV cameras include:
- Analog Cameras (CCTV): These are traditional surveillance devices that use video cable connections to connect to television screens. They typically have lower image resolutions such as 960H, D1, and CIF.
- HD-over-Coax Security Cameras: These are a type of analog camera designed for high-definition video transmission. They use coaxial cables like traditional CCTV cameras but offer improved image quality.
- IP Security Cameras: IP cameras are digital cameras that transmit video data through IP networks. They connect to the internet via Ethernet cables for seamless data transfer.
- Wireless Cameras: Wireless security cameras use Wi-Fi or Bluetooth to send video feeds to connected devices. They offer a cable-free setup and can be connected to your TV using mobile or computer software.
Step 2: Check Your TV Compatibility
Ensure your TV is compatible with your CCTV camera. Check for the supported TV input, such as HDMI, AV, or BNC. Additionally, confirm if your TV can display the camera's video quality. Older TV models may not support high-definition video feeds.
Step 3: Gather the Necessary Components and Cables
The components and cables you need will depend on your camera and TV type. Here are some common items you may require:
- Coaxial Cable (RG59): This cable is used to transmit video and power simultaneously.
- Power Jack Plug Adapter: Used for the power connection to the CCTV camera.
- BNC Connectors: These connectors are attached to each end of the coaxial cable.
- BNC to RCA Adapter: This adapter is needed to connect the CCTV camera to the standard audio and video input on your TV.
- CCTV Camera: Ensure you have the correct type of CCTV camera, such as a traditional analog camera with CVBS (Composite Video Baseband Signal) technology.
Step 4: Install the CCTV Camera
Choose an appropriate model and location for your CCTV camera, such as a mini dome or bullet style. Attach the camera to the desired location, such as a wall or ceiling, and proceed with the cable connection.
Step 5: Connect the CCTV Cable to the Camera
Make a proper BNC connection to your coaxial cable, ensuring attention to detail to avoid bad connections. Ensure that the braid does not contact the center conductor.
Step 6: Power the Camera
Use the P4 connector to power the CCTV camera, paying attention to the correct polarity of the cables to avoid damaging the camera.
Step 7: Connect the Power Supply to the Camera
Connect the power supply to the CCTV camera, respecting the correct polarity. This connection is straightforward, so don't be afraid to proceed.
Step 8: Connect the Camera to the TV
Use the BNC to RCA adapter to connect the CCTV camera to the standard audio and video input on your TV.
Step 9: Turn on the TV and Select the Correct Input
Turn on your TV and select the audio and video (AV) input. The image from your CCTV camera should now appear on the screen.
Additional Tips:
- If you have an HD-TVI, HD-CVI, or AHD camera, you will need an extra device to install it on your TV, as they are not compatible with regular TVs.
- Be careful when handling the power supply and always ensure the correct polarity. Take your time and be patient during the installation process.
Fitbit Watches: Do They Have Cameras?
You may want to see also

Using a wireless camera setup
Wireless cameras are a convenient way to connect your security camera to your TV without the hassle of cables. This setup is ideal for monitoring areas that typically lack internet access, such as gardens or tool sheds.
Step 1: Understand Your Camera and TV
Firstly, it is essential to know the type of camera you have and whether your TV is compatible. Wireless cameras use Wi-Fi or Bluetooth to transmit video feeds to connected devices. Ensure your TV supports the required wireless connection.
Step 2: Connect Camera to Wi-Fi
Connect your security camera to your Wi-Fi network. This step is crucial, as it allows your camera to transmit video wirelessly to your TV.
Step 3: Use a Mobile App
If your wireless security camera has a dedicated mobile app, you can use it to stream the camera's video feed onto your TV. Download and launch the app on your phone, and follow the instructions to connect your camera. You may need an additional app, like Google Home, to stream the video from your phone to your TV.
Step 4: Utilise Smart TV Features
If you have a smart TV, you can access your camera's feed directly through its interface. Open your TV's app store, download the camera brand's app, and follow the on-screen instructions to add your camera.
Step 5: Ensure Smooth Operation
For a smooth and reliable connection, consider factors such as image quality, motion detection, and power supply. Wireless cameras may have limitations in terms of security and steady power, so they may be more suitable for remote locations or areas without a strong wired connection.
By following these steps, you can conveniently connect a wireless camera to your TV, enhancing your security and providing a seamless monitoring experience.
UHD TV Camera Privacy: LG's Secret Feature?
You may want to see also

Using an IP-camera-to-HDMI converter
If you want to connect an IP camera to an HDMI TV, you will need to use an IP-camera-to-HDMI converter. This is because IP cameras transmit video data through IP networks and connect to the internet via Ethernet cables, while HDMI TVs receive HDMI inputs.
There are several IP-camera-to-HDMI converters available on the market, such as the NetcamViewer Monitor, which allows users to plug IP cameras into the device via an Ethernet cable and then connect the device to the TV's HDMI port. Another option is to use an IP-camera-to-HDMI converter to convert video streams, such as MPEG, MJPEG or H.264, into a format that can be broadcast on TV, for example, the Geovision decoder.
If you are using an HD security camera that uses the same coax cable as an analog CCTV camera (AHD, HD-TVI, and HD-CVI, with resolutions from 720p to 4K), you will need to use a BNC-to-HDMI converter. The BNC output of the camera connects to the BNC input on the converter, and the HDMI output of the converter connects to an HDMI input on the TV.
For those who don't want to run cables directly to their TV, Google Chromecast or Apple TV are great alternatives, as long as the viewing apps support casting. For example, Google Chromecast can mirror what you are watching on your Android phone onto your TV, while Apple TV can mirror video feeds from surveillance camera mobile apps.
Exploring the Apple Watch's Camera Button Functionality
You may want to see also

Setting up a DLNA server to stream IP videos on TV
Streaming IP camera videos on a TV often requires an NVR (Network Video Recorder) or a similar device. However, there are alternative ways to achieve this, such as setting up a DLNA server. Here is a detailed guide on how to set up a DLNA server to stream IP videos on your TV:
DLNA stands for Digital Living Network Alliance, a group of technology companies that established a set of interoperability guidelines for media streaming across devices. DLNA streaming allows you to stream video and audio content to various devices, including smart TVs, set-top boxes, and game consoles.
Enabling the Built-in DLNA Media Server on Windows:
If you use Windows 10 or 11, you can enable the built-in DLNA media server without installing any additional software. Here's how:
- Open the Control Panel: Click the Start Button, type "Control Panel," and select the first result.
- Find Media Streaming Options: In the Control Panel search bar, search for "Media", and click "Media Streaming Options" under the "Network and Sharing Center."
- Turn on Media Streaming: On the media streaming page, review the information provided, and if you're on a trusted network, click "Turn on media streaming."
- Adjust Media Streaming Options: On the next page, enter a name for your Windows 10 DLNA server so you can easily identify it on other devices. Click "OK" to make it available on your local network.
Install a Third-Party DLNA Server:
While the Windows DLNA server is easy to set up, it has limitations, such as supporting only specific media codecs. You can enhance your streaming experience by installing a third-party DLNA server like Plex, Jellyfin, Kodi, or Universal Media Server. These servers offer features like real-time transcoding, allowing you to stream various media formats seamlessly.
Stream IP Camera Videos on TV:
Now that you have set up a DLNA server, you can stream IP camera videos to your TV. Here's how:
- Ensure your IP camera is capable of data transfer over RSTP/RTP.
- Connect your IP camera to your computer via an Ethernet cable.
- Install a streaming app on your smart TV, such as Samsung Smart TV or LG Smart TV.
- Access the IP camera viewing app on your TV and locate your DLNA server on the local network.
- Select your computer from the list of available DLNA servers, and you should be able to stream IP camera videos directly to your TV.
Alternatively, you can use devices like Google Chromecast or Apple TV to mirror your IP camera feeds to your TV, provided that the viewing apps support casting.
Remember, always ensure that your devices are connected to the same local network for a smooth streaming experience.
Watching Live Camera Feeds: A Step-by-Step Guide
You may want to see also

Using Google Chromecast or Apple TV
If you have a Google Nest camera or doorbell, you can stream its video feed to a TV using a Chromecast device. You can also use other compatible security cameras. To do this, first, set up your security camera and make sure it is connected to the same Wi-Fi network as your Chromecast device. Then, set up your Chromecast by plugging it into your TV and connecting the USB power cable. You can then add your camera to the Google Home app and use voice commands to stream your camera feed to your TV.
Alternatively, if you have an iPhone, you can connect it to your TV using an Apple Lightning Digital AV Adapter and an HDMI cable. Connect the adapter to your iPhone, and then connect the HDMI cable to the adapter and your TV. Select the correct HDMI channel on your TV, and your TV will begin mirroring your iPhone's screen. You can then open the Camera app on your iPhone and use it to show live footage on the TV screen.
If you want to use a webcam with Apple TV, you can't connect it directly to the Apple TV device. However, you can AirPlay a video conference call from a different device with a camera, such as an iPad or iPhone.
Displaying a Wireless Camera Feed on Your TV
You may want to see also
Frequently asked questions
Connecting a security camera to your TV allows you to access real-time video feeds, enhancing your security by providing a larger screen for monitoring areas of concern. It also offers large storage space, continuous recording, and a more stable signal.
You will need a coaxial cable (RG59), a power jack plug adapter, and the correct type of CCTV camera. Ensure that your TV is compatible with your camera and supports the necessary input, such as HDMI, AV, or BNC.
First, install your CCTV camera by attaching it to the wall or ceiling and connecting the cables. Then, connect the CCTV cable to the camera, ensuring proper polarity. Use the P4 connector to power the camera, and connect the power supply to the camera. Finally, connect the camera to the TV using a BNC to RCA adapter and select the audio and video (AV) input on your TV.


