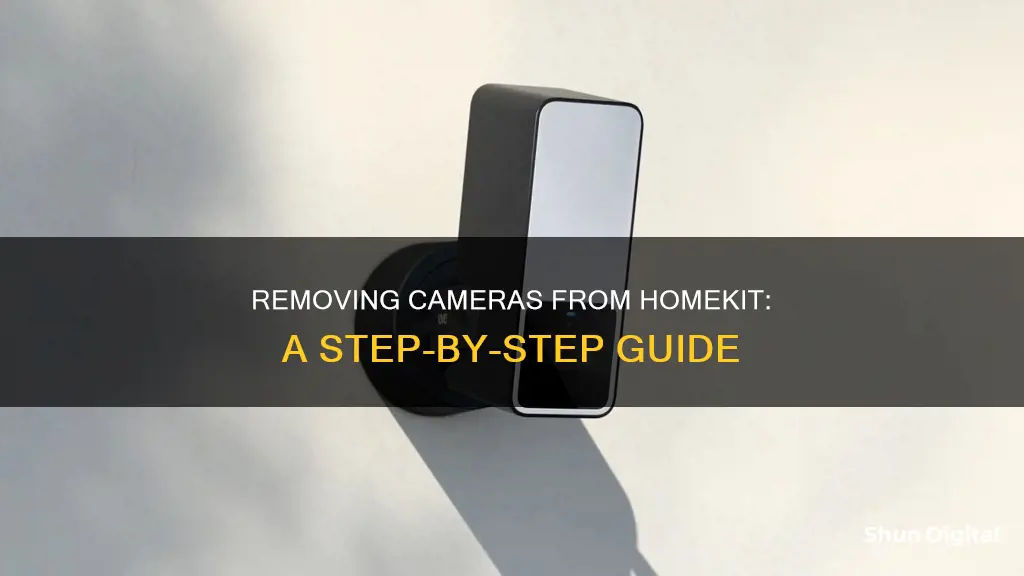
If you're looking to remove a camera from your HomeKit setup, you've come to the right place. In this guide, we'll walk you through the steps to remove a camera or any other HomeKit accessory from your iPhone, iPad, or Mac. It's important to note that most HomeKit accessories can only be linked to one user account, so removing them from your Home app before selling, giving away, or replacing them is crucial.
Removing a Camera from HomeKit
| Characteristics | Values |
|---|---|
| Devices | iPhone, iPad, Mac |
| Steps | Long-press on the accessory, select Accessory Details, scroll down to the bottom and select Remove Accessory, tap Remove to confirm |
| Devices with a bridge | Tap Bridge in the accessory's settings menu, tap Remove Bridge from Home, then tap Remove to confirm |
| Troubleshooting | Restart device, ensure Bluetooth and Wi-Fi are turned on |
What You'll Learn

Removing a camera from Arlo's Homekit setting page
To remove a camera from the Arlo Homekit setting page, you will need to access the built-in Home app on your iPhone, iPad, or Mac.
First, launch the Home app on your iPhone or iPad. Find your camera accessory by navigating to the Home or Rooms section of the app. Long-press on the camera accessory to view its controls and access other options.
Next, scroll down to the bottom of the menu and tap "Remove Accessory" to initiate the removal process. When prompted, confirm your action by tapping "Remove" again.
By following these steps, you will successfully unpair your camera accessory from the Arlo Homekit setting page.
Note that if you are using a bridge to connect multiple HomeKit devices, you can also remove the bridge to disconnect all associated devices. This can be done by accessing the Bridge option from the accessory's settings menu and following the removal process outlined above.
TCL TV: Are Cameras Watching You?
You may want to see also

Removing a camera from the Home app on iPhone or iPad
If you're having trouble with a HomeKit accessory, or you're selling or giving it away, you'll need to remove it from your Home app to make sure it's no longer paired with your network. Removing a HomeKit device from your iPhone or iPad is a straightforward process and only takes a few taps in the Home app.
Steps to remove a HomeKit accessory:
- Launch the Home app on your iPhone or iPad.
- Find the accessory you want to remove. You can find all your accessories in the Home or Rooms section of the app.
- Long-press the accessory to view its controls and access other options.
- Scroll down to the bottom of the menu and tap "Remove Accessory" to remove the device from your home.
- Tap "Remove" again when prompted to confirm your action.
Removing a HomeKit device with a bridge:
If you're removing a HomeKit device that connects with a bridge, you'll need to follow these steps:
- Long-press the accessory connected to the bridge.
- Tap "Accessory Details".
- Swipe up and select "Bridge".
- Tap "Remove Bridge from Home", then "Remove" again to confirm.
Troubleshooting:
If you're having trouble removing a HomeKit accessory, try the following steps:
- Quit the Home app and restart your iPhone or iPad.
- Ensure that Bluetooth and Wi-Fi are turned on and you're connected to your home network.
- Try removing the device again.
Element TV's Camera Conundrum: Fact or Fiction?
You may want to see also

Removing a camera from the Home app on Mac
There are a few reasons you may want to remove a camera from the Home app on your Mac. You may be selling or replacing a device, or you may simply want to disable it due to privacy concerns. Whatever the reason, here are the steps to remove a camera from the Home app on your Mac.
Unpairing a HomeKit Accessory
- Launch the Home app on your Mac.
- Find the camera accessory you want to remove. You can find all your accessories in the Home or Rooms section of the app.
- Long-press on the camera accessory to view its controls and access other options.
- Scroll down to the bottom of the menu and select "Remove Accessory".
- Tap "Remove" again to confirm.
Disabling the Built-In Camera
If you want to go a step further and disable the built-in camera on your Mac, you can do so by revoking app permissions, restricting browser access, or even physically covering the camera. Here are a few methods to disable the camera:
- Revoke App Permissions: Go to System Settings > Privacy & Security. Toggle off all apps on the list that you want to disable camera access for.
- Restrict Browser Access: Most browsers allow you to restrict camera access. For Safari, go to Safari > Settings > Websites > Camera, and click "Ask" to switch to "Deny". For Chrome, go to Settings > Privacy and Security > Site Settings > Camera, and select "Don't allow sites to use your camera".
- Physically Cover the Camera: You can also physically cover the camera with a webcam cover slider, privacy protector, tape, or even a Post-It note. This method is simple and effective but may leave marks or scratches on your device.
Pairing Apple Watch with Camera: A Simple Guide
You may want to see also

Removing a camera from the Bridge
- Long-press an accessory connected to the bridge. This can be done on your iPhone, iPad, or Mac.
- Tap on "Accessory Details" or simply swipe up to access the accessory's settings.
- Select "Bridge" from the accessory's settings.
- Tap on "Remove Bridge from Home."
- Tap "Remove" again to confirm your action.
By following these steps, you will successfully remove the bridge, along with all the devices connected to it, including the camera. If you only want to remove the camera and keep the other devices, there might be a different process depending on the specific devices and apps you are using. For example, if you are using an Arlo Pro 2 camera with a base station, you can remove a single camera by removing it from the Base Station in the Arlo app. Alternatively, you can try removing individual devices through a companion app.
Cameras and Ghosts: An Unlikely Pair
You may want to see also

Troubleshooting unresponsive devices
- Check your Wi-Fi and Bluetooth Connection: Ensure that your device is connected to your Wi-Fi network and that Bluetooth is turned on.
- Sign in to iCloud: Make sure your iPhone is signed into your iCloud account. You can check this by opening the Settings app and looking for your name at the top.
- Update your Devices: Keep your iPhone, iPad, and HomeKit hub updated to the latest version of their respective operating systems.
- Check Device-Specific Apps: If your accessory is connected to your home network but still shows as unresponsive, try controlling it from its dedicated app. If it works there, the issue may lie with HomeKit.
- Check for Firmware Updates: If your accessory is available in another HomeKit app, check for firmware updates that may address the problem or refer to HomeKit-specific troubleshooting steps provided by the manufacturer.
- Use a HomeKit Hub: If your accessory only shows as unresponsive when you are away from home, you may need a HomeKit hub such as an Apple TV, HomePod, or HomePod mini. These hubs bridge the gap between the accessory and the internet, allowing you to access your devices remotely.
- Reboot your Devices: A simple fix for unresponsive devices is to reboot your HomeKit hub, iOS device, and even the accessory itself. For HomeKit accessories, this usually involves unplugging them or removing their batteries.
- Improve Wireless Signal: Most HomeKit accessories use wireless radios like Wi-Fi, Thread Bluetooth, ZigBee, or RF to communicate with your home network. If your accessory is in a spot with a weak signal, try moving it closer to your router or using a mesh Wi-Fi system to improve coverage.
- Reset your HomeKit Accessory: As a last resort, you can reset your HomeKit accessory, which will remove it from HomeKit and your home network. This process varies depending on the accessory, but it often involves holding a button on the device for a few seconds or removing it from the manufacturer's app.
- Reset your HomeKit Home: If all else fails, you can reset your entire HomeKit home, which will remove all accessories, scenes, and automation. This is a time-consuming process as you will need to set up everything again from scratch, and there is currently no backup and restore process provided by the Home app.
Spotting Police Cameras: A Guide to Seeing Surveillance
You may want to see also


