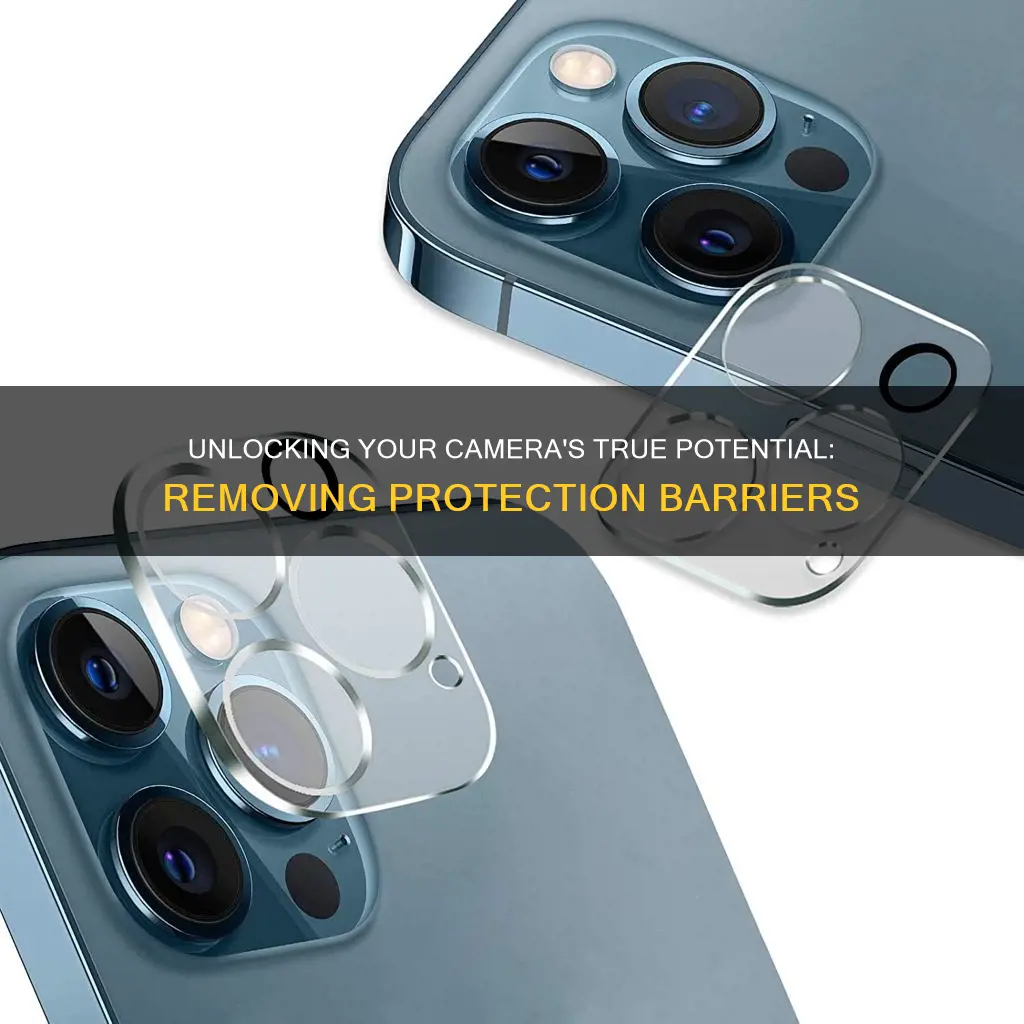
Camera lens protectors are essential for protecting your camera lens from scratches, cracks, dust, and other potential hazards. However, there may be times when you need to remove the protector, such as when it gets cracked or blurry. While removing a camera lens protector can be a delicate process, it can be done safely and effectively with the right techniques. This article will provide a step-by-step guide on how to remove a camera lens protector from various devices, including iPhones and Samsung phones.
| Characteristics | Values |
|---|---|
| Devices | iPhone, Samsung Galaxy S21 Ultra |
| Tools | Hair dryer, plastic spudger, plastic pry tool, pocket knife, laminated card, needle, dental floss, tweezers |
| Steps | Power off the device, clean the surface with a microfiber cloth, warm up the adhesive with a hair dryer, insert a pry tool, slowly peel off the protector, clean the lens |
What You'll Learn

Warm adhesive with a hairdryer
Warming adhesive with a hair dryer is a common method used to remove camera protection. This method is often used to remove camera protection from iPhones and Samsung phones. It is important to note that this process should be done with caution to avoid any damage to the camera lens or other components. Here is a step-by-step guide on how to do it:
- Power off your device: Before beginning the removal process, turn off your device to avoid any accidental button presses or touches during the procedure.
- Prepare your work area: Place your device on a clean, heat-resistant surface. Keep flammable materials away from your work area.
- Set up the hair dryer: Plug in your hair dryer and turn it on. Set the temperature to the "hot" setting. If your hair dryer has a fan setting, adjust it according to the size of the part you are working on. For small parts, such as cables or tape, set the fan to "Low". For larger surfaces, such as screens or back covers, set the fan to "High".
- Warm up the adhesive: Position the nozzle of the hair dryer 2-3 inches (5-7 cm) above the camera lens protector. Move the hair dryer in circles or back and forth along the surface to evenly distribute the heat. Do not keep the hair dryer in one spot for too long to avoid overheating. Heat the surface until it feels warm to the touch.
- Insert a pry tool: Once the adhesive is sufficiently warmed up, use a plastic pry tool or a thin, non-metallic object to gently lift one corner of the lens protector. Be careful not to apply too much force, as this could scratch the camera lens.
- Remove the protector: After lifting a corner of the protector, continue to peel it off slowly and steadily. Avoid sudden movements or excessive force, as this could damage the lens or leave behind residue.
- Clean the lens: Once the protector is removed, use a microfiber cloth and a small amount of lens cleaning solution to gently wipe away any remaining adhesive or residue from the camera lens.
It is important to follow safety precautions when using a hair dryer. Keep the hair dryer unplugged and switched off when not in use. Avoid using extension cords, as they may pose a fire risk. Additionally, never heat a battery directly. If you are working near a battery, make sure it is fully discharged before applying heat.
Exploring Public Cameras: A Guide to Accessing Live Feeds
You may want to see also

Use a plastic tool to pry it off
Using a plastic tool to pry off a camera protector is a delicate process, but it can be done safely and effectively. Here is a step-by-step guide:
Firstly, power off your iPhone to avoid any accidental button presses or touchscreen interactions during the removal process. Then, use a microfiber cloth to gently wipe the surface of the lens protector and remove any dust or debris. This will ensure a smooth and lint-free removal.
The next step is to warm up the adhesive on the lens protector. You can do this by using a hairdryer on a low or medium heat setting. Warming up the adhesive will help to loosen it, making it easier to remove the protector without damaging the lens. Be sure to keep the hairdryer moving and avoid focusing on one area for too long, as this could cause damage to the screen.
Now you can begin to pry off the protector. Use a plastic tool, such as a plastic pry tool, a plastic card, or a plastic guitar pick, to gently lift one corner of the lens protector. Be careful not to apply too much pressure, as this could scratch the camera lens. Once you have lifted a corner, continue to slowly and steadily peel off the protector. Avoid sudden movements or excessive force, as this could damage the lens or leave behind residue.
Finally, after removing the protector, use a microfiber cloth and a small amount of lens cleaning solution to gently wipe away any remaining adhesive or residue from the camera lens.
Disabling Alarm.com Cameras: A Step-by-Step Guide
You may want to see also

Avoid metal tools
When removing a camera lens protector, it is important to avoid using metal tools. This is because the camera housing is often made of a soft metal like aluminium, which can be easily scratched by harder metals. Instead, opt for plastic tools or thin, non-metallic objects to lift off the protector. For example, you can use a plastic spudger, a plastic card, or your fingernail.
If you're having trouble removing the protector, you can soften the adhesive by warming it up with a hair dryer set to low or medium heat. Be careful not to use high heat, as this could damage the camera. Once the adhesive is softened, gently insert a plastic tool or thin, non-metallic object between the protector and the camera housing to pry it off slowly. Avoid using force, as this could damage the camera lens or leave behind residue.
If the glue is particularly strong, you can try using isopropyl alcohol to dissolve or weaken the adhesive. Use a syringe or dropper to apply a small amount of alcohol between the protector and the camera housing. This will make it easier to remove the protector without damaging the camera lens.
Remember, removing a camera lens protector should be done carefully and with the right tools to avoid scratching or damaging your camera lens.
Watching Your Camera Footage on TV: A Simple Guide
You may want to see also

Clean the lens with a microfiber cloth
To clean your camera lens with a microfiber cloth, it is important to be gentle and ensure your hands are clean and dry. First, use a blower or a fine-haired brush to remove any obvious dirt or dust from the lens. Then, gently wipe the surface of the lens with a clean, soft, and dry microfiber cloth to remove any remaining dust or debris.
It is recommended to use a microfiber cloth designed specifically for cleaning camera lenses or eyeglasses, as these are made from softer materials that are less likely to scratch the lens. Microfiber cloths for cleaning cars or other less delicate items may be too harsh and could damage the lens coatings.
Be sure to wash your microfiber cloth regularly, using warm water and a mild detergent, and always allow it to air dry. This will help to remove any dirt or debris that the cloth may have picked up during cleaning and prevent it from scratching your lens.
While microfiber cloths are effective for cleaning camera lenses, some photographers prefer to use other methods, such as lens cleaning fluid and lens tissues, or simply wiping the lens with a T-shirt or breath. However, using a microfiber cloth is a gentle and effective way to clean your camera lens and will help to keep it clear of fingerprints, dust, and smudges.
Restore Camera DVR Footage After Power Outage
You may want to see also

Use dental floss to slide between the lens and protector
If you are looking to remove a camera lens protector, one method is to use dental floss. This is a good option if you are worried about scratching your lens. Firstly, make sure your hands are clean and dry. Then, turn off your phone to avoid any accidental touches or button presses during the removal process.
Next, take a piece of dental floss and slide it between the lens and the protector. You can use the same motion as you would when flossing your teeth, gently sliding the floss in and out to remove any particles. You can also use the floss to gently lift one corner of the lens protector. Once you have done this, continue to peel off the protector slowly and steadily, being careful not to apply too much pressure. Avoid sudden movements or excessive force, as this could damage the lens or leave behind residue.
If you are having trouble getting the floss between the lens and the protector, you can try warming up the adhesive first. Use a hairdryer on a low or medium heat setting to gently warm the adhesive, which will help to loosen it and make the protector easier to remove.
After removing the protector, use a microfiber cloth and a small amount of lens cleaning solution to gently wipe away any remaining adhesive residue from the camera lens.
Visio Quantum 65 Smart TV: Camera Included?
You may want to see also
Frequently asked questions
First, turn off your phone to avoid accidental touches. Then, use a microfiber cloth to clean the surface of the lens protector. Next, use a hairdryer on a low or medium setting to warm up the adhesive, and use a plastic pry tool or a thin, non-metallic object to gently lift one corner of the lens protector. Finally, slowly and steadily peel off the protector and clean any remaining adhesive or residue from the lens.
You can use a plastic pry tool, a thin non-metallic object (such as a guitar pick or a plastic card), or a hairdryer to loosen the adhesive.
No, it is recommended to avoid using metal tools as they can scratch the camera lens and housing.
Yes, you can use a hairdryer to warm up and loosen the adhesive. Set it to a low or medium heat setting and be careful not to overheat the lens or the surrounding components.
It is generally not recommended to reuse a camera lens protector as the adhesive may lose its effectiveness, and the protector may have accumulated scratches or debris that could damage the lens when reapplied.


