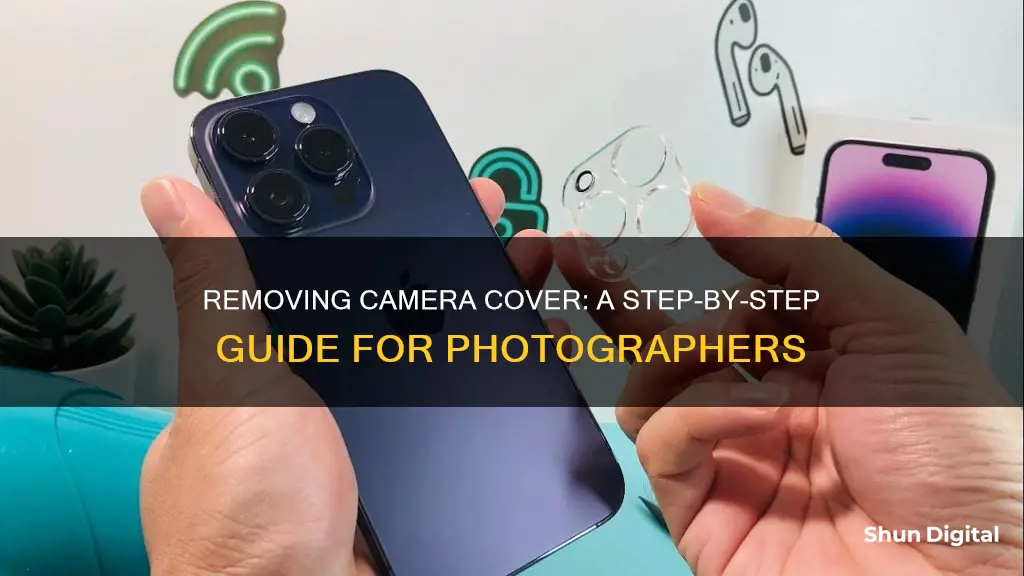
Removing a camera lens protector from your phone can be a tricky task. Many people have reported difficulties with this process, but there are several methods that can be effective. One common approach is to use a thin, plastic tool such as a guitar pick or a credit card to gently lift the protector from the corner. This method should be done slowly and carefully to avoid damaging the camera lens. Other tools that can be used include dental floss, tweezers, a hairdryer, or a razor blade. Some people have also suggested using a small amount of alcohol to help loosen the adhesive. It is important to note that using sharp objects or excessive heat near your phone's camera may be risky, so caution is advised when attempting these methods.
Characteristics of Removing a Camera Cover
| Characteristics | Values |
|---|---|
| Ease of Removal | Easy |
| Tools Required | Hair dryer, plastic razor blade, plastic guitar pick, pocket knife, tweezers, dental floss, card, fingernail |
| Potential Risks | Scratching the lens, damaging the phone |
| Safety Recommendations | Wear gloves |

Using a card
If you are looking to remove a camera cover, there are several methods you can try. One of the most popular methods is to use a card. This method is especially useful for removing camera lens protectors from phones.
Firstly, it is important to note that you should use a plastic card, such as a credit card, and avoid using any metal or sharp objects that could scratch the camera lens. You can also use a laminated card, but be careful as these are softer and thinner, so may be more likely to slip.
To begin removing the camera cover, insert the card into any corner of the camera lens protector. Gently lift the corner of the protector with the card, being careful not to apply too much force as you don't want to damage the lens. Once the corner is lifted, hold the protector with your fingers and slowly peel it off the lens.
It is recommended to wear gloves when removing the lens protector to avoid leaving fingerprints on the lens. Additionally, if the protector is firmly stuck on, you can try softening the adhesive by gently heating it with a hair dryer on a low setting before attempting to lift it with the card.
Accessing Live Wi-Fi Cameras on PC: Easy Steps
You may want to see also

Applying heat
Firstly, you'll want to grab a hairdryer. Set it to a low or medium heat setting and turn it on. Hold the hairdryer a few inches away from the camera cover and heat the adhesive underneath. You can also use a heat gun, but be careful not to apply too much heat, as this could damage your device.
Once the adhesive is warm, use a plastic tool, such as a plastic pry tool or a plastic razor blade, to gently lift one corner of the camera cover. You can also use a non-metallic object like a credit card or a plastic guitar pick. Avoid using metal tools, as these can scratch the camera lens or the surrounding area.
After lifting a corner of the cover, continue to slowly and steadily peel it off. Avoid using excessive force or making sudden movements, as this could damage the lens or leave behind residue.
If the glue is very strong, you can also use isopropyl alcohol to help dissolve or weaken the adhesive. Use a syringe or dropper to apply a small amount of alcohol between the camera cover and the lens. This will make it easier to remove the cover without damaging the lens.
Removing Swollen Camera Batteries: A Step-by-Step Guide
You may want to see also

With a hairdryer
Using a hairdryer is an effective way to remove a camera cover, but it requires caution to avoid damaging your device. Here is a step-by-step guide on how to do it:
Firstly, turn off your device. This is an essential precaution to avoid accidental button presses or touchscreen interactions during the removal process. Removing the battery (if possible) is also recommended to prevent any potential damage.
The next step is to use a soft, dry cloth, preferably microfiber, to gently wipe the camera lens and its surrounding area. Be careful not to apply too much pressure, as this could damage the lens. This step ensures that any dust or debris is removed and creates a smooth surface for the next steps.
Now, it's time to grab your hairdryer. Set it to a low or medium heat setting, and carefully direct the warm air onto the lens for a few minutes. The goal here is to loosen the adhesive under the camera cover without causing any damage. Keep the hairdryer at least 6 inches away from the lens and phone to avoid overheating.
Once the adhesive is warm enough, it's time to start peeling off the camera cover. Use a plastic pry tool, a plastic razor blade, or a thin, non-metallic object like a hair clip to gently lift one corner of the cover. Avoid using metallic objects or applying too much pressure, as this could scratch the camera lens.
After lifting one corner, continue to slowly and steadily peel off the cover. Avoid making sudden movements or using excessive force, as this could damage the lens or leave behind residue. Take your time with this step to ensure a safe and successful removal.
Finally, use a microfiber cloth with a small amount of lens cleaning solution to gently wipe away any remaining adhesive or residue from the camera lens. Ensure that your hands are clean and dry during this process to prevent fingerprints or smudges.
It's important to note that using a hairdryer carries some risks, and alternative methods like dental floss or a plastic card are also suggested by some sources. Additionally, if your device has been exposed to water, it's recommended to take it to a professional for a thorough inspection and cleaning.
Rome's Camera: Capturing the Ancient World's Wonders
You may want to see also

Using dental floss
Dental floss is an effective way to remove a camera lens protector without damaging the lens. It is a gentle method that requires some preparation but will help you safely take off the cover.
Firstly, you need to remove any adhesive that is holding the protector in place. You can do this by using a hairdryer to heat up and soften the adhesive, which will make it easier to remove. Hold the hairdryer about 6 inches away from the protector and move it around for about 30 seconds.
Once the adhesive is heated up, you can use the dental floss to gently pull the protector off. Slide the floss between the protector and the camera lens, and slowly work your way around the edge. You can also try using a small amount of rubbing alcohol to help loosen the adhesive.
It is important to be gentle and careful when removing the protector, as you don't want to damage the camera lens or any other part of your device. Take your time and work slowly and carefully.
If you are unsure about how to remove your protector, it is always best to consult the manufacturer's instructions or seek advice from a professional. They will be able to guide you on the best method to use and any specific considerations for your device.
Weighty Matters: TV Cameras and Their Heft
You may want to see also

With a razor
Removing a camera lens cover with a razor is a delicate process, but it can be done safely and effectively if you follow these steps:
Firstly, power off your device to avoid any accidental button presses or touchscreen interactions during the removal process. This is an important step to prevent any damage to your device.
Next, use a microfiber cloth to gently wipe the surface of the lens protector and remove any dust or debris. This will ensure a smooth and lint-free removal process.
Then, warm up the adhesive on the lens protector to loosen its grip. You can do this by using a hairdryer on a low or medium heat setting. Be careful not to overheat the adhesive, as this could damage the lens.
Now, gently insert a thin, non-metallic object, such as a plastic pry tool or a razor, under the edge of the lens protector. Be cautious not to apply too much pressure, as this could scratch the camera lens.
Once you have lifted a corner of the protector, continue to peel it off slowly and steadily. Avoid making sudden movements or using excessive force, as this could damage the lens or leave behind residue.
Finally, use a microfiber cloth and a small amount of lens cleaning solution to gently wipe away any remaining adhesive residue from the camera lens.
It is important to note that this process may vary depending on the specific product and adhesive used. Always handle the lens protector with care and clean the lens thoroughly after removal.
Wiring Zmodo Cameras Directly to Your TV
You may want to see also
Frequently asked questions
You can use a card to lift the camera lens protector from any corner. Once the corner has been lifted, hold the camera lens protector and remove it slowly. It is recommended that you wear gloves when removing the lens protector.
You can use a plastic object, such as a credit card, guitar pick, or plastic razor blade, to gently pry the protector off. You can also use dental floss to slide between the protector and the camera lens.
You can try heating up the adhesive with a hairdryer and then using a plastic tool to lift the protector off. You can also try using a small amount of rubbing alcohol to help dissolve the adhesive.


