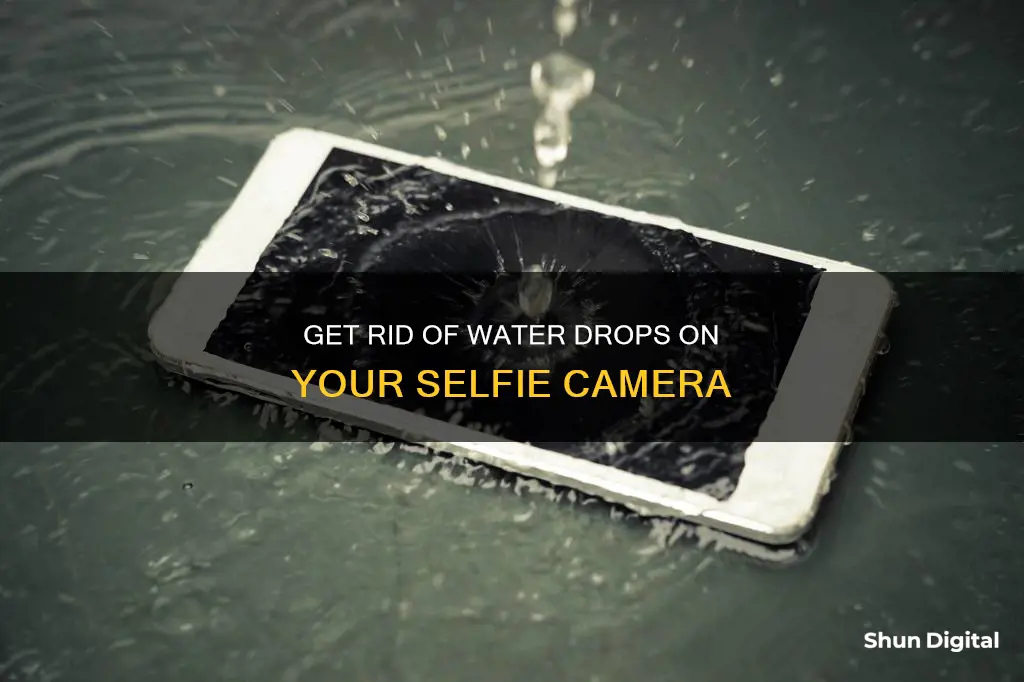
Water in your phone camera lens can affect the quality of your photos and even cause hardware damage. If you're looking to remove water from your selfie camera, the first step is to turn off your phone to prevent moisture from causing short circuits and further internal damage. From here, there are several methods you can try, including using a desiccant like rice or silica gel packets, disassembling your phone, or taking it to a professional repair store.
Characteristics of Removing Water from Selfie Camera
| Characteristics | Values |
|---|---|
| First Action | Turn off the phone immediately |
| Tools | Airtight container, desiccant (silica gel packets or raw rice), vacuum bag, vacuum pump, lint-free cloth, hair dryer |
| Preventative Measures | Use a waterproof case, protect with a film, avoid humid environments |
| Professional Tools | Vacuum dryer, ultrasonic cleaners, humidity sensor |
| Things to Avoid | Rice wine and other liquids, overheating, charging before ensuring dryness |
What You'll Learn
- Turn off the phone to prevent hardware damage
- Use a desiccant like rice or silica gel to absorb moisture
- Disassemble the phone to remove the battery and other components
- Avoid using heat to dry the phone, as this can cause further damage
- Take the phone to a professional repair store if you're unsure what to do

Turn off the phone to prevent hardware damage
If your phone has been exposed to water, it is crucial to act quickly to prevent hardware damage. One of the first and most important steps is to turn off the phone immediately. Powering off your phone is a crucial step as it helps to cut off the power source and stop the flow of electricity through the device. This is especially important if your phone is still on after its encounter with water. By turning it off, you can reduce the chances of short circuits occurring and prevent further damage.
Short circuits can lead to irreversible damage to your phone's internal components, so it is crucial to act fast. Even if your phone seems to be working fine initially, internal damage can occur if moisture is not dealt with promptly. Turning off your phone gives you a better chance of recovering it and minimises the potential harm.
In addition to turning off your phone, there are other steps you should take to prevent hardware damage. After powering down, remove any detachable components such as the phone case, SIM card, and battery. Be cautious when handling the battery, as it requires expertise to remove. Gently blot excess water from your phone and its components using a dry cloth or paper towel. Avoid rubbing, as this can cause further damage.
To absorb moisture from the internal parts of your phone, place it in an airtight container with silica gel packets or raw rice. These desiccants will help draw out any remaining moisture. Leave your phone in the container for at least 24 to 48 hours to ensure it is completely dry. This step is crucial, as powering on your phone prematurely can lead to further issues.
Ghostly Camera Capture: What Does It Mean?
You may want to see also

Use a desiccant like rice or silica gel to absorb moisture
If your phone has been exposed to water, it is important to act quickly to prevent hardware damage and restore your device. One effective method to remove moisture from your phone's selfie camera is to use a desiccant like silica gel packets or raw rice. Here's a step-by-step guide on how to do it:
Step 1: Power Off Your Phone
Turn off your phone immediately to prevent moisture from causing short circuits and further damage to internal components. This is crucial for reducing the risk of hardware malfunction.
Step 2: Prepare the Desiccant
Choose either silica gel packets or raw rice as your desiccant. Silica gel is highly effective at absorbing moisture and is often used in packaging to keep items dry. Raw rice, on the other hand, is a traditional and readily available option that can also absorb moisture.
Step 3: Place the Phone and Desiccant in an Airtight Container
Place your phone and the chosen desiccant in an airtight container. Make sure the phone is removed from any case or cover to allow for better air circulation. Ensure that the desiccant doesn't come into contact with any of the phone's ports or buttons.
Step 4: Seal the Container and Wait
Seal the airtight container tightly to create a dry environment. Leave your phone in the container with the desiccant for at least 24 hours. For optimal results, it is recommended to wait up to 48 hours. The desiccant will absorb the moisture from your phone, including the camera lens and internal components.
Step 5: Optional – Use a Vacuum Bag
If you have access to a vacuum bag and pump, you can use this setup to speed up the drying process. Place the phone and desiccant together in the vacuum bag and use the pump to draw out the air. This will create a low-moisture environment, facilitating faster evaporation of water from your phone.
Step 6: Check Your Phone
After the waiting period, remove your phone from the container and power it on. Check if your selfie camera is functioning properly and if there are any signs of water damage. In most cases, the desiccant should have absorbed the moisture, leaving your phone dry and functional.
It is important to note that using a desiccant is most effective for minor moisture exposure. If your phone has been submerged in water for an extended period or has severe water damage, it is recommended to seek professional help for repair or replacement. Additionally, always handle your phone with care and avoid using liquids or rice wine for cleaning, as they can cause further damage.
Charging Your Eufy: Removing the Camera from Its Mount
You may want to see also

Disassemble the phone to remove the battery and other components
To disassemble your phone and remove the battery and other components, you will need the following tools:
- T4, T5 and T6 precision screwdriver
- Screwdriver set or kit
- Antistatic wrist strap
- Antistatic hand gloves
- Antistatic or ESD-Safe mat
It is important to use only antistatic or ESD-safe tools to avoid damaging the small parts inside your phone with static electricity.
- Remove the battery cover and back facial of the phone. Use a mobile opener tool for this step.
- Take out the battery, SIM card, and memory card.
- Unscrew and remove all the small screws at the back using a suitable precision screwdriver. Keep the screws in a safe box to avoid losing them.
- Once all the screws are removed, carefully remove the front cover or front facial of the phone.
- You will now see the internal facial or skeleton of the phone. It is attached to the phone's PCB with screws. Unscrew and open all the screws.
- Remove the connectors for the display and camera, and gently pull them out.
For phones with non-removable batteries, you will need to take extra care. First, remove the connector that attaches the battery to the board. The battery is usually glued at the bottom with double-sided tape, so carefully remove this tape before lifting out the battery.
Additionally, some phones, such as iPhones, may require the use of isopropyl alcohol (IPA) to soften the adhesive holding the battery in place. You can apply a few drops of IPA around the edges of the battery and wait for the adhesive to soften before gently prying the battery out with a plastic tool. Be careful not to use metal tools as they can puncture the battery and cause a fire hazard.
Removing Swollen Camera Batteries: A Step-by-Step Guide
You may want to see also

Avoid using heat to dry the phone, as this can cause further damage
If your phone has been exposed to water, it is important to act quickly to prevent further damage. However, it is crucial to avoid using heat to dry your phone, as this can cause more harm than good. Here are some reasons why you should avoid using heat and alternative methods to dry your device:
Avoid Using Heat to Dry Your Phone
Using heat to dry your phone can cause more problems than it solves. Here are some reasons why you should avoid it:
- Excessive heat can damage the delicate electronics inside your phone, including the battery.
- Heat can cause the phone's internal components to warp or melt, leading to permanent damage.
- It can cause the adhesive that holds your phone together to melt, making it difficult to repair.
- Using a hairdryer can force dust and other particles into the phone, clogging the delicate components.
- The high temperature can also create static electricity, which can damage the phone's circuits.
Alternative Methods to Dry Your Phone
Instead of using heat, try the following methods to dry your phone safely:
- Use a lint-free towel or cloth to gently wipe down your phone and absorb as much water as possible. Be sure to get into the nooks and crannies, like the charging port, headphone jack, and SIM card slot.
- If you have access to a wet/dry vacuum, you can use it to suck out any remaining water from the phone's interior.
- Place your phone in an airtight container with a desiccant like silica gel packets or uncooked rice. These materials will absorb moisture from your phone. Leave it for at least 24 hours, or longer if possible.
- If you have technical skills, you can try disassembling the phone to remove the battery, SIM card, and other components. Gently soak up any visible moisture with a lint-free cloth or paper towel.
- Avoid using your phone in humid environments, and consider investing in a waterproof case to protect it from future water damage.
Accessing Baby Monitor Cameras: A Guide for Phone Viewing
You may want to see also

Take the phone to a professional repair store if you're unsure what to do
If you're unsure about how to proceed with removing water from your selfie camera, or if you've tried the basic troubleshooting steps without success, it's wise to seek professional help. Taking your phone to a repair store is a prudent decision for several reasons.
Firstly, they have the right tools and equipment to effectively deal with water damage. Professional repair stores often use vacuum dryers to treat waterlogged phones. This equipment can quickly and efficiently remove water from the device. They may also use ultrasonic cleaners to clean and dry the circuit boards and internal components. The ultrasonic vibrations ensure that even the tiniest droplets of water and dirt are removed. Additionally, professionals may use a humidity sensor to check the humidity inside your phone, determining if the drying process is complete.
Secondly, water damage can cause significant problems with the delicate internal circuitry of your phone. The longer your phone remains wet, the higher the chances of permanent damage. Professional repair technicians are experienced in dealing with such issues and can assess the extent of the damage. They can then provide the necessary repairs or advise you on the best course of action. This is especially important if, after attempting to dry your phone, you notice that some functions are not working properly.
Thirdly, attempting to fix a water-damaged phone yourself can be risky. If not done correctly, you could end up causing further damage. For example, using a hairdryer on a hot setting or putting your phone in an oven can damage the internal components. Disconnecting the battery quickly is crucial, as water can trigger a chemical reaction, leading to overheating or even an explosion. Professional repair technicians are trained to handle these risks and have the necessary safety protocols in place.
Finally, in the unfortunate event that your phone is beyond repair, professional repair stores can still help. They have the technology to retrieve your information and transfer it to a new device. This service can be invaluable, especially if you have important data that you don't want to lose.
So, if you're unsure what to do, don't hesitate to take your phone to a professional repair store. They have the expertise, equipment, and experience to give your phone the best chance of recovery and ensure your data is secure.
LG Smart TV Camera Location: A Quick Guide
You may want to see also
Frequently asked questions
First, turn off your phone to reduce the risk of electrical short circuits that can irreversibly damage your phone's internal components. Then, wipe away any visible water with a soft, lint-free cloth, being careful not to press too hard. Next, place your phone in an airtight container with a desiccant like silica gel packets or uncooked rice, which will absorb moisture. Leave it for at least 24 hours.
If you have some technical skills, you can try disassembling the back cover of the phone and removing the battery, SIM card, and other components. Then, gently soak up any visible moisture with a lint-free cloth or paper towel.
Finally, avoid using heat to dry your phone, as this can damage internal components. Instead, use the cool air setting on a hair dryer.
Use a waterproof phone case, especially when using your phone near water or in humid environments. You can also use a camera lens protection film to prevent water droplets from entering the lens directly.
If your phone has condensation, you can use the same methods as above to remove water from your camera. You can also try airing out your phone by removing the SIM card tray and placing it in a dry, well-ventilated place for 24-48 hours.
If your phone has been submerged in water, remove it immediately. Then, turn off your phone and follow the steps above to remove water from your camera. It is also recommended to take your phone to a professional repair store if you are unsure about how to handle water damage.


