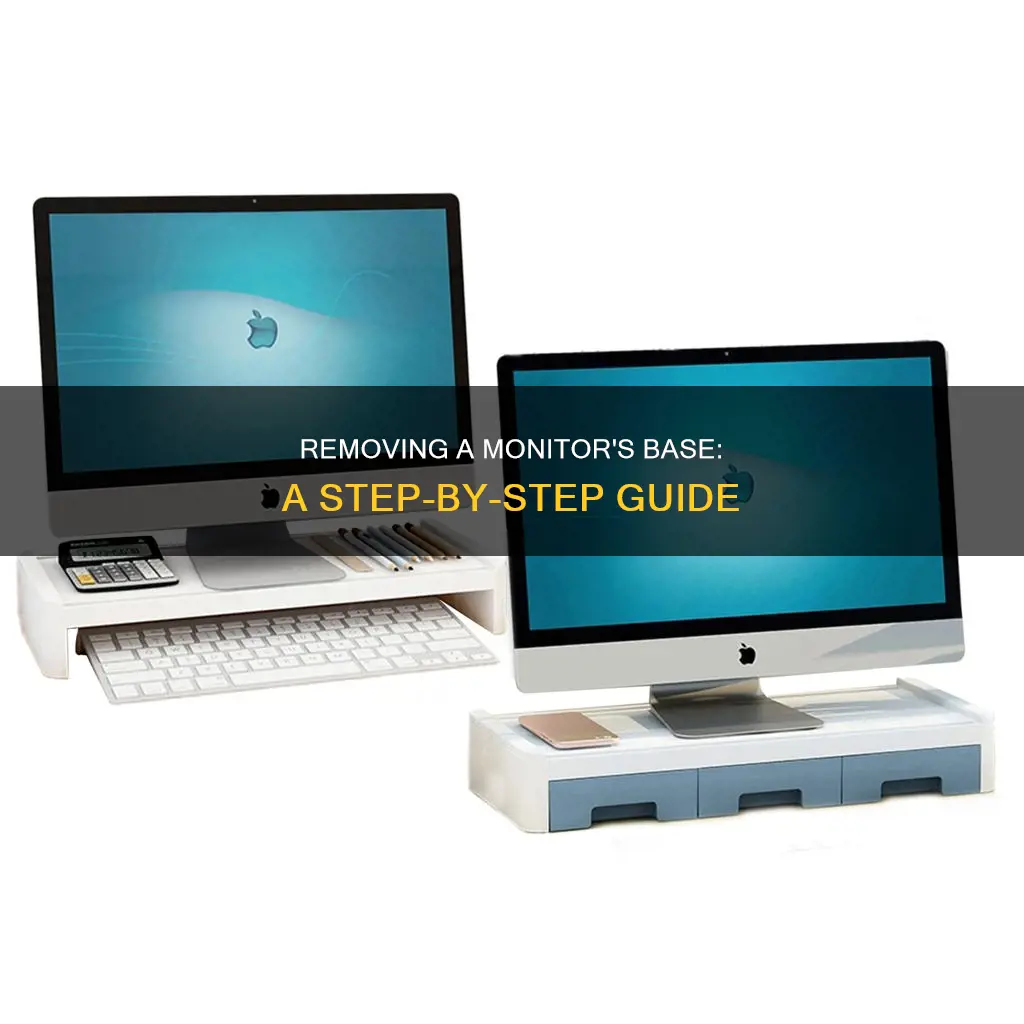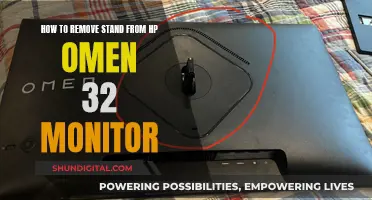
Removing the base from a monitor can be a challenging task. It is important to know how to do this correctly to avoid damaging the monitor. The process can vary depending on the monitor model, but there are some general steps that can be followed. Firstly, it is important to ensure that the monitor is turned off and unplugged. Then, using a screwdriver, the screws on the base of the monitor stand can be removed. In some cases, there may be a hook that can be rotated to remove the screw. After removing the screws, the stand can be lifted and gently pulled away from the monitor. For some monitors, there may be a dedicated button that needs to be pressed to remove the stand. It is important to be gentle and avoid holding the monitor by its screen. Additionally, it is recommended to refer to the user manual for specific instructions.
| Characteristics | Values |
|---|---|
| Number of components | 2 or 3 |
| Recommended disassembly order | One at a time |
| Base shape | Circle, rectangle or arc |
| Base removal process | Invert the monitor, find the screw that holds the base in place, remove the screw and gently remove the base plate |
| Vertical stand removal process | Check for connection points, refer to the user manual, check for screws or buttons, remove the vertical stand |
| Vertical stand holder removal process | Remove the back panel, unscrew any screws connecting the vertical stand holder |
What You'll Learn

How to remove the monitor stand from an LG monitor
To remove the monitor stand from an LG monitor, you will need to disassemble the monitor stand components. The monitor stand is made up of two to three parts: the base, the vertical stand, and the connector that joins the stand to the monitor.
First, remove all the cables connected to the monitor, including the power cable and any cables from the PC. Then, locate the connector that joins the stand to the monitor. This may be a screw that you can remove with a screwdriver, or it may be a hook that you can rotate anti-clockwise to remove. Once the connector is removed, gently pull the stand away from the monitor. Be sure to hold the monitor by its sides, not the screen.
If your monitor stand has a vertical stand that is separate from the base, you will need to remove the base first. To do this, turn the monitor upside down and look for a screw that holds the base in place. Remove this screw, and then gently pull the base away from the vertical stand.
If your monitor stand has a vertical stand that is connected directly to the monitor, you may need to refer to the user manual to determine the best way to remove it. In some cases, you may need to remove the back panel of the monitor to access the screws that hold the vertical stand in place. If you are unsure about disassembling the monitor, it is best to take it to a local electronic repair shop for assistance.
Repairing Dead Pixels on an LCD Monitor: A Step-by-Step Guide
You may want to see also

How to open the monitor stand
To open the monitor stand, you will need to remove all the cables connected to the monitor, including the power cable. Ensure that the PC is turned off and the power plug is disconnected. Place a soft cloth on a table and lay the monitor on it to prevent the screen from getting scratched.
Next, open the computer case by unscrewing the bolts from the back. You can then remove the screen cover. Untangle the cables from the stand.
To open the monitor stand, you need to unscrew the screws on the base. After removing the screws, you can lift the stand.
ASUS LCD Monitor Warranty Periods in the USA
You may want to see also

Detaching the vertical stand
To detach the vertical stand of a monitor, you must first ensure that there are no connections in the vertical part of the monitor base. This section likely connects to the vertical stand holder. However, some monitors may not have this component.
In some monitors, the vertical stand is directly connected to the monitor, while in others, it connects to a holder that comes out of the back of the monitor. Refer to the user manual to understand how the stand connects to the monitor.
To remove the vertical stand, check for any screws holding it in place. If there are screws, remove them, and then remove the stand. If there are no screws, check for any buttons near or on the vertical stand. Some monitors, like Dell and Acer, have a dedicated button that needs to be pressed to remove the stand. Press the button and pull the stand outwards. If it does not come out, a small amount of mechanical oil can be applied to the joints to help it budge.
If the vertical stand has no screws or buttons, it may be possible to remove it by gently pulling the stand away from the monitor. Ensure that you do not hold the monitor by its screen; instead, hold it firmly by the sides.
Removing Annoying Dots from Your ASUS Monitor
You may want to see also

Removing vertical holders
Removing the vertical stand holder can be a challenging task. This is because the vertical stand holder is connected to the monitor from the inside. Therefore, you may not be able to remove this holder without taking the monitor apart. If you are unsure about disassembling the monitor, it is best to take it to a local electronic repair shop to remove the holder.
The process of disassembling the monitor can vary depending on the model. However, here are some general steps that you can follow:
- Remove all the screws on the back panel of the monitor.
- Gently take out the back panel. Make sure to remove all the cables connecting to the ports and buttons on the panel.
- Once the back panel is removed, unscrew any screws connecting the vertical stand holder.
- Reattach all the cables and reassemble the monitor.
It is important to refer to the user manual for specific instructions on removing the vertical stand holder. The process may vary depending on the make and model of the monitor.
Setting Up Studio Monitors to Your TV: A Guide
You may want to see also

Removing the stand from a Samsung monitor
If the stand still does not come off, try laying the monitor flat on a soft surface and pulling on the stand. You can also try pounding your fist on top of the stand to help dislodge it. For some models, you may need to pull at a specific angle, such as pulling the stub down and away from the monitor.
For the Samsung P2770H model, removing the stand is relatively easy. First, remove all the cables and leave the circular base attached. Set the monitor on the floor and tilt it back as far as it will go. Stand over the monitor with your feet on top of either side of the circular base and firmly grasp the bottom edge of the monitor with both hands. Pull upwards at a slight angle, along the tilt line of the monitor. The monitor should now be released from the circular base and stem.
You can also try pushing the base very firmly to one side, creating a small gap on the other side. Force a piece of thin but rigid plastic into the gap and then apply pressure on the base stem in the other direction. The stem should pop out.
Understanding RGBW Tilting LCD Monitors: Ultimate Viewing Experience
You may want to see also
Frequently asked questions
First, make sure your monitor is turned off and unplugged. Place a soft cloth on a table and lay the monitor on it to prevent scratches. Then, open the case by unscrewing the bolts from the back. Remove the screen cover, untangle the cables from the stand, and remove the stand.
Check if there are any connections in the vertical part of the base. If so, refer to your monitor's user manual to understand how the stand is connected. If the vertical stand is held in place by screws, remove them, and then remove the stand. If there are no screws, check for buttons near or on the stand, as some monitors have a dedicated button for removing the stand. If there are no screws or buttons, try gently pulling the stand away from the monitor without touching the screen.
You may need to remove the back panel of your monitor to access the holder. As this component is connected to the monitor from the inside, you may need to take your monitor to a local electronic repair shop for assistance. If you choose to proceed, remove all the screws on the back panel, gently take out the back panel, and remove all cables connecting to the ports and buttons on the panel. Once the back panel is removed, unscrew any screws connecting the vertical stand holder.
After you have removed all the components, connect all the cables and reassemble the monitor.


