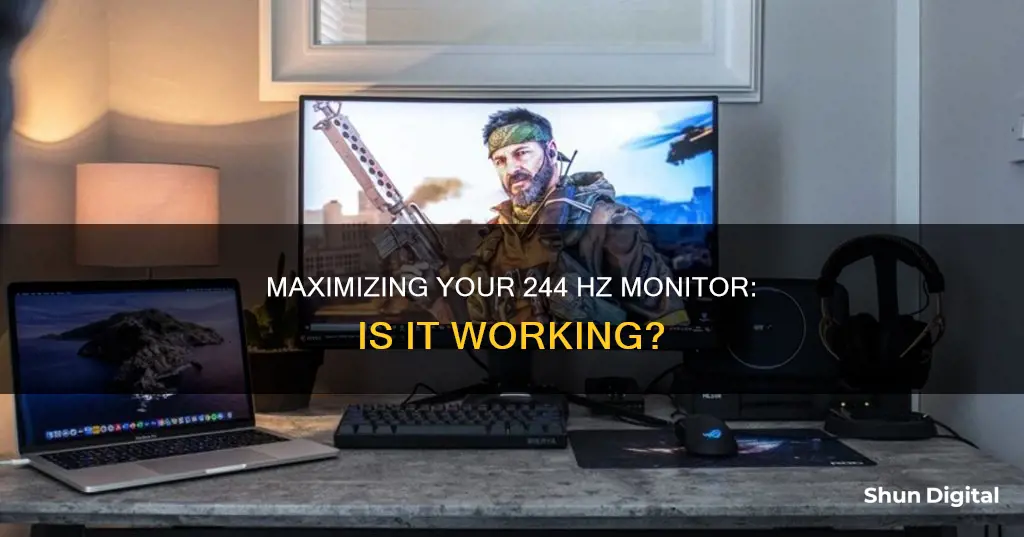
If you're unsure whether your 244 Hz monitor is working, there are several steps you can take to troubleshoot the issue. First, check the type of cable you're using to connect your monitor. For a 240 Hz monitor, you'll need to use an HDMI 2.0 or DP 1.2a cable. If you're using an HDMI 2.0 cable, ensure it's connected to the correct HDMI 2.0 port. If you're using a DP 1.2a cable, use the one provided by the monitor manufacturer. Additionally, make sure your graphics card driver is updated to the latest version and that your graphics card supports 240 Hz. If you've tried these steps and are still experiencing issues, you may need to install the monitor driver from the manufacturer's website or contact their support team for further assistance.
What You'll Learn

Check your display cable
To check if your display cable is working properly, you can try the following steps:
Firstly, turn off your PC and monitor. Press and hold the power button on the monitor for about three seconds to ensure it is turned off. Then, disconnect the power cord and leave it for at least five seconds. This will help reset any potential glitches with the cable connection.
Next, check the type of cable you are using. For a 240Hz monitor, ensure you are using an HDMI 2.0 or DP 1.2a cable. If you are using an HDMI 2.0 cable, make sure it is connected to the correct HDMI 2.0 port. If you are using a DP 1.2a cable, it is recommended to use the one provided by the monitor manufacturer. For higher refresh rates, such as 360Hz or 400Hz, you will need a DP 1.4 cable, and again, ensure it is connected to the correct port.
If you have another monitor available, you can try plugging the cable into it. This will help you determine if the issue lies with the cable itself. If the second monitor works without any issues, then the problem may lie with your original monitor's settings or hardware.
You can also try plugging your monitor into another computer. Ensure that the power cable and signal cable are securely connected to the new computer. If you continue to receive a "no signal" message, the problem may lie with your original computer's video card or hardware, rather than the signal cable.
Additionally, check the connector by plugging any other known working cable into it. This will help determine if the connector is causing signal loss or distortion. Make sure that your cables are not damaged, twisted, or kinked, as this can interfere with the signal transmission.
Hooking Up Your MacBook Air to a Monitor: A Guide
You may want to see also

Check your display port
To check if your display port is working, you should first ensure that you are using the correct cable. For a 240Hz monitor, you will need to use an HDMI 2.0 or DP 1.2a cable. If you are using an HDMI 2.0 cable, make sure it is connected to the correct HDMI 2.0 port. If you are using a DP 1.2a cable, it is recommended to use the one bundled by BenQ.
The next step is to check your display settings. On Windows 10, you can do this by right-clicking on the desktop background, clicking "Display Settings", then "Display adapter properties", and finally "List All Modes". Here, you can check what setting you are on and if 1920x1080, 240 Hertz is an option.
If you are using the correct cable and have the correct settings, but your monitor is still not working at 244Hz, you should check that your graphics card supports 240Hz and that you have the latest graphics card driver version installed.
If you are still having issues, try installing the monitor driver from the official website of your monitor's manufacturer. For example, for a ZOWIE monitor, you would need to install the monitor driver from the ZOWIE website.
If you have tried all of the above and are still experiencing issues, it is recommended to contact the manufacturer's customer support for further assistance.
Fixing Burn-In on LCD Monitors: DIY Guide
You may want to see also

Update your graphics card driver
To check if your 244 Hz monitor is working, you need to ensure that your graphics card driver is updated to its latest version. Here is a guide on how to update your graphics card driver:
Your graphics card driver is a crucial piece of software that enables your PC components to function correctly. By updating your graphics card driver, you can enhance your PC's performance and ensure that your monitor displays crystal clear images. Here are the steps to update your graphics card driver:
- Create a System Recovery Point: Before updating any drivers, it is recommended to create a system recovery point. This backs up all your current drivers, allowing you to restore your system to its previous state if any issues arise during the update process.
- Identify Your Graphics Card Driver: Open the Windows Start menu and search for "Device Manager." Open the Device Manager and locate your graphics card driver by expanding the "Display adapters" section. Right-click on your graphics card and select "Properties."
- Check for Updates: Navigate to the "Driver" tab in the properties window. Here, you will find the current version of your graphics card driver. Compare this version with the latest version available on the manufacturer's website. If they don't match, you need to update your driver.
- Automatic Update: The easiest way to update your graphics card driver is by using a specialized tool like Avast Driver Updater or AVG Driver Updater. These tools will automatically scan your system, detect outdated drivers, and install the latest versions for you.
- Manual Update: Alternatively, you can update your graphics card driver manually. Download the latest driver for your specific graphics card model from the manufacturer's website. For example, if you have an Nvidia graphics card, go to the Nvidia homepage, click "Drivers," select the relevant specifications, and download the latest driver. Once the download is complete, run the setup file and follow the installation instructions.
- Using Windows Update: Windows Update is another option to update your graphics card driver. Open the Start menu, click "Settings," and select "Windows Update." Click "Check for Updates," and if there are any available driver updates, they will be installed automatically.
- Using Device Manager: The Device Manager allows you to update specific drivers. Open the Device Manager, locate your graphics card under "Display adapters," right-click on it, and select "Update Driver." Then, click "Search automatically for drivers." If Windows finds a newer version, it will install the update for you.
By following these steps, you can ensure that your graphics card driver is up to date, which is essential for the optimal performance of your 244 Hz monitor.
LCD Monitor Picture Quality: Semi-Glare Impact
You may want to see also

Check your graphics card supports 244Hz
To check if your graphics card supports a 244Hz monitor, you'll need to first identify the make and model of your graphics card. Once you have this information, you can search online for its specifications, which will include the maximum supported refresh rate.
For example, if you have an NVIDIA graphics card, you'll want to look for the GeForce RTX 4080, 4070 Ti, or 4090 models, among others, as these are capable of delivering high frame rates required for 240Hz. Similarly, for AMD graphics cards, the Radeon RX 7900 XT and RX 7900 XTX are recommended.
It's worth noting that just because a graphics card is capable of delivering high frame rates, it doesn't guarantee that all applications or games will run at 244Hz. Other factors, such as your CPU, memory, and storage, can also impact your overall system performance and ability to run applications at high frame rates.
Additionally, ensure that you have the correct cables to support 240Hz or higher. An HDMI 2.0 or DP 1.2a cable is required, and if using an HDMI 2.0 cable, it must be connected to the correct HDMI 2.0 port.
If you're unsure about your graphics card's capabilities, it's always best to consult the manufacturer's website or seek advice from a technical support forum.
Hotels and Internet Privacy: Monitoring Guest Online Activity
You may want to see also

Install the monitor driver
To install the monitor driver, follow these steps:
Firstly, ensure you have downloaded the correct driver setup file for your monitor. The file will be an INF file. For a 244Hz monitor, you may need to download the driver from the official website of your monitor's manufacturer.
Once you have the correct file, follow these steps:
- Click the Start button, then click Control Panel.
- In the Control Panel window, under 'Pick a category', double-click the 'Appearance and Themes' icon.
- In the Appearance and Themes window, double-click the Display icon.
- In the Display Properties window, click the Settings tab, then click Advanced.
- In the Default Monitor window, click the Monitor tab.
- On the Monitor tab, click the Properties button.
- In the Default Monitor Properties window, click the Driver tab, then click the Update Driver button.
- In the Hardware Update Wizard window, select 'Install from a list'.
- Click Next, then select 'Don't search'. Click Next again.
- In the Select the device driver window, click the 'Have Disk' button.
- In the Install From Disk window, click Browse.
- Navigate to the location of the setup file for the monitor.
- Select the monitor setup file, then click Open.
- In the Install From Disk window, click OK.
- In the Select the device driver window, click Next.
- In the Completing the Hardware Update window, click Finish.
Your monitor driver should now be installed.
Hooking Up Your Wii: Using a VGA Monitor
You may want to see also
Frequently asked questions
First, check that you are using the correct cable and port. For 240Hz, you need to use an HDMI 2.0 or DP 1.2a cable. If you are using an HDMI 2.0 cable, make sure it is connected to the correct HDMI 2.0 port. If you are using a DP 1.2a cable, use the one provided by the monitor manufacturer.
Ensure that your graphics card driver is updated to the latest version and that your graphics card supports 240Hz.
Try installing the monitor driver from the official website of the monitor manufacturer.


