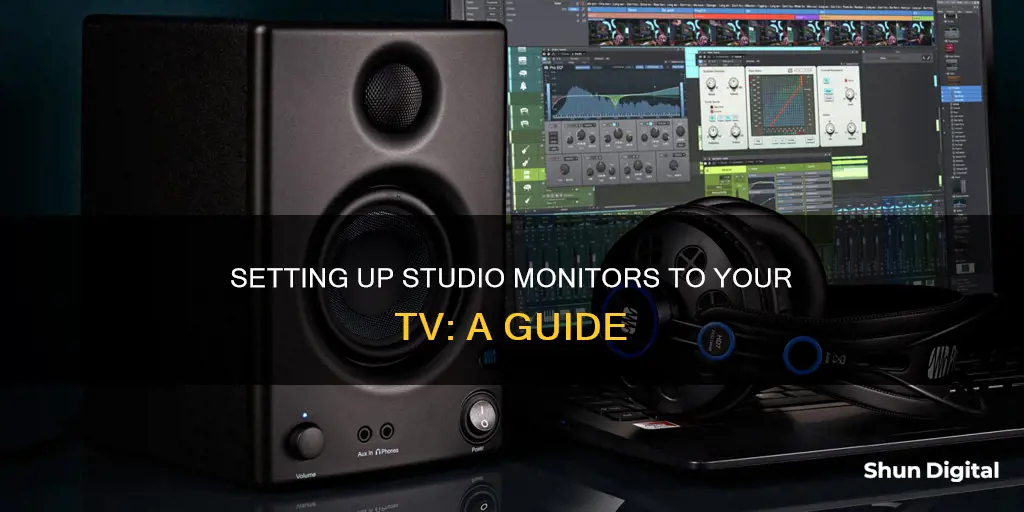
Studio monitors can be connected to a TV to improve the sound output. Before connecting your studio monitors, it is important to check the output options on your TV and the input options on your studio monitors. Most modern TVs will feature a headphone output and an RCA output, while studio monitors typically offer RCA, TRS, and XLR input options. Once you have determined the output and input options, you can choose the appropriate connection method and cables. Option 1 is to use a 1/4 to 1/8-inch male-to-male audio Y splitter cable from the TV's headphone jack to the studio monitors. Option 2 is to use a twin 1/4-inch jack-to-twin RCA phono cable from the TV's RCA outputs to the studio monitors. Option 3 is to use a digital-to-analog converter box if your TV has a digital output such as an optical connection.
What You'll Learn

Check TV and studio monitor outputs and inputs
To connect studio monitors to a TV, you need to check the outputs on your TV and the inputs on your studio monitors. This is because you will need to purchase the appropriate cables to connect the two devices.
Most modern TVs will feature a headphone output and possibly an RCA output. These outputs can be used to send the audio signal from your TV to your studio monitors. The headphone jack is a standard audio output on most phones, MP3 players, laptops, etc. The RCA output has two separate outputs, usually coloured red and white, for the left and right speaker output, respectively.
On the other hand, studio monitors typically have a 1/4-inch jack input and an XLR input. Either input will work fine, and you can test both with various cables to see if there is any difference in quality.
If your TV has an Optical output, you can use this as an option as well. However, this will require an extra piece of hardware, such as an external Digital to Analog Audio Converter, to convert the digital signal to an analog signal for your studio monitors.
Choosing the Right Monitor: Size Considerations
You may want to see also

Use a 3.5mm to 1/4 or XLR cable
Using a 3.5mm to 1/4" or XLR cable is an acceptable solution to connect studio monitors to a TV. This setup will work if your TV has a 3.5mm headphone jack output. You can then use a 3.5mm to 1/4" or XLR cable to connect to your studio monitors.
The 3.5mm jack on the cable will be inserted into the headphone output on your TV. The other end of the cable, the 1/4" or XLR jack, will be connected to your studio monitors. The red jack on the cable should be inserted into the right speaker input on the studio monitor, and the white jack into the left speaker input.
It is important to note that the sound quality from this setup may not be as good as other options, such as using a converter box from the eARC or optical output on your TV. Additionally, studio monitors are designed to provide an accurate and neutral representation of the sound, without boosting the bass or 'colouring' the sound. As a result, they may not provide the same surround sound experience as regular speakers designed for TV audio output.
Before purchasing any cables, it is essential to check the inputs and outputs on your TV and studio monitors to ensure compatibility with this setup.
Free LCD Monitor Recycling: Where and How?
You may want to see also

Use an RCA to 3.5mm cable
To connect studio monitors to your TV using an RCA to 3.5mm cable, you'll first need to identify the outputs on your TV and the inputs on your studio monitors. Most modern TVs will feature a headphone output and possibly an RCA output. Studio monitors typically offer some or all of the following connection points: RCA, TRS, and XLR.
Once you've identified the relevant outputs and inputs, you can purchase the appropriate RCA to 3.5mm cable. Make sure to get a cable that is long enough and adjustable so that you can position the speakers as desired.
Next, connect the RCA output on your TV to the 3.5mm input on your studio monitors using the cable. Match the colours at the TV end, with the red jack going into the right speaker and the white jack into the left speaker.
Finally, select the correct input on your studio monitors to match the connection type you are using. And that's it! You should now be able to enjoy improved sound quality from your TV through your studio monitors.
It's important to note that studio monitors are designed to analyse sound and provide an accurate representation for mixing and mastering tracks in a studio. As a result, they don't boost the bass or 'colour' the sound, so you may notice a difference in the sound quality compared to regular speakers.
Monitoring Home Water Usage: Smart Metering Solutions
You may want to see also

Use an optical audio cable
Using an Optical Audio Cable to Connect Studio Monitors to a TV
Firstly, you need to check the output options on your TV. Most modern TVs will feature a headphone output, and possibly an RCA output. However, if your TV is newer, it may have digital outputs, such as an optical output. This will look different from the standard headphone jack and RCA outputs, and it won't look like a hole you can plug something into.
If your TV has an optical output, you will need an external Digital to Analog Audio Converter (DAC) to convert the digital signal to an analog signal that your studio monitors can understand. This small box costs less than $10 and will connect to the optical connection on the TV via an included optical cable. The DAC converter will also need to be connected to a power source, either via a mains outlet or through the TV's USB connection.
Once the DAC converter is connected to the TV, you can then connect the box to your studio monitors. You will need to purchase either a 1/4 to 1/8-inch male-to-male audio Y-splitter cable or a twin 1/4-inch jack-to-twin RCA phono cable, depending on the inputs available on your studio monitors.
For the 1/4 to 1/8-inch male-to-male audio Y-splitter cable, insert the 1/8-inch jack into the headphone output on the DAC converter. The red jack will go into the right speaker, and the white jack will go into the left speaker. Ensure that the cable is adjustable so that you can position the speakers as desired.
If you are using the twin 1/4-inch jack-to-twin RCA phono cable, match the colours at the TV end (red and white or red and black) and connect the corresponding colours to the right and left speakers.
Finally, you may need to go into your TV sound settings and change the audio output to 'digital' for the setup to work.
Asus ROG Monitors: Premium Price, Premium Experience?
You may want to see also

Use an HDMI cable
To hook up studio monitors to a TV using an HDMI cable, you will need to take a few steps to ensure the correct connection and optimal sound quality. Firstly, it is important to understand that studio monitors are designed for near-field listening, meaning they offer the best sound quality when positioned close to the listener. If your TV setup involves sitting far away from the screen, studio monitors may not be the ideal choice for speakers.
Now, to establish the connection between your studio monitors and your TV using an HDMI cable, you will need to identify the correct ports on both devices. On your TV, look for the HDMI output port, which is typically used for connecting devices such as a PS4 or laptop. As for your studio monitors, the most common input ports are TRS and XLR, both of which are analog and balanced connections.
If your studio monitors do not have an HDMI input, you will need an adapter or converter to connect to your TV's HDMI output. One option is to use an HDMI-to-audio converter, which will allow you to connect the HDMI output from your TV to the analog inputs on your studio monitors. This type of converter can be easily found online or at electronics stores.
Once you have the necessary cables and adapters, follow these steps:
- Connect the HDMI cable to the HDMI output port on your TV.
- If using a converter, connect the converter to the HDMI cable.
- Use the appropriate cables to connect the converter or adapter to the inputs on your studio monitors. Ensure that the cables match the inputs on your monitors (e.g., TRS or XLR).
- Turn on both the TV and the studio monitors.
- Go into your TV's audio settings and select the correct output option (e.g., HDMI or headphone/audio output).
- Adjust the volume and test the sound to ensure it is working as expected.
By following these steps, you should be able to successfully connect your studio monitors to your TV using an HDMI cable, providing an enhanced audio experience for your TV setup.
Perfecting Color Calibration: LCD Monitor Guide
You may want to see also
Frequently asked questions
There are a few ways to connect studio monitors to a TV, including using a 3.5mm to 1/4" or XLR cable, an HDMI cable, an RCA to 3.5mm cable, or an optical audio cable.
The best way to connect studio monitors to a TV depends on the specific setup and preferences. Using an HDMI cable or an optical audio cable with a converter box can provide better sound quality.
Yes, if your TV has a digital output like an optical connection, you can use a digital to analog converter box to connect to the studio monitors. This option provides a slight improvement in sound quality.
Studio monitors provide an accurate and neutral representation of the original sound, which can be advantageous for film students or those seeking a realistic audio experience.
Studio monitors are designed for near-field listening, so they may not be ideal if the TV is far from the sitting area. Regular Hi-Fi speakers might be a better option in such cases.


