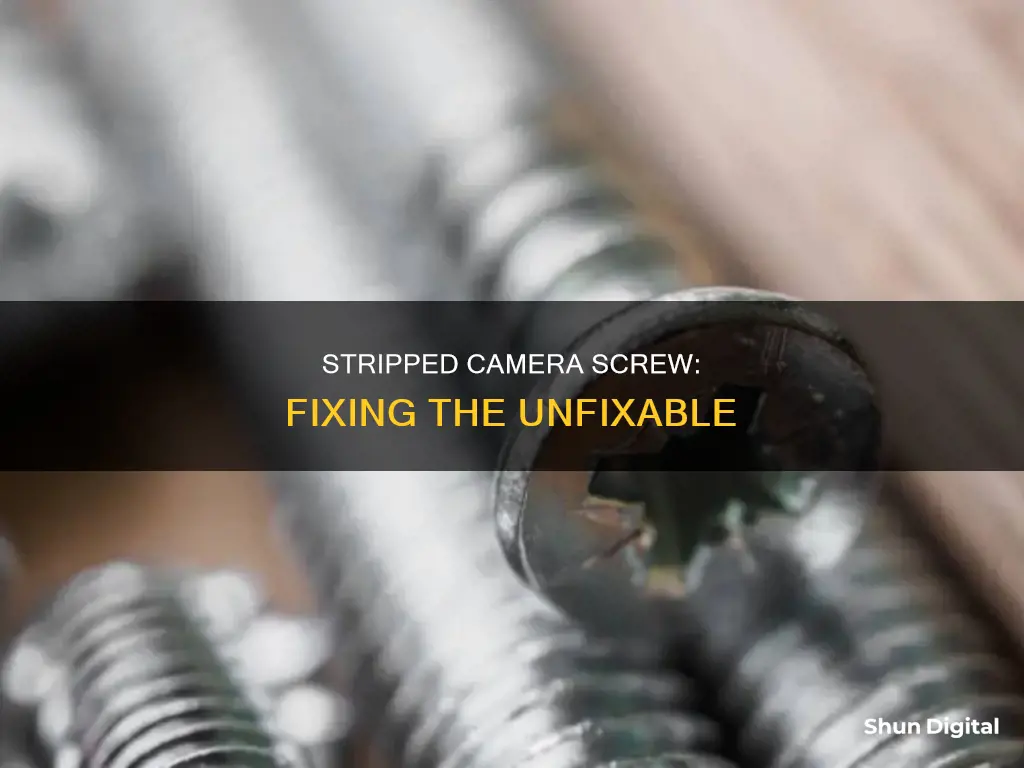
Removing a stripped screw from a camera can be a frustrating task. It requires a lot of patience and the right tools to get the job done without damaging the camera or the screw. Here are some methods to help you remove that stubborn stripped screw:
- Using a rubber band: Place a rubber band flat over the stripped screw. This will fill in the gaps and provide enough friction to unscrew it.
- Using a screwdriver: Select a screwdriver one size smaller than the stripped screw. Gently press and turn the screwdriver counter-clockwise very slowly while applying firm pressure.
- Using bonding glue: Apply a drop of bonding glue to the tip of the screwdriver and hold it against the stripped screw until the glue sets. Then, slowly turn the screwdriver counter-clockwise to remove the screw.
- Using a drill: Drill out the screw head with a tiny drill bit at a slow pace. Please note that this method will destroy the screw.
- Using a soldering iron: Apply localized heat to the screw with a soldering iron to break the glue bond, especially if the screw is glued.
How to Remove a Stripped Camera Screw
| Characteristics | Values |
|---|---|
| Required tools | Soft cloth, 100-watt lamp, hands-free magnifying glass, jeweler's screwdriver kit, needle-nose pliers, bonding glue, camel's hair brush, rubber band, drill, soldering iron, hair dryer, screw extraction kit, pliers, tweezers, dental pick |
| Techniques | Using a screwdriver one size smaller than the stripped screw, applying bonding glue to the screwdriver, using a rubber band to increase friction, drilling out the screw, heating the area of the screw, using a screw extraction kit, using pliers, using tweezers, using a dental pick |
What You'll Learn

Use a rubber band and a screwdriver
Removing a stripped screw from a camera can be a tricky task and requires patience. Here is a detailed, step-by-step guide on how to use a rubber band and a screwdriver to remove a stripped camera screw:
Firstly, prepare your workspace. Place a soft cloth on your work surface and lay out the necessary tools. You will need a rubber band, a screwdriver, a hands-free magnifying glass, and a 100-watt lamp. Position the lamp in a way that casts light on the work area, ensuring that your shadow does not obstruct the view of the screw. Use the magnifying glass to get a clear view of the stripped screw.
Now, let's move on to the rubber band and screwdriver technique. Place a wide rubber band flat over the stripped screw. Ensure that the rubber band is large enough to cover the entire screw head. The rubber band will fill in the gaps and provide the necessary friction to grip the screw.
Next, select a screwdriver that is one size smaller than the stripped screw. Place the screwdriver onto the screw head, positioning it firmly within the rubber band. Apply hard and slow force as you turn the screwdriver counterclockwise. The rubber band will help the screwdriver grip the stripped screw head, allowing you to slowly extract the screw.
If the screw still refuses to budge, you can try applying a drop of bonding glue to the tip of the screwdriver. Hold the screwdriver in place until the glue sets, and then slowly turn the screwdriver counterclockwise to remove the screw. Remember to work patiently and gently to avoid damaging the camera or the screw.
With these steps, you should be able to successfully remove the stripped camera screw using a rubber band and a screwdriver.
Stream Unifi Cameras on Apple TV: Easy Steps
You may want to see also

Try a dental pick
If you have a dental pick, you can try using it to carefully work away at the stripped screw head. Dental picks are very fine and pointed, so they can be useful for creating a slot in the screw head.
Here's a step-by-step guide on how to use a dental pick to remove a stripped camera screw:
- Place the camera on a soft cloth on your work surface, with the stripped screw facing towards you.
- Set up a bright lamp next to you and adjust its position so that the shadow of your body and the camera falls away from the stripped screw area. This will ensure that your work area is well-lit and visible.
- Use a hands-free magnifying glass to get a clear and close-up view of the stripped screw. This will help you work with more precision.
- With the dental pick, carefully start working on the screw head. Try to create a slot in the screw head by working the tip of the dental pick into one of the obliterated slots. You may need to apply some pressure and work the pick back and forth or in a slicing motion.
- Once you have created a slot, you can try using the dental pick as a tiny screwdriver. Apply firm pressure to keep the tip of the pick in the slot and slowly turn the pick counter-clockwise to back the screw out.
- If the dental pick breaks during the process, don't worry. Get a new pick and continue working. Patience is key!
- If you manage to get the screw moving, you can finish unscrewing it with the dental pick or switch to a pair of needle-nose pliers to grip the screw head and finish removing it.
Remember, working with a dental pick requires precision and patience. Take your time and be careful not to damage the camera or its surrounding components.
Exploring Live Street Cameras: A Beginner's Guide
You may want to see also

Apply bonding glue to the tip of the screwdriver
If the stripped screw still refuses to budge, it's time to get out the glue. Apply a drop of bonding glue to the tip of the screwdriver. Any strong adhesive or super glue should work. Gently insert the screwdriver into the stripped screw head and hold it there until the glue sets. Be careful not to use too much glue, as you don't want it to spill over and glue the screw to the camera.
Once the glue has set, slowly turn the screwdriver counter-clockwise. The glue should have created enough of a bond for you to begin to loosen the screw. Keep turning slowly and gently until the screw begins to come out of the camera body.
Now, grab the head of the screw with a pair of needle-nose pliers and pull it out of the hole. The screw should come out, screwdriver tip and all. You will have to discard the screwdriver, as it will now be bonded to the stripped screw.
Removing Arempji from Your Camera App: A Step-by-Step Guide
You may want to see also

Drill out the screw head
Drilling out the screw head is a last resort when removing a stripped camera screw, as it will destroy the screw. However, if other methods have failed, this technique can be effective. Here is a step-by-step guide:
Choose the Correct Drill Bit
Select a drill bit designed for metal that is slightly smaller than the stripped screw head. Using the correct size is crucial, as a drill bit that is too large may damage the camera body.
Drill Slowly and with Control
Place a soft cloth on your work surface to protect the camera. Position a lamp and a magnifying glass to improve visibility. Begin drilling into the screw head slowly and with control, applying firm pressure. Ensure you drill straight and do not go too deep, as this could cause the screw head to come off.
Use a Screwdriver to Remove the Screw
Once you have drilled a small hole into the screw head, switch to a manual screwdriver. Gently press the screwdriver into the hole and slowly turn it counter-clockwise, maintaining firm pressure. Continue turning until the screw begins to come out, then finish removing it with your fingers or needle-nose pliers.
Clean and Replace the Screw
After removing the stripped screw, clean the screw hole with a small brush. Take a new screw from your kit that matches the size of the old screw and screw it into the hole.
Camera Eclipse: How to View and Capture the Event
You may want to see also

Use a jeweller's screwdriver kit
If you have a stripped camera screw that you need to remove, one method is to use a jeweller's screwdriver kit. This process requires enormous patience if it is to be done without damaging the camera.
First, lay a soft cloth on your work surface and hold the camera so that the area with the stripped screw is facing you. Set up a 100-watt lamp next to you and position it so that the shadow from the camera and your body does not fall on the stripped screw. Adjust a hands-free magnifying glass so that you can see the stripped screw clearly through the glass.
Now, select a screwdriver from the jeweller's kit that is one size smaller than the stripped screw. Gently press the screwdriver into the stripped screw's hole and slowly turn it counter-clockwise while applying firm pressure. Keep turning slowly until the screw begins to come out. Then, grab the head of the screw with a pair of needle-nose pliers and pull it out of the camera.
If the screw still refuses to budge, try applying a drop of bonding glue to the tip of the screwdriver. Put the screwdriver into the stripped screw and hold it there until the glue sets. Then, slowly turn the screwdriver counter-clockwise until the screw comes out.
Finally, clean the screw hole with a camel's hair brush and replace the screw with a new one of the same size from the jeweller's kit. Screw it into the hole and turn off the lamp.
Smart TV Cameras: Where Are They?
You may want to see also
Frequently asked questions
Stretch a rubber band over the head of the screw and press the screwdriver into the rubber band to twist it out.
Locking pliers are one of the best ways to remove a screw from wood. Lock the pliers around the head of the screw and twist it until the screw comes out.
Using a rubber band will give you the extra support you need to remove the screw from metal.


