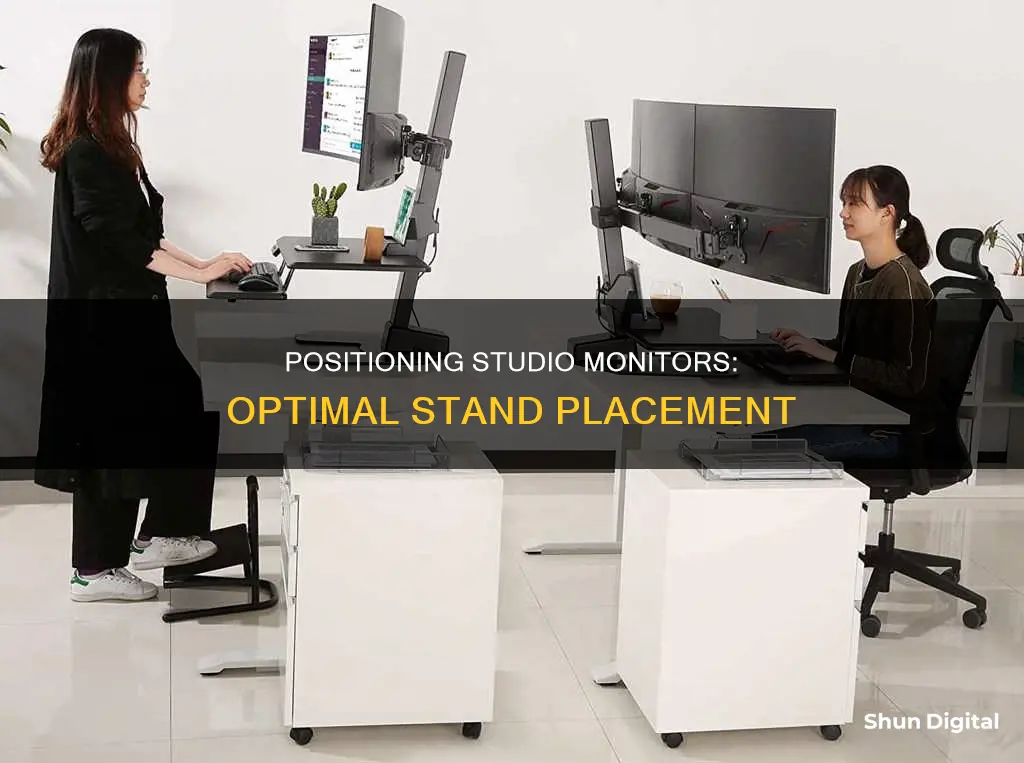
Studio monitors are the crux of any recording studio, whether you're using a spare room at home or tracking in a professional environment. Getting your monitors in the right position is key to ensuring consistent results from your mixes.
The first thing to remember is to position the monitors and your listening position (often the mixing desk) to form an equilateral triangle. This refers to positioning the left and right speakers so that they are equidistant from each other and the listener, forming an equal-sided triangle. This setup helps create an accurate stereo image and allows the listener to experience the most accurate representation of the audio being played, minimizing phase issues and discrepancies in frequency response.
Another crucial point to consider is the height of the monitors. Place the monitors at ear level or slightly above to direct the sound accurately towards your ears, reducing unwanted reflections from surfaces. If your desk is too high or too low for your speakers, you can use height-adjustable monitor stands to adjust everything in your configuration.
Additionally, it is important to avoid placing monitors directly against walls or corners as it can lead to a buildup of low-frequency energy and cause uneven frequency distribution, imbalanced stereo imaging, and increased likelihood of sound reflections and phase cancellation. If you have limited space and need to place your monitors close to walls, try to maintain a distance of between 5 and 60 cm from the walls to avoid the worst opposite waves and sound cancellation.
Finally, it is recommended to use stands instead of placing the monitors directly on the desk to avoid unwanted early reflections caused by the desktop and prevent one monitor's vibrations from affecting the other.
What You'll Learn

Position the monitors at ear level
To get the best sound from your studio monitors, you need to position them at ear level. This is the optimal height for listening and will ensure the sound is directed straight into your ears, reducing unwanted reflections from other surfaces.
If your desk is too high or too low for your speakers, you can use height-adjustable monitor stands to correct this. This is the best option if you want to be able to adjust your setup. You can also use speaker stands to elevate your monitors if your desk setup won't allow you to get your monitors high enough.
The ideal setup for correct stereo imaging is to have your listening position and monitor placements create three points of an equilateral triangle, with the monitors turned in towards your ears at a 30-degree angle.
If you are using ITU Standard Monitors, these should be positioned anywhere from 47 to 55 inches from the ground, right at ear level. They should never be tilted more than 15 degrees from the ground.
If you are using near-field monitors, these are designed to be used at close range and can be placed within two feet of the listener.
If you are using high-frequency speakers, it is important to point them directly towards your ears as these are the most directionally influenced.
Resetting Your Blind Spot Monitor: A Step-by-Step Guide
You may want to see also

Avoid placing monitors directly against walls or corners
Placing studio monitors directly against walls or corners should be avoided to prevent a buildup of low-frequency energy. This is due to the reinforcement of bass frequencies caused by the proximity of the walls.
Corner placement can cause an uneven frequency distribution. Mid and high frequencies may be less affected, but low frequencies can become boomy or overpowering due to the way sound waves interact in corners, leading to an inaccurate representation of your audio.
It may also cause a skewed stereo image, where one side seems louder or imbalanced compared to the other. Corner placement can increase the likelihood of sound reflections and phase cancellation, especially in the low-frequency range. These issues can interfere with the clarity and accuracy of what you’re hearing, impacting your ability to make precise mixing and mastering decisions.
To avoid this issue, it is recommended to place your monitors between 5 and 60 cm from walls. This will avoid the worst opposite waves and sound cancellation. Another solution is to put absorbers on the surface behind the monitors to trap some reflections.
Additionally, it is important to remember that the thicker the foam is, the more it is theoretically capable of absorbing. If your room is rectangular, you should prioritise one of the long walls as the one your listening position will be centred against to help minimise potential reflections from the side walls.
Monitoring Spring WebService Performance: A Comprehensive Guide
You may want to see also

Ensure the tweeters are pointed directly at your ears
To ensure the tweeters are pointed directly at your ears, the studio monitors should be placed at ear level. This is considered the ideal height for studio monitors as it helps direct the sound accurately towards your ears, reducing unwanted reflections from surfaces.
If your desk is a bit high or too low for your speakers, you can use height-adjustable monitor stands to achieve the desired height. This is the ultimate option if you want to be able to adjust everything in your configuration.
The ITU Standard for studio monitor height is for them to be placed anywhere from 47 to 55 inches from the ground, right at ear level, and never tilted more than 15 degrees from the ground. This is to ensure the tweeters are pointed directly at your ears.
If you are using near-field monitors, which are designed to be used at close ranges, you will want to place them under two feet of space from the listener. This will allow you to listen with a low volume while reducing the influence of your surroundings.
Additionally, you will want to avoid placing your studio monitors on your desktop as this can cause unwanted vibrations and smear and muffle your audio. Instead, opt for stand mounts for your setup.
Using Dual Monitors: Impact on Productivity and Performance
You may want to see also

Place the monitors on stands to avoid unwanted vibrations
Placing studio monitors on stands is an important step in achieving optimal sound. Here are some tips to place your monitors on stands to avoid unwanted vibrations:
Use Monitor Stands
Monitor stands are crucial to achieving the correct listening position and optimal sound. They allow you to adjust the height and position of your monitors for better sound accuracy. It is recommended to place your monitors on stands rather than directly on your desk or console to avoid unwanted early reflections and vibrations from the surface.
Find the Ideal Height
The ideal height for your studio monitors is usually at ear level or slightly above. This ensures that the sound is directed accurately towards your ears, reducing unwanted reflections from other surfaces. The standard height for studio monitors is typically between 47 to 55 inches from the ground, but you can adjust this based on your specific setup and preferences.
Avoid Placing Monitors Directly on the Desk
Placing your monitors directly on your desk or meter bridge can smear and muffle your audio. Sound waves travel quickly through materials like wood, causing you to feel the sound from the desk before you hear it in the air. To avoid this issue, use stand mounts or isolation stands to decouple your monitors from the desk surface.
Adjust the Angle and Tilt
It is important to angle and tilt your monitors correctly to ensure the sound reaches your ears directly. The monitors should be positioned to form an equilateral triangle with your head, with each monitor tilted at a 30-degree angle towards your listening position. Additionally, ensure that the tweeters of the speakers are pointed directly at your ears for accurate high-frequency sound reproduction.
Maintain Distance from Walls
To minimize unwanted reflections and vibrations, maintain a sufficient distance between your monitors and the walls. The ideal distance for most home studios is approximately two to three feet away from the wall, but this may vary depending on your specific setup. If you have a small room, aim to place your monitors as far from the walls as possible, even if it's just a few inches.
By following these tips and adjusting your setup based on your specific room and equipment, you can effectively place your studio monitors on stands to avoid unwanted vibrations and achieve optimal sound quality for your recordings.
The Ankle Monitor Conundrum: How Long Do They Last?
You may want to see also

Adjust the monitors to get the best sound
Now that you have set up your studio monitors, it is time to make some final adjustments to get the best sound.
Listen to music that you know sounds great on lots of systems, and see if it sounds great on your speakers. If not, then move your speakers around until they sound closer to what you know the music should sound like. If there is too much bass, then move the speakers away from boundaries (walls, corners, etc.), which will reduce the low end. If there are adjustments on the speakers (such as high-frequency boost/cut, low-frequency boost/cut, low-frequency roll-off, etc.), then adjust those until the speakers sound "right" to you. The point is to have your mixes translate into the real world. So, adjust your speakers until they sound like what you end up hearing outside the studio, and you'll have a better chance of getting mixes that sound good on the majority of systems.
If your room has a lot of acoustic issues, you can also use acoustic treatment to improve the sound. A professional studio will usually have the luxury of room design expertise and a wealth of acoustic treatments. The project studio owner, on the other hand, typically makes do with off-the-shelf monitors in an existing room and minimal acoustic treatment materials. Every room will require some form of acoustic treatment.
If you've ever listened to music in an empty, uncarpeted room, this is clearly demonstrated. Fitting a room with carpet is probably the most significant thing you can do to control room reverb behaviour. Without spending a fortune, you can fine-tune your listening environment by adding squares of acoustic foam on the sidewalls to either or both sides of your listening position to help minimize flutter echoes and clean up the stereo imaging. If you're working in a room with a low ceiling, a foam square mounted to the ceiling above the mixing board or console will help tame ceiling reflections. You may also want to mount some acoustic foam behind your monitors if they are positioned close to the wall in a small room. Avoid over-treating the walls, as this can lead to a "boxy" or "honky" sounding room.
Now that you've found the "sweet spot", set up your monitors, and considered acoustic treatments, it's a good idea to do some listening tests with some of your favourite, professionally recorded music. This will help verify that you've achieved a natural balance within the room across the frequency spectrum and alert you to any "hot spots". It's also a good practice to create some original recordings without using any EQ to test on other systems to check the accuracy of your monitoring setup. If your recording sounds too bass-heavy — or conversely lacking low end — on another system, you will know that you need to make adjustments to your monitor placements to correct problems and increase the accuracy of your mixes.
Removing Dead Bugs from LCD Monitors
You may want to see also
Frequently asked questions
Position the monitors so that they form an equilateral triangle with your head. The tweeters should be at ear level, pointing directly at your ears.
The distance between your tweeters should be 67 1/2 inches for optimal stereo imaging.
The ideal distance is two to three feet, but if your room is small, place them as far away as you can.


