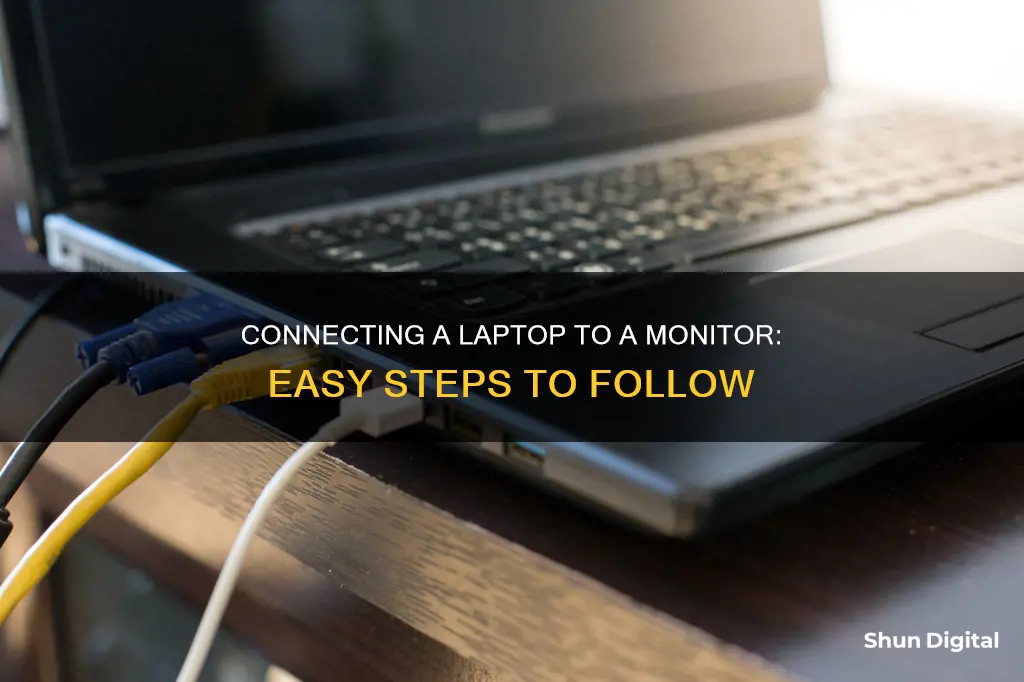
Connecting your laptop to a monitor is a great way to expand your screen space and enhance your viewing experience. Whether you're a gamer or just looking for some extra space to work with, hooking up a monitor to your laptop is a simple process that can make a big difference. With the right cable and a few easy steps, you can have your laptop connected to a monitor in no time!
| Characteristics | Values |
|---|---|
| Laptop-to-monitor connection | HDMI cable, USB-C cable, DisplayPort cable, Thunderbolt cable, DVI cable, VGA cable |
| Laptop video output options | HDMI, DisplayPort, USB-C, VGA, DVI |
| Monitor video input options | HDMI, USB-C, DisplayPort, VGA, DVI |
| Display options | Duplicate, Extend, Show only on 1, Show only on 2 |
| Primary display | Monitor 1 (laptop's built-in screen) |
What You'll Learn

Identify the ports on your laptop and monitor
Identifying the ports on your laptop and monitor is crucial to ensure a successful connection. Here's a detailed guide to help you with this process:
Laptop Ports:
Laptops typically have a variety of ports, and the specific ones available depend on the make and model of your device. Here are some common laptop ports and their characteristics:
- USB ports: USB, which stands for Universal Serial Bus, is one of the most common ports found on laptops. They are used for file transfers, connecting peripherals, and sometimes serve as a charging point. USB-A and USB-C are the most common types, with USB-C being newer and reversible. USB 3.0 ports, now known as USB 3.2 Gen 1, are often blue and offer faster transfer speeds than USB 2.0.
- HDMI port: HDMI ports are commonly found on laptops and transmit both video and audio. They are used to connect your laptop to external displays, such as monitors or TVs.
- DisplayPort: DisplayPorts are less common on laptops but are used for transmitting video and audio signals to external displays. They are similar in shape to HDMI ports but have one flat side on the connector.
- Thunderbolt: Thunderbolt is a high-speed connection developed by Intel. Thunderbolt 3 uses the USB-C physical interface and offers data transfer speeds of up to 40Gbps. It is also compatible with DisplayPort connections.
- RJ-45 Ethernet port: This port allows you to connect your laptop to the internet through an Ethernet cable. It has an 8-pin, 8-contact connector and may have LED lights indicating packet detection and transmission.
- VGA port: VGA ports are older and less common nowadays, but they were once used for connecting to external displays. If your laptop has a VGA port, you may need an adapter to connect to modern monitors.
Monitor Ports:
When it comes to monitors, the most common ports you'll encounter are HDMI and DisplayPort. However, some monitors may also have other port options, such as:
- USB ports: Some monitors may have USB hubs built-in, allowing you to connect peripherals like keyboards, mice, or storage devices directly to the monitor.
- DVI port: DVI (Digital Visual Interface) ports are another type of video connection that was commonly used in the past. However, they are less common nowadays, and you may need an adapter to connect to laptops with newer port types.
- VGA port: As mentioned earlier, VGA ports are older but may still be found on some monitors. VGA connections typically result in lower-quality video output compared to HDMI or DisplayPort.
Identifying Ports:
To identify the ports on your laptop and monitor, examine the shape and characteristics of the connectors. Here are some tips:
- HDMI and DisplayPort connectors look similar but can be distinguished by the shape of their sides. HDMI ports have two slanted sides, while DisplayPort connectors have one flat side.
- USB-A ports are typically oblong-shaped with right-angle corners and are non-reversible.
- USB-C ports are smaller, slimmer, and reversible, with rounded corners.
- Thunderbolt 3 ports using the USB-C interface will have a thunderbolt symbol (⚡) next to the port.
- VGA ports are usually blue and have three rows of pins (15 pins total) surrounded by screws.
- DVI ports are typically white and have a single large connector with multiple smaller connectors arranged in a grid pattern.
Remember, the specific ports available on your laptop and monitor may vary, and older devices may have different port options compared to newer ones. Always check the specifications or user manual provided by the manufacturer to identify the exact ports and their capabilities.
HP Monitor Options: Sizes and Features Explored
You may want to see also

Choose the right cable
Choosing the right cable is crucial for successfully connecting your laptop to your monitor. The cable you select will depend on the type of laptop and monitor you have, as well as the resolution and refresh rate you want to achieve. Here are the factors you need to consider when choosing the right cable:
Identify the Ports on Your Devices
Before purchasing a cable, you need to identify the ports available on your laptop and monitor. Common ports on laptops include HDMI, USB-C, DisplayPort, Thunderbolt, and VGA. On older desktop monitors, you may find VGA, HDMI, and DVI ports, while laptops usually offer Thunderbolt, USB-A, or HDMI ports. If your laptop and monitor don't have matching ports, you may need to purchase an adapter.
Select the Right Cable for Your Ports
Once you know the ports available on your devices, you can choose the appropriate cable. If both your laptop and monitor have HDMI ports, for example, you can use an HDMI cable to connect them. HDMI cables are the most popular choice for video connections and offer clear results. They support standard, enhanced, and high-definition video output.
Consider Resolution and Refresh Rate
In addition to port compatibility, you need to ensure that your chosen cable can support the resolution and refresh rate you require. For instance, a standard 18Gbps HDMI cable can handle 4K at 60Hz, but if you're a gamer, you may want to opt for a 48Gbps HDMI cable that can transmit 4K at up to 120Hz.
Use an Adapter if Needed
If your laptop and monitor don't have matching ports, you may need to use an adapter to make the connection. For instance, if your laptop has a USB-C port and your monitor has an HDMI port, you can use a USB-C to HDMI adapter. Adapters are readily available to convert between different connection types, such as VGA, HDMI, DisplayPort, and Thunderbolt.
Check Cable Length
When selecting a cable, consider the distance between your laptop and monitor, and choose a cable that comfortably reaches between the two devices.
Verify Compatibility and Quality
Always check the compatibility and quality of the cable or adapter you choose. Ensure that the cable or adapter is compatible with your laptop's graphics card and the monitor's inputs. By considering these factors, you can make an informed decision and achieve a stable and seamless connection between your laptop and monitor.
Monitoring Water Usage: A Guide for Property Owners
You may want to see also

Connect your laptop to the monitor
Connecting your laptop to a monitor can be a great way to expand your screen space, improve your resolution, and enhance your productivity. Here's a step-by-step guide to help you set up your laptop with an external monitor:
Step 1: Identify the Ports and Cables
The first step is to identify the video output ports on your laptop and the video input ports on your monitor. Common ports include HDMI, DisplayPort, USB-C, VGA, and Thunderbolt (usually on Apple devices). Make sure you have the appropriate cable to connect your laptop and monitor. If they have different ports, you may need to get an adapter, such as HDMI to DisplayPort or USB-C to HDMI.
Step 2: Connect the Cable
Once you have the correct cable or adapter, connect one end to your laptop's video output port and the other end to the monitor's video input port. Ensure that the cable is securely plugged into both devices.
Step 3: Power On the Monitor
Plug your monitor into a power source and turn it on. If your laptop doesn't automatically detect the monitor, you may need to manually initiate the connection. On a PC, you can do this by right-clicking on your desktop, selecting "Display Settings," and then clicking "Detect." On a Mac, go to "System Preferences" or "System Settings, click on "Displays, and then hold down the "Option" key while clicking "Detect Displays."
Step 4: Set Up Display Preferences
After your laptop and monitor are connected, you can choose how you want to use your displays. You can usually access these settings through the display or system preferences. You have several options:
- Duplicate displays: This shows the same image on both your laptop and the monitor.
- Extend displays: This treats the two screens as one large desktop, allowing you to move your cursor and windows between them.
- Show only on 1 or 2: This lets you choose to display content only on your laptop or only on the external monitor.
Step 5: Configure Settings
Depending on your setup and preferences, you may need to configure additional settings. For example, if you're using the monitor as your primary display, you may want to adjust the orientation of the screens or change the position of the monitor icons to match their physical arrangement. You can also adjust the resolution, text size, and other display settings to ensure optimal viewing.
By following these steps, you should be able to successfully connect your laptop to an external monitor and take advantage of the benefits of a dual-screen setup!
Monitoring Xbox Usage: Mbit's Parental Control Guide
You may want to see also

Set up display preferences
Setting up your display preferences is a straightforward process, but it can vary depending on whether you're using a Windows laptop or a MacBook.
Windows
If you're using a Windows laptop, first identify the ports on your laptop. Common ports include HDMI, USB-C, and DisplayPort. Once you've identified the port, you can purchase the appropriate cable to connect your laptop to the monitor.
After connecting the monitor, you can adjust your display settings. Right-click on your desktop and select "Display Settings". From there, you can choose whether you want your two screens to mirror each other or extend your desktop. If you choose to extend your desktop, you can also drag and drop the monitor icons to match their physical positions.
MacBook
For MacBook users, the process is similar. First, identify the ports on your laptop. MacBooks typically use USB-C or Thunderbolt connections. You may need to purchase an adapter if your MacBook and monitor do not have compatible ports.
Once you've connected the monitor, open System Preferences and select "Displays". Here, you can choose whether to mirror your screens or use the second screen as an extended desktop. To adjust the position of the displays relative to each other, click and drag the display boxes. To change the primary display, simply drag and drop the white rectangle onto the desired display.
Mirroring Android to LCD: Easy Ways to Connect and View
You may want to see also

Use an adapter if needed
If your laptop and monitor have different ports, you will need to use an adapter. Common adapters include HDMI to DisplayPort, DisplayPort to VGA, and USB-C to HDMI. Purchase the appropriate adapter for your setup and then connect your laptop and monitor using the adapter and a compatible cable.
For example, if your laptop has a USB-C port and your monitor has an HDMI port, you will need a USB-C to HDMI adapter. If your laptop has a DisplayPort and your monitor uses VGA, then you will need a DisplayPort to VGA adapter.
Adapters are widely available and can be purchased anywhere that electronics are sold.
Calibrating Your ASUS Monitor: Perfect Color Display
You may want to see also
Frequently asked questions
The most common ports are HDMI, DisplayPort, VGA, and USB-C. You will need to get a cable that matches the sockets on your laptop and monitor.
You can use an adapter to connect two different technologies, such as a USB-C to HDMI adapter, or an HDMI to VGA adapter.
Plug one end of the cable into your laptop's video port, and the other end into your monitor's video input port.
Once connected, your laptop should automatically detect and start using the monitor. If it doesn't, you can manually detect it by going into your laptop's display settings.
You can choose to either mirror or extend your displays. Mirroring will show the same output on your laptop and monitor. Extending will use the second monitor as a continuation of your desktop space, allowing you to drag windows between screens.


