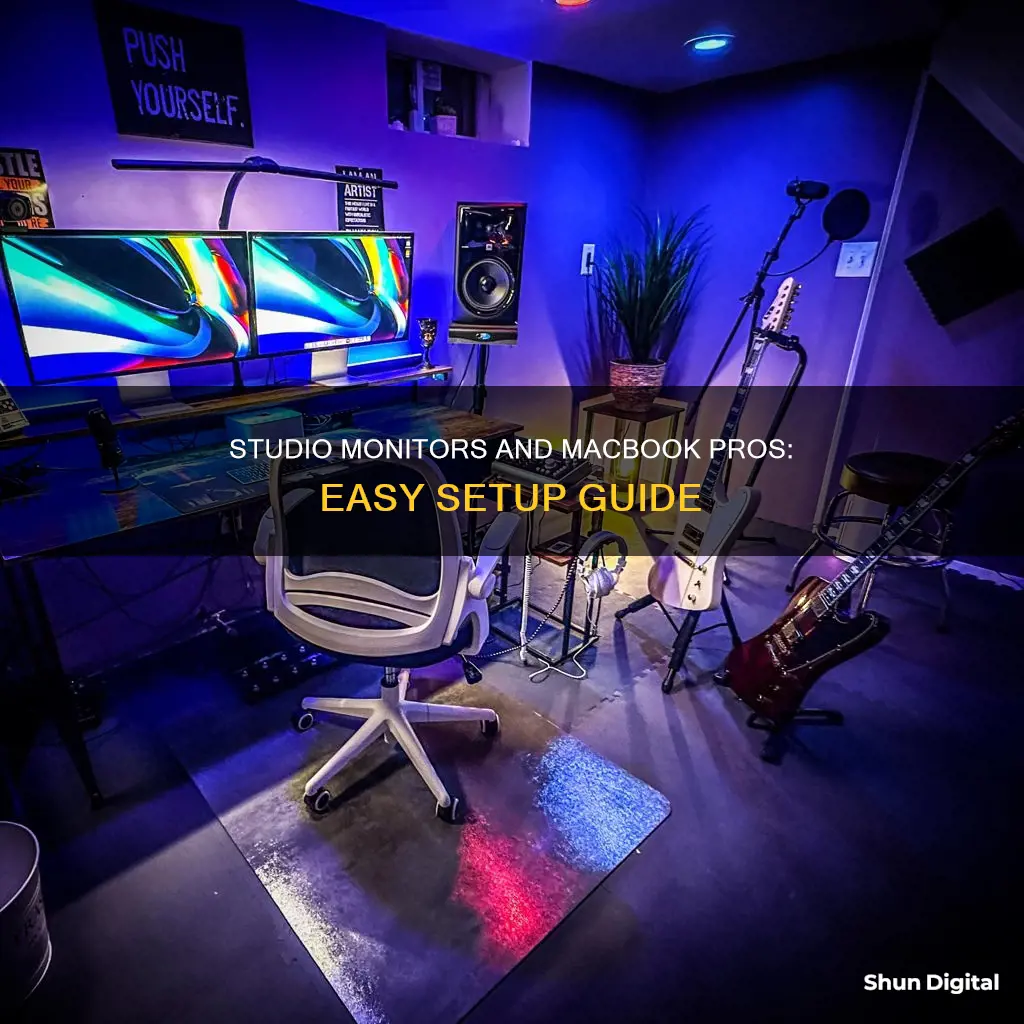
There are several ways to hook up studio monitors to a MacBook Pro. One way is to use a headphone-to-RCA or 1/4 cable, which is a cheap and quick solution. Another way is to use an audio interface, which offers improved audio quality and allows for connections to microphones and instruments. Additionally, an audio interface provides a convenient volume control knob for the speakers. To connect an audio interface, simply use a USB cable to connect the computer to the interface, and then use balanced 1/4 TRS cables to connect the interface to the speakers. It is important to ensure that the cable is long enough, as this can be a common issue when setting up studio monitors.
What You'll Learn

Using a headphone jack-to-RCA cable
If your studio monitors only have RCA inputs, you will need a 3.5 mm (1/8-inch) stereo connector (for your MacBook Pro) that splits into two mono cables with connectors for the left and right speaker. This is a cheap and quick way to connect your MacBook Pro to your studio monitors.
Firstly, plug the 3.5 mm stereo jack into the headphone port on your MacBook Pro. Then, connect the RCA jacks to the speakers. The red connector is for the right channel input, and the black connector is for the left channel input.
You can also use a 1/8" to 1/4" cable to connect your MacBook Pro to your studio monitors. Simply plug the headphone jack into your MacBook Pro, the red 1/4" connector into the right speaker, and the black 1/4" connector into the left speaker.
However, it is worth noting that using the headphone jack on your MacBook Pro may not be the best method for connecting to your studio monitors. The sound card on your computer might be of low quality. To get better sound quality, you may want to invest in an external audio interface.
LCD Monitors: Can They Connect to Wi-Fi?
You may want to see also

Using a headphone jack-to-1/4 cable
First, make sure you have the correct cable. You'll need a headphone jack-to-1/4" cable, which will allow you to connect your MacBook Pro's headphone jack to the 1/4" inputs on your studio monitors. You can find these cables at most electronics stores or online.
Once you have the cable, follow these steps:
- Connect the headphone jack end of the cable to the headphone port on your MacBook Pro.
- Take the 1/4" end of the cable and connect it to the corresponding input on your studio monitor. The red connector is typically for the right channel, and the black or white connector is for the left channel.
- If your studio monitors have two inputs (one for left and one for right), you may need to split the cable. Make sure to connect the red connector to the right input and the black or white connector to the left input.
- Adjust the volume and audio settings on your MacBook Pro to your preferred level.
That's it! Using this method, you can quickly and easily connect your MacBook Pro to your studio monitors without any additional equipment. This setup is perfect for casual listening or basic audio tasks. However, if you're looking for higher sound quality or more advanced audio capabilities, you may want to consider using an audio interface, which offers improved audio quality and additional inputs for microphones and instruments.
Connecting a Monitor to Your Vizio TV: A Step-by-Step Guide
You may want to see also

Using an audio interface
Here's a step-by-step guide on how to connect your studio monitors to your MacBook Pro using an audio interface:
- Choose the Right Audio Interface: Select an audio interface that suits your needs and budget. Popular options include the Focusrite Scarlett 2i2, Solid State Logic SSL2+, and Universal Audio Volt 276.
- Connect the Audio Interface to Your MacBook Pro: Use a USB cable to connect the audio interface to your MacBook Pro. The USB cable will typically connect to the audio interface via a USB or FireWire 400 port.
- Connect the Audio Interface to Your Studio Monitors: Use balanced 1/4" TRS cables to connect the audio interface to your studio monitors. Connect the 1/4" outputs of the audio interface to the 1/4" inputs of your studio monitors.
- Set Up Your Audio Preferences: Go to Apple icon > Preferences > Sound on your MacBook Pro. Set the audio interface as the master input and output device for your Mac. This will ensure that all audio from your Mac is routed through the audio interface.
- Adjust Audio Levels: Use the volume control knob on your audio interface to adjust the volume of your studio monitors. You can typically control the volume of both speakers and individual speakers.
- Connect Additional Devices: Audio interfaces also allow you to connect microphones, instruments, and headphones. Use the appropriate inputs and outputs on the audio interface to connect these devices.
- Consider Balanced vs. Unbalanced Cables: Balanced cables, such as TRS (Tip-Ring-Sleeve) cables, provide improved audio quality and noise reduction. They are recommended for studio use. Unbalanced cables, such as TS (Tip-Sleeve) cables, are more susceptible to noise and interference.
By following these steps, you can easily connect your studio monitors to your MacBook Pro using an audio interface, resulting in improved audio quality and additional connectivity options for your music production setup.
Setting Up Saffire: Monitor Connection Guide
You may want to see also

Using a mixer
Step 1: Choose the Right Mixer
First, you need to select an appropriate mixer for your setup. There are many options available, such as the Behringer Xenyx Q1202 USB, Focusrite Scarlett 2i2, or the Mackie Mix5. Consider your specific needs and budget when making your choice.
Step 2: Connect the Mixer to Your MacBook Pro
Once you have your mixer, it's time to connect it to your MacBook Pro. Most mixers will connect to your laptop via a USB or FireWire 400 cable. Simply plug the cable into your MacBook Pro's USB port and the corresponding port on your mixer.
Step 3: Connect the Studio Monitors to the Mixer
Now, you'll want to connect your studio monitors to the mixer. This is usually done using 1/4" TRS cables. Connect one end of the cable to the output on your mixer, and the other end to the input on your studio monitor. Make sure to match the left and right channels correctly.
Step 4: Adjust the Settings
With your hardware connected, it's time to adjust the settings to ensure everything works correctly. On your MacBook Pro, go to the Apple icon > Preferences > Sound. Here, you can set your mixer as the master input and output for your Mac. This will ensure that any audio played on your MacBook Pro will be output through the mixer.
Step 5: Test the Setup
Now it's time to test your setup! Play some music or audio on your MacBook Pro and ensure that it is playing through your studio monitors, as expected. You may need to adjust the volume levels on both your MacBook Pro and the mixer to get the desired sound.
Step 6: Advanced Options
If you want more control over your audio, you can explore the features of your mixer. Many mixers offer options for balancing the sound, adjusting the EQ, and even adding effects. Play around with these settings to get the most out of your studio monitor setup.
How VMware's Hardware Usage Monitor Optimizes Performance
You may want to see also

Using an audio breakout box
To do this, you'll need to build a breakout box that allows you to connect the components of your choice to the single audio port on your MacBook Pro. Here's a step-by-step guide on how to do it:
- Get a suitable breakout box: You can either purchase a pre-made audio breakout box or build your own. If you're building your own, you'll need a suitable enclosure and the necessary connectors.
- Connectors: You'll need a 4-conductor 1/8" jack that matches the audio connector on your MacBook Pro. This jack has four contacts, allowing for both input and output functionality.
- Wiring: Wire the RCA jacks inside the breakout box to the Apple headphone wires. Solder the connections and ensure they are secure.
- Testing: Once you've made the connections, test the setup by patching the pickup of your guitar to the mic connector on the breakout box. Send the signal through your MacBook Pro and run the output back to your guitar amp.
- Software settings: Ensure that your MacBook Pro's audio settings are configured correctly. Go to System Preferences > Sound and set the audio input and output accordingly.
- Additional considerations: As mentioned in the previous section, you may need to adjust the gain and volume levels on your guitar amp and MacBook Pro to get the best sound quality.
By following these steps, you'll be able to use an audio breakout box to connect your studio monitors to your MacBook Pro, allowing for both input and output functionality through the single audio port.
How to Monitor Data Usage on iPhone 6
You may want to see also
Frequently asked questions
You can use a headphone-to-dual RCA or 1/4" cable to connect your MacBook Pro to studio monitors. If you want a higher-quality connection, you can use an audio interface.
Using a cable is a quick, cheap way to connect your MacBook Pro to studio monitors. However, using an audio interface offers improved audio quality and allows you to connect microphones and instruments to your computer.
You will need a 1/8" to RCA cable or a 1/8" to 1/4" cable, depending on the inputs on your studio monitors. Make sure to buy the 10' version of the cable, as shorter cables may be too short.


