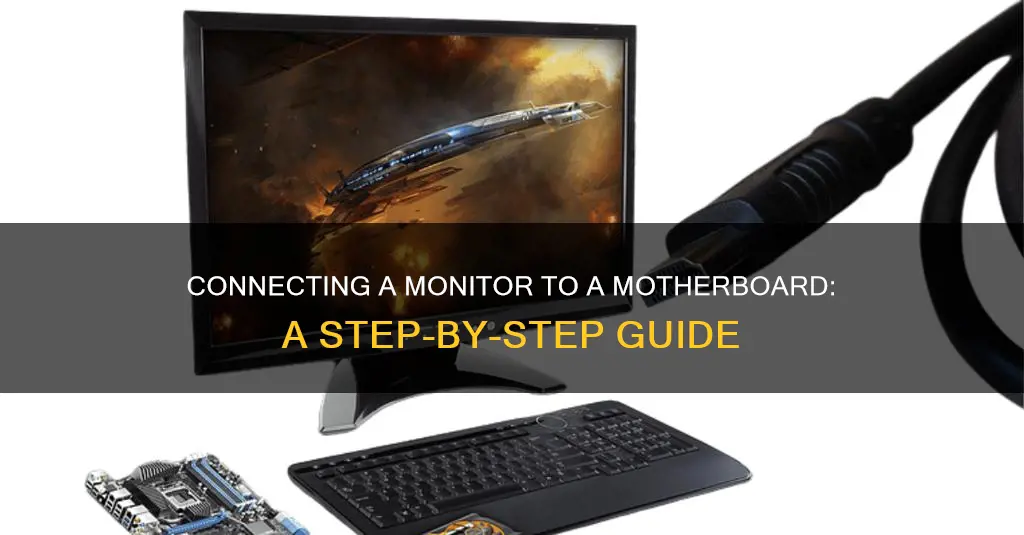
Setting up dual monitors with a GPU and motherboard can significantly improve your productivity and gaming experience. However, the process can be daunting if you're unfamiliar with the basics of GPUs, motherboards, and their ports. This guide will walk you through the steps to successfully connect dual monitors to your GPU and motherboard, covering topics such as understanding the basics, identifying the correct ports, connecting the monitors, configuring display settings, and troubleshooting common issues. By the end, you'll be able to enhance your setup and enjoy the benefits of increased screen real estate for multitasking or immersive gaming.
What You'll Learn

Identifying the correct ports on your motherboard and monitor
To connect a monitor to your motherboard, you will need to identify the correct ports on both your motherboard and your monitor. This can be a bit tricky, as there are several different types of ports that can be used for this purpose. Here is a detailed guide to help you identify the correct ports:
Motherboard Ports:
The most common type of port used to connect a monitor to a motherboard is the Video Graphics Array (VGA) port. This port carries an analog signal and can provide a relatively high range of video resolutions. However, the video quality is heavily dependent on the cable quality, especially at higher resolutions. The VGA port is usually easy to identify, as it is typically coloured blue and has a trapezoidal shape.
Another option is the Digital Visual Interface (DVI) port, which transmits a digital video signal and is commonly used for older systems or when a high refresh rate is required at 1080p resolution. DVI ports can also come in Single Link or Dual Link varieties, with the latter supporting higher resolutions.
For modern systems, you may also have a High-Definition Multimedia Interface (HDMI) port, which can transmit both audio and video signals in a single cable. HDMI is commonly used for connecting HDTVs, DVD players, and video game systems.
Additionally, some motherboards may have a DisplayPort (DP), which is similar to HDMI but can transmit higher resolutions and refresh rates. DisplayPort is often used for connecting high-end gaming monitors.
Monitor Ports:
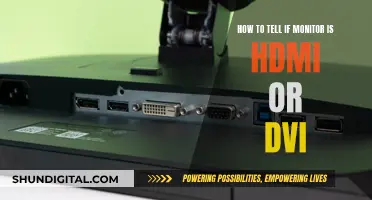
On your monitor, you will likely have one or more of the following input ports: VGA, DVI, HDMI, DisplayPort, or USB-C. Refer to the list above for a description of each port type and their respective advantages.
It's important to note that not all monitors and motherboards will have the same ports, so you may need to use an adapter or converter to make the correct connection. For example, if your motherboard only has a VGA port but your monitor only has HDMI, you may need to purchase a VGA-to-HDMI adapter.
In summary, the key to identifying the correct ports is to understand the different types of ports available and their respective advantages and limitations. By matching the ports on your motherboard and monitor, you can ensure a successful connection and enjoy the best possible display quality.
Spin Bike Upgrade: Monitor Setup Guide
You may want to see also

Using the right cables for your motherboard and monitor
To connect a monitor to a motherboard, you need to use the right cables. The type of cable you need will depend on the ports available on your motherboard and monitor. Here is a detailed guide on choosing the right cables for your setup:
Types of Ports and Cables:
Before purchasing any cables, it is crucial to identify the ports available on your motherboard and monitor. Common types of ports found on motherboards include VGA (Video Graphics Array), DVI (Digital Visual Interface), HDMI (High-Definition Multimedia Interface), and DisplayPort. On the other hand, laptops usually have limited options such as Thunderbolt, USB-A, or HDMI ports.
Matching Ports for Easy Connection:
The easiest scenario is when the specs of the ports match on both the motherboard and the monitor. For example, if both your motherboard and monitor have VGA connections, you can simply use a VGA cable to connect them. The same goes for HDMI ports; if both devices have HDMI ports, an HDMI cable will do the trick.
Using Adapters for Mismatched Ports:
However, what if your setup has mismatched ports, such as a VGA connection on your monitor and an HDMI port on your motherboard? In such cases, you will need to use adapters to ensure a proper connection. For instance, you can use a DVI adapter to connect a VGA port to an HDMI port. VGA adapters are also available for converting VGA to more modern connection types like HDMI or DisplayPort, ensuring compatibility with newer devices.
Choosing the Right Cable for Your Needs:
When selecting a cable, it is essential to consider the desired resolution and performance. HDMI cables are an excellent choice for better and clearer results, supporting various video output standards, including high-definition. DisplayPort is another reliable option, known for its high bandwidth and versatility, supporting audio, video, and even multiple displays.
Checking for Open Ports and Compatibility:
Before purchasing any cables or adapters, always check for open ports on your motherboard and monitor. Use an HDMI cable if both devices support HDMI, and opt for a DisplayPort cable if both have DisplayPort ports. If there is a mismatch in ports, ensure you have the necessary adapters for a stable and seamless connection.
Cable Length and Distance Considerations:
When choosing cables, consider the distance between your motherboard and monitor. Allow for sufficient cable length to ensure a comfortable setup. Additionally, always verify the compatibility and quality of the cables and adapters to ensure a smooth connection.
Triple Monitor Setup: Choosing the Right Screen Size
You may want to see also

How to connect a second monitor to your motherboard
Setting up a second monitor can significantly enhance your work or gaming experience by increasing your screen real estate and allowing you to multitask with different applications or windows open on each monitor. Here's a step-by-step guide on how to connect a second monitor to your motherboard:
Step 1: Check Your Motherboard's Capabilities
Before setting up a second monitor, it's essential to determine whether your motherboard supports dual monitors. Most modern computers' motherboards support multiple monitors, but older machines may not. You can check your motherboard's features by searching for its name online and looking for a "Multi-Display," "Multi-Monitor," or "Dual Display" feature.
Step 2: Identify the Connection Ports
Identify the video connection ports available on your computer and the second monitor. Common types of ports include HDMI, DisplayPort, USB-C/Thunderbolt, VGA, and DVI. Ensure that the connection type of your second monitor matches the ports on your computer. If there is a mismatch, you may need to purchase an adapter, such as a DVI-to-HDMI adapter.
Step 3: Connect the Second Monitor
Plug one end of the second monitor's video cable into the appropriate port on the back of your computer or laptop. Then, connect the other end of the cable to the second monitor. If you require an adapter, connect it to your computer first and then attach the corresponding cable to the adapter.
Step 4: Power and Turn On the Second Monitor
Connect the second monitor to a power source, such as a wall socket or a surge protector. Then, turn on the second monitor by pressing the "Power" button. Ensure that it is ready to receive the signal from your computer's main monitor.
Step 5: Configure Display Settings
Now that the physical connections are complete, you need to configure the display settings. The process may vary depending on your operating system.
For Windows:
- Open the Settings menu by clicking the gear-shaped icon on the lower-left side of the Start window.
- Click on "System," then select "Display."
- Choose a display option:
- Extend these displays (recommended) — Uses the second monitor as an extension of your first monitor.
- Duplicate these displays — Displays the same content on both monitors.
- Show only on 1 or 2 — Shows content on either the first or second monitor.
Click "Keep changes" to apply your selected display settings.
For Mac:
- Click the Apple logo in the top-left corner of the screen and select "System Settings" or "System Preferences."
- Click on "Displays."
- Select your main display by clicking on it and choosing "Main display" from the "Use as" dropdown.
- Arrange your monitors by dragging and dropping them to match your physical setup.
- If you want to extend your desktop, ensure that the "Mirror Displays" checkbox is unchecked.
For Ubuntu Linux:
- Click on "Activities" in the upper-left corner of the screen or the arrow icon in the upper-right corner to open the Settings menu.
- Type "Displays" in the search bar or navigate to "Devices" and then "Displays."
- Click and drag the monitors in the "Displays" panel to match your physical setup.
- Select your primary display by clicking on it and adjusting its settings.
- Configure the orientation, resolution, and refresh rate as needed.
- Click "Apply" and then "Keep Changes" to confirm your settings.
By following these steps, you should be able to successfully connect and configure a second monitor to your motherboard, enhancing your computing experience.
Setting Up the ProArt 248Q: A Step-by-Step Guide
You may want to see also

Troubleshooting a no signal or black screen issue
If you're experiencing a "no signal" or black screen issue when trying to hook up a monitor to your motherboard, there are several troubleshooting steps you can take to resolve the problem:
Check the monitor power: Ensure that the monitor is turned on by checking for a power LED (a blue, green, or orange light) on the front or bottom of the monitor. If no light comes on, press the power button again. If the monitor still doesn't turn on, try plugging it into a different power outlet and using a different power cable.
Verify the computer is not asleep: If you stepped away from the computer and returned to a black screen, try moving your mouse, clicking the mouse buttons, or pressing any key to wake the computer up. If that doesn't work, press the power button.
Check connections: Ensure that all cables are securely connected to the appropriate ports on the motherboard and monitor. Check both the power cable and the data cable that connects the monitor to the computer. Try using a different data cable, such as VGA, DisplayPort, DVI, or HDMI, if available.
Select the correct input source: Use the monitor's on-screen display (OSD) menu to select the correct input source. Switch the input source to match the port connected to your motherboard.
Update graphics drivers: Outdated or incompatible graphics drivers can cause display issues. Visit the manufacturer's website for your motherboard to download and install the latest drivers.
Restart your computer's graphics driver: When encountering video-related issues in Windows, you can restart your computer's graphics driver by pressing the keyboard shortcut Windows key + Ctrl + Shift + B.
Try a different port: If your motherboard has multiple ports, try connecting the monitor to a different port, such as switching from HDMI port 1 to port 2 or to a different type of port, such as DisplayPort or DVI.
Try a different monitor: If you have access to another monitor, try connecting it to your motherboard to determine if the issue lies with the original monitor or the motherboard.
Remove the graphics card: If you have a dedicated graphics card, try removing it and connecting the monitor directly to the motherboard. If the monitor displays an image, your graphics card may be faulty.
Test with a different computer: Disconnect the monitor from your current computer and connect it to another computer to see if it works. If the monitor works on another computer, the issue may lie with your original computer's video card or motherboard.
Update motherboard BIOS: If your computer is unable to detect the monitor, an outdated motherboard BIOS could be the cause. Visit the manufacturer's website to download and install the latest BIOS update.
Replace the power supply: If none of the above steps resolve the issue, the problem may lie with the power supply. Replace the power supply with a new one that has the same or higher wattage rating as the original.
Enabling G-Sync on Your ASUS Monitor: A Step-by-Step Guide
You may want to see also

Configuring display settings for optimal usage
Once you have physically connected your monitor(s) to your motherboard, the next step is to configure the display settings to ensure optimal usage. Here are the steps to achieve that:
Navigating to Display Settings:
- Right-click on your desktop and select "Display Settings" from the context menu.
- Alternatively, go to the Start menu, click on the Settings gear icon, and select "System." From there, click on "Display" in the left sidebar.
Setting the Primary and Secondary Monitor:
- In the Display settings window, you will see a visual representation of your monitors. Identify which monitor you want to set as the primary display.
- Click on the monitor you want to set as the primary display and scroll down to the "Multiple displays" section.
- Check the box that says "Make this my main display" to set the selected monitor as the primary display.
- Click on the "Apply" button to save the changes.
Adjusting Display Resolution and Orientation:
- In the Display settings window, you will find a drop-down menu labelled "Display resolution." Click on it to reveal the available resolution options.
- Select the resolution that best suits your preferences and the capabilities of your monitor(s). It is generally recommended to choose the native resolution of your monitors for the best image quality.
- To adjust the orientation of your monitors, scroll down to the "Orientation" section in the Display settings window. Here, you can choose between landscape, portrait, landscape (flipped), or portrait (flipped) orientations.
- Select your desired orientation and click on the "Apply" button to save the changes.
Troubleshooting Common Issues:
- No Signal or Black Screen: Ensure that all cables are securely connected to the appropriate ports on both the GPU and motherboard. Verify the power supply to the monitors and check the input selection. Update graphics drivers if necessary.
- Mismatched Resolution or Orientation: Adjust the display settings for each monitor and update graphics drivers if needed.
- Inability to Detect Second Monitor: Check connections, enable integrated graphics in BIOS or UEFI settings, update motherboard BIOS, and test with a different cable or port.
By following these steps and troubleshooting any issues, you can optimise your display settings for the best experience when using your monitor(s) connected to your motherboard.
Choosing an LCD Monitor: Key Considerations for Buyers
You may want to see also
Frequently asked questions
You will need at least two cables: one power cable and one data cable. The power cable connects to an electrical outlet to provide electricity to the monitor. The data cable transmits the picture signal (data) from your computer to the monitor.
The type of data cable depends on the ports on your motherboard and monitor. Common cable and port combinations include DVI (Digital Visual Interface), HDMI (High-Definition Multimedia Interface), DisplayPort, or USB-C.
First, check that all cables are securely connected to the correct ports on the motherboard and monitor. Then, ensure the monitor is receiving power. You may also need to enable integrated graphics in the BIOS or UEFI settings of your motherboard.


