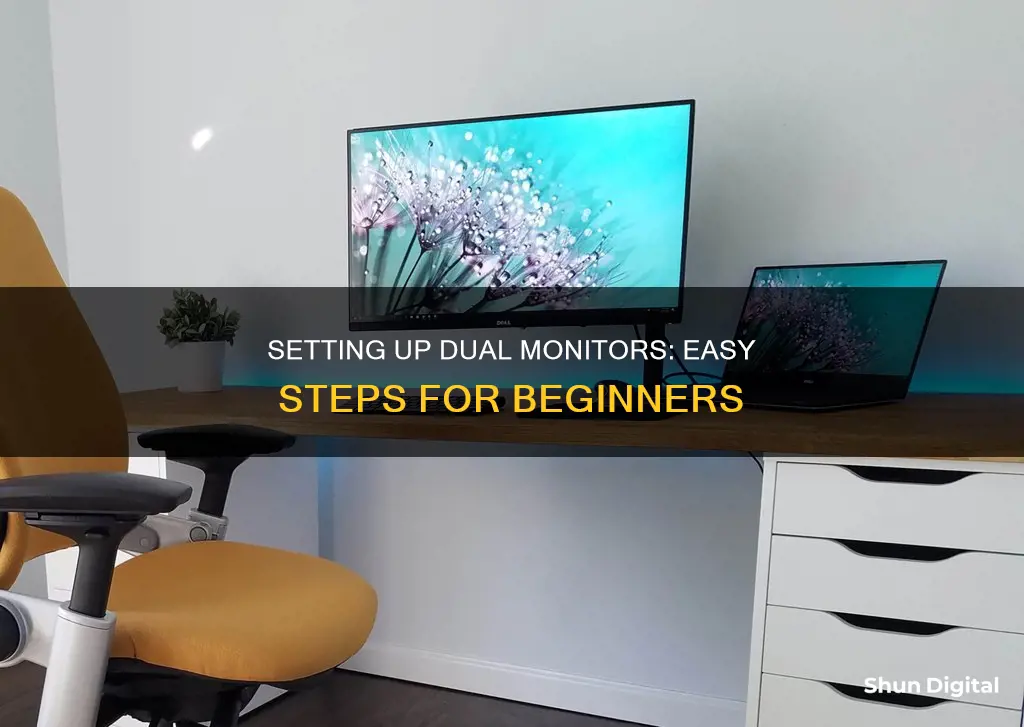
Setting up a second monitor is a great way to increase your productivity and easily transition between tasks. It's a simple process that only requires a few connections and adjustments. You'll need to ensure your motherboard supports dual monitors, determine your computer's video connection type, and connect the second monitor to your computer and a power source. Once the second monitor is set up, you can configure your display settings to extend your desktop or duplicate your displays.
| Characteristics | Values |
|---|---|
| Connection types | HDMI, VGA, DVI, Display Port, Thunderbolt cable |
| Number of monitors | 2 or more |
| Operating systems | Windows, Mac, Ubuntu Linux |
| Monitor positioning | Side by side, stacked vertically, or at an angle |
| Primary display | Chosen by user |
| Display options | Duplicate, Extend, Show only on 1, Show only on 2 |
What You'll Learn

Connecting the second monitor
Next, determine your computer's video connection type. Most newer computer graphics cards have at least two video-out ports, and many laptops have an HDMI port or DisplayPort. The following are common video connection types:
- HDMI
- DisplayPort
- USB-C/Thunderbolt 3
- VGA
- DVI
Check that your second monitor has one of these connection types. If the connection differs from your computer's, you may need to purchase an adapter.
Now, connect the second monitor to your computer. Plug one end of the monitor's video cable into the back of your computer, and the other end into the second monitor. If you need an adapter, connect it to your computer first, and then plug an HDMI or DisplayPort cable into the adapter, connecting the other end to the monitor.
On some computers with a USB-C/Thunderbolt 3 port, you may be able to connect multiple monitors to a single port using a USB-C/Thunderbolt dock.
Finally, connect the second monitor to a power source and turn it on.
Unlocking G-Sync: Is My ASUS Monitor Compatible?
You may want to see also

Setting display preferences on Windows
Once you've connected your second monitor, you'll need to instruct your Windows operating system on how to manage your dual displays.
- Right-click on your Windows desktop and select either 'Screen Resolution' (Windows 7 and 8) or 'Display Settings' (Windows 10/11).
- In the resulting dialog box, you can specify how you want your two screens to work together. If you choose to extend the display, your two screens will act as one.
- Tell Windows which monitor is on the left or right by dragging the screen icons at the top of the dialog box.
- Choose your primary display by selecting 'Make this my main display'. This controls which monitor gets the taskbar and Start button. If you don't see this option, the currently selected monitor is already the main one.
- Choose how your screen will project across your displays. Under 'System', select 'Display'. Your PC should automatically detect your monitors and show your desktop. If you don't see the monitors, select 'Multiple Displays', then 'Detect'.
- Use the dropdown list next to the image of your desktop to choose your display setup. Once you've chosen your setup, select 'Apply'.
- You can change the resolution of your displays, but it's recommended to use the suggested resolution for the best results.
You can also control many of these settings by right-clicking on the desktop and selecting your graphics control panel.
Asus 360Hz Monitor: Release Date and Specs
You may want to see also

Setting display preferences on Mac
Once you have connected your second monitor to your Mac, you can adjust your display preferences by opening System Preferences.
If you are using a Retina display, you can switch from "Default for display" to "scaled" to make things bigger or to make use of all the pixels. This can help with legibility or just help you fit even more windows onto your screen.
To make text bigger, click on one of the boxes to the left of Default. To make more space on the screen, click one of the boxes to the right of Default. If you want to increase or decrease the font size in your apps, hold down the command key and press + or -.
If you are visually impaired or need additional help seeing details on the screen, you can also zoom to get a close-up of areas of the screen. To control this function, open the Accessibility system preference and look for the Zoom preferences.
To change the resolution of your external display, open System Preferences. If the resolution is set to Default for display, click on Scaled. To make text larger, select a smaller number for the resolution. To make more space, select a larger number.
You can also change display settings for accessibility to make items on the screen (including the pointer) easier to see, make text bigger, reduce on-screen motion, or apply color filters or tints to the screen. To change these settings, choose Apple Menu > System Settings, click Accessibility in the sidebar, then click Display on the right.
You can invert colors on your display, for example, to show white text on a black background. You can choose to invert colors everywhere or everywhere except images and video. You can also stop or reduce the movement of elements on the screen, such as when you open apps or switch between desktops.
Websites' Dynamic Tracking: Adapting to Monitor Sizes
You may want to see also

Setting display preferences on Ubuntu Linux
To set up a second monitor on Ubuntu Linux, you can follow these steps:
- Connect the second monitor to a power outlet and an available port on your PC.
- Open the Ubuntu Desktop Guide in your system's settings.
- Navigate to the "Display & screen" section.
- Configure your second monitor by selecting the "Set up an additional monitor" option.
- Adjust the resolution, orientation, and colour temperature of your screens.
- Choose a style and set a background for your desktop.
If you need to reset your display settings, you can open a terminal window by pressing Ctrl+Alt+T and typing rm ~/.config/monitors.xml. Then, press Enter, log out, and log back in.
Choosing the Right Bolt Size for Your Monitor's VESA Mount
You may want to see also

Programming the monitors to work as desired
Once you have connected your second monitor, you can program your PC to recognise it. First, make sure your cables are connected properly to the new monitor, then press the Windows logo key and P simultaneously to select a display option. If you need more help, select Start, then open Settings. Under System, select Display. Your PC should automatically detect your monitors and show your desktop. If you don't see the monitors, select Multiple displays, then Detect.
Use the dropdown list next to the image of your desktop to choose how your screen will project across your displays. Once you've chosen your setup, select Apply.
If you have two monitors of the same make and model, Windows should automatically extend your desktop horizontally. Just adjust each monitor's stand so they line up perfectly, and you're ready to go.
If you have two different monitors, you may need to do a bit more work to make them play nicely with each other. For example, you might be plugging your laptop into an external display and using them side by side. This will produce some weird behaviours, but it's easy to fix. Right-click on the desktop and choose Display Settings. From this page, Windows 10 and Windows 11 users can see how their monitors match up in terms of navigational continuity. You can drag the rectangles around so they match the monitors' orientation on the desktop—for example, if one is slightly lower than the other or they are in a different order. You may have to do a little trial and error to get them lined up properly.
By lining the monitors up correctly, you will avoid issues when moving the cursor between screens. Instead of jumping up or down the screen, it'll appear in the same spot on the other monitor. This will also prevent (or at least mitigate, in the event your monitors have different resolutions) any areas where it becomes impossible to move the cursor between screens.
If you have a 4K monitor next to a 1080p monitor, open Display Settings and scroll down to the Scale and layout section to adjust the resolution of each monitor and its scaling. So, if you have two different resolutions, you can set each monitor to its native resolution but increase the scaling on the higher-resolution one, so your windows appear the same size on each.
To go even further, you can use each monitor's built-in settings to adjust brightness and colour to make them match as closely as possible. Once you're done tweaking all these settings, your monitors should match up much more closely, making it easier and more pleasant to move windows between them.
Understanding Monitor Sizes: Pixel Perfection Explained
You may want to see also
Frequently asked questions
You can use an HDMI, VGA, DVI, Display Port, or Thunderbolt cable to connect to another monitor.
Plug one end of the second monitor's video cable into the back of the computer, then plug the other end into the second monitor.
On a PC, right-click on a blank space on the home screen and choose Display Settings. You can then select whether to duplicate or extend your display. On a Mac, click the Apple menu, select System Preferences, choose Display Settings, and then choose whether to mirror or extend your display.
Yes, if your laptop has a DVI, VGA, HDMI, or Thunderbolt port, you can connect it to a second monitor.
Yes, it is possible to connect three or more monitors to your computer.


