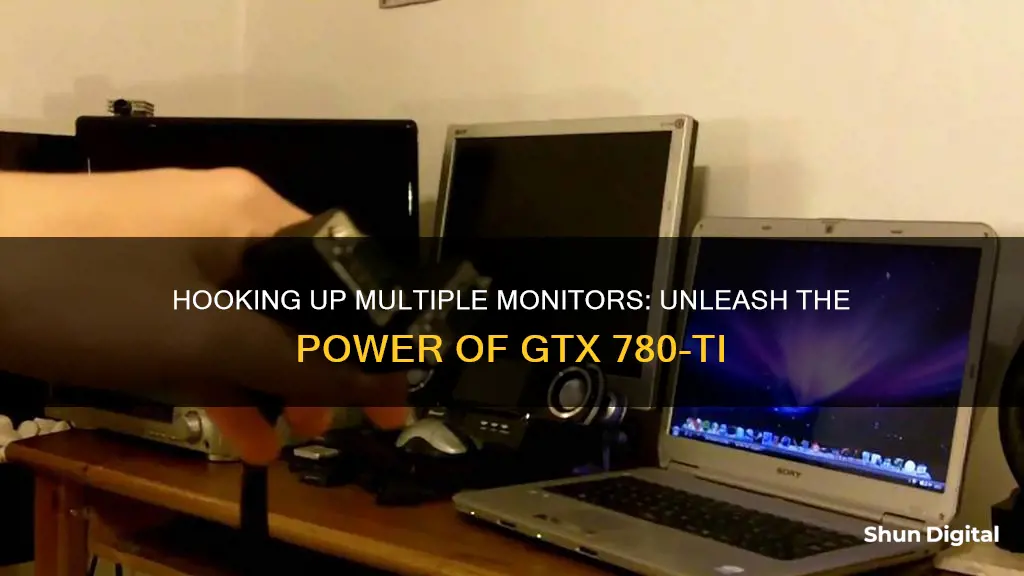
Setting up three monitors with a single GTX 780-Ti can be a challenging task. While it is possible to run three monitors with this setup, there are some important considerations to keep in mind. First, ensure that your graphics card has enough connectors, such as DVI, HDMI, and Display Port. Additionally, a powerful PSU is recommended to handle the high-end setup. Adjusting settings in the NVIDIA Control Panel, such as display resolution and multiple display setups, can help activate and configure the monitors. However, some users have reported performance issues when using multiple monitors, especially with certain applications.
What You'll Learn

Using DVI and HDMI connections
To set up three monitors with one GTX 780 Ti using DVI and HDMI connections, you'll need to ensure you have the correct ports and adapters. Here's a step-by-step guide:
Step 1: Check Your Ports
Before you begin, it's essential to verify the ports available on your GTX 780 Ti and your monitors. The GTX 780 Ti typically offers a range of ports, including DVI-I, DVI-D, HDMI, and DisplayPort (DP). Check your specific model to confirm the available ports.
Step 2: Use DVI for Two Monitors
For the first two monitors, you can use the DVI ports on your GTX 780 Ti. The GTX 780 Ti usually has two DVI ports: one DVI-I and one DVI-D. Connect each of your first two monitors to these DVI ports using DVI cables.
Step 3: Connect the Third Monitor with HDMI
To connect the third monitor, you'll use the HDMI port on your GTX 780 Ti. Ensure that your third monitor has an HDMI port or that you have an adapter that converts from HDMI to the appropriate port on your monitor.
Step 4: Adjust Settings
Once you've made the physical connections, you'll need to configure your display settings. Right-click on your desktop and go to the 'Screen Resolution' or 'Display Settings' option. Here, you should see all three monitors listed. If not, click on "My display is not shown" and then "Rigorous Display Detection" to search for the missing monitor.
Step 5: Configure Multiple Displays
If you're using an NVIDIA control panel, go to "Set up multiple displays." This will allow you to configure how you want your desktop to be displayed across the three monitors. You can choose to extend your desktop across all three monitors or use them independently.
Step 6: Test and Adjust
Finally, test your setup by opening applications and windows across the three monitors. You may need to adjust the resolution and refresh rate settings for each monitor to ensure optimal performance. Right-click on your desktop, open the NVIDIA control panel, click on "Change Resolution," and select the appropriate monitor to adjust its settings.
Note: When using multiple monitors, it's important to ensure that your power supply is sufficient. While a single GTX 780 Ti can handle three monitors, you may want to consider upgrading your power supply for safety and stability, especially if you're overclocking.
LED vs LCD: Which Monitor Type Is Easier on the Eyes?
You may want to see also

Upgrading your power supply
Determining Power Requirements
The central processing unit (CPU) and graphics card are typically the biggest power draws in a PC. When upgrading to support three monitors, it's essential to account for the increased power demand. Calculate the total power draw by summing up the power requirements of all your components, including the CPU, graphics card, hard drives, optical drives, and cooling systems.
Selecting a Suitable Power Supply
When choosing a new power supply, opt for one that meets or exceeds the total power requirements of your system. It should also have the correct cables and connectors to match your components. The most common size is the ATX standard, which fits almost all full-sized desktop computers. However, some cases may require smaller form factors or non-standard sizes, so ensure you select a power supply that physically fits your computer case.
Efficiency and Form Factor
Modern power supplies come with efficiency ratings, often indicated by the "80 Plus" voluntary certification system. This means that the power supply consumes no more than 20% over its output wattage. There are different grades within the 80 Plus system, indicating higher efficiency and usually a higher price. Additionally, consider the form factor, which refers to the physical size and shape of the power supply. The most common form factor is ATX, but some cases may require smaller sizes or have specific dimensions that you need to accommodate.
Cable Compatibility
Ensure that your new power supply has the correct cables to connect to your components. The three crucial types of cables are:
- Main motherboard cable: This cable connects directly to the motherboard and usually has 20 or 24 pins.
- CPU motherboard cable: This cable powers the CPU and comes in 4, 6, or 8 pin varieties.
- GPU power cables: These cables provide power directly to the graphics card and typically use 6 or 8 pins.
Installation Process
Once you've selected the appropriate power supply, it's time to install it. This process involves removing the old power supply, disconnecting all the components, and then reversing the process with the new power supply. Ensure you work in a well-lit area and use a standard screwdriver. Do not open the metal casing of the power supply, as it contains high-power capacitors that can be dangerous.
Locking Your Asus PB238Q Monitor: A Step-by-Step Guide
You may want to see also

Using the NVIDIA Control Panel
To set up three monitors with a single GTX 780 using the NVIDIA Control Panel, you'll need to ensure that your graphics card and monitors are correctly connected and configured. Here's a step-by-step guide:
Step 1: Connect the Monitors
Before proceeding, ensure that all three monitors are securely connected to your NVIDIA-based graphics card. Check that your graphics card has enough ports to support multiple monitors. If not, you may need to purchase an additional graphics card or use ports on both your motherboard and the graphics card, which may result in some performance loss.
Step 2: Open the NVIDIA Control Panel
Right-click on your desktop and select the NVIDIA Control Panel from the popup menu.
Step 3: Navigate to Multiple Display Settings
Under the "Display" category in the NVIDIA Control Panel, select "Set up Multiple Displays." This will open a page listing all the displays connected to your system and the corresponding GPU.
Step 4: Select the Displays to Activate
Check or clear the checkboxes to select the displays you want to use. In non-SLI modes, you can select up to two displays per GPU. In SLI mode with GeForce 8 series and later GPUs, you can select up to two displays connected to GPUs within the same SLI group.
Step 5: Apply the Configuration
Click "Apply" to activate your new display configuration. If any of your displays aren't showing an image, repeat steps 3 and 4, or restart your computer and try again.
Step 6: Adjust Display Settings
By default, when a display is first activated, it is set to "Extended Mode." This means that your desktop will be extended across all the selected displays. You can drag the green boxes in the NVIDIA Control Panel to match the physical arrangement of your monitors. You can also choose which monitor is primary by right-clicking on it and selecting "Make Primary."
If you prefer to have the same image displayed on all monitors (also known as "Clone Mode"), right-click on one of the display icons, select the display you want to include in the Clone group from the pop-up menu, and then click "Apply."
You can switch back to Extended Mode by right-clicking the display icon box of the Clone group, clicking "Extend," and then clicking "Apply."
Troubleshooting:
If one of your displays isn't showing up in the NVIDIA Control Panel, click "My display is not shown..." to force detection. You can also try playing with the cable connections and using different cables to see if that resolves the issue. Ensure that all connections are secure.
Additionally, if you're experiencing issues with your display resolution or refresh rate, as in the case of the user with the 144 Hz monitor, you may need to adjust these settings manually. Right-click on your desktop, open the NVIDIA Control Panel, click on "Change Resolution," select the monitor in question, and then adjust the resolution and refresh rate settings as needed.
Setting Up Your Peloton Monitor: A Step-by-Step Guide
You may want to see also

Using GPU scaling
If you're experiencing a noticeable drop in performance on system/non-gaming programs when using a dual-monitor setup with a GTX 780, there are a few suggestions to fix this. First, make sure you have both displays set to GPU scaling. To do this, go to the Nvidia Control Panel, then to 'Adjust Desktop Size and Position', and finally, select 'Perform scaling on GPU'. If that doesn't help, go to your BIOS and change HPET to 64-bit. Another potential fix is to downgrade GeForce Experience to version 2.1.1 or earlier.
Internet Monitoring Software: Is Your Privacy at Risk?
You may want to see also

Using a second video card
If you opt for another GTX 780 Ti, you can expect similar performance and compatibility as your current card. This option may be more expensive, but it ensures that both cards have the same specifications and features.
On the other hand, choosing a different model for the second video card can offer a more cost-effective solution. However, it's important to consider compatibility issues and potential performance discrepancies between the two cards.
To set up the second video card, you'll need to connect it to your system and configure the display settings. Ensure that your power supply is sufficient to support both cards, and refer to the specific instructions for your hardware and operating system to complete the setup process.
Additionally, when using multiple video cards, it's important to consider the physical space in your computer case and the cooling requirements of the cards. Proper ventilation and airflow are crucial to prevent overheating.
By following these steps and considering your specific hardware and setup, you should be able to successfully use a second video card to run three monitors with your GTX 780 Ti.
Monitoring Cox Internet Data Usage: A Step-by-Step Guide
You may want to see also
Frequently asked questions
Yes, it is possible to run 3 monitors with 1 GTX 780-Ti. The card has enough connectors: DVI Output (DVI-I and DVI-D), HDMI Output, and Display Port.
First, ensure all 3 monitors are connected to the GTX 780-Ti card. Then, open the NVIDIA Control Panel and under the "Display" category, select "Set up Multiple Displays". Check the boxes next to the displays you wish to activate and click "Apply". You can then arrange the displays according to your physical setup and choose a primary display.
There may be a noticeable drop in performance when using multiple monitors, especially with certain applications such as web browsers and video players. This can include stuttering, reduced frame rates, and smooth scrolling issues.
To improve performance, ensure that both displays are set to GPU scaling in the NVIDIA Control Panel. Additionally, you can try changing HPET to 64-bit in your BIOS or downgrading the GeForce Experience software to an older version.
For the first two monitors, you can use DVI connections. For the third monitor, it is recommended to use a Display Port connection if supported by your monitor and graphics card.


