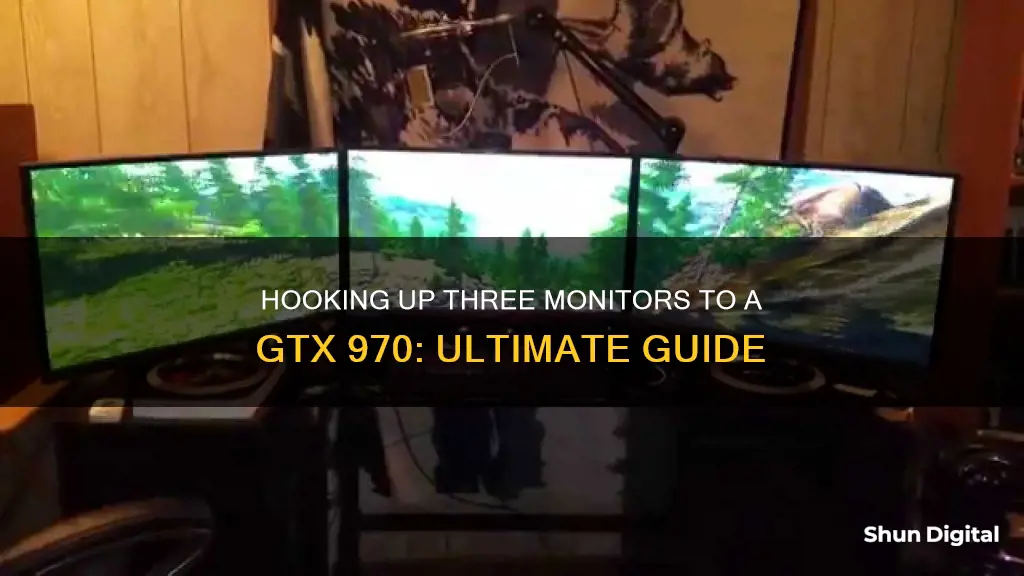
Setting up multiple monitors can be a great way to improve your gaming experience or increase productivity by allowing you to view multiple applications simultaneously. In this article, we will explore the process of connecting three monitors to a GTX 970 graphics card, addressing potential issues and providing step-by-step guidance to ensure a successful configuration. By following these instructions, you'll be able to take advantage of the expanded screen real estate and enhance your overall computing experience.
What You'll Learn

Use HDMI and DVI-D connections
To hook up three monitors to a GTX 970, you can use a combination of HDMI and DVI-D connections. Here's a step-by-step guide:
- Connections: Ensure you have the correct cables for your setup. For this method, you will need two DVI-D cables and one HDMI cable, as well as the necessary adapters.
- Primary Monitor: Connect your primary monitor using an HDMI cable. This will be your main display, so choose the monitor you want to use as your primary viewing screen.
- Secondary Monitor: Use a DVI-D cable to connect your secondary monitor. This monitor will be used for web browsing or other tasks while gaming on the primary monitor.
- Tertiary Display (TV) : Connect your TV as the third display using a DVI-D to HDMI adapter. This setup allows you to use your TV as an additional screen for gaming or for displaying other content.
- Adapter Usage: If you require adapters for your setup, ensure you have the correct adapters for your chosen connections. In this case, you will need a DVI-D to HDMI adapter for your tertiary display.
- Graphics Card Settings: Open your graphics card settings. Right-click on your desktop and open the NVIDIA Control Panel.
- Configure Multiple Displays: In the NVIDIA Control Panel, under the "Display" category, select "Set up Multiple Displays". This will allow you to configure your three monitors.
- Activate Secondary Displays: Check the box next to each inactive display you wish to activate. If any of your displays are not shown, click on the "My display is not shown" option to force detection.
- Arrange Displays: You can drag and drop the green boxes to match the physical arrangement of your three displays. This helps the system understand the relative positions of your monitors.
- Select Primary Display: Choose which monitor you want to be the primary display by right-clicking on it and selecting "Make Primary".
By following these steps, you can successfully connect and configure three monitors to your GTX 970 using HDMI and DVI-D connections. This setup provides a multi-display environment for gaming, productivity, or entertainment.
LCD vs IPS: Which Monitor is the Best Choice?
You may want to see also

Use a DisplayPort for at least one monitor
To hook up three monitors to an NVIDIA GTX 970 graphics card, it is recommended to use a DisplayPort for at least one monitor. The GTX 970 graphics card has one DisplayPort, one HDMI, and two DVI ports. While you can use a combination of these ports to connect three monitors, using a DisplayPort for at least one of the monitors is advantageous due to its modern connectivity and support for higher resolutions.
When connecting multiple monitors to the GTX 970, it is important to ensure that all monitors are connected to the NVIDIA-based graphics card. You can then open the NVIDIA Control Panel by right-clicking on the desktop and selecting it from the popup menu. Under the "Display" category, select "Set up Multiple Displays." Here, you can activate the desired displays as secondary monitors and adjust their positions to match your physical setup.
Using a DisplayPort for at least one monitor can provide benefits in terms of image quality and resolution. DisplayPort is a modern connection standard that offers improved bandwidth and supports higher resolutions compared to older connection types like DVI and VGA. By using a DisplayPort connection, you can take advantage of the enhanced capabilities of your GTX 970 graphics card and ensure optimal image quality on your monitors.
However, it is important to note that some users have reported issues when using DisplayPort with the GTX 970. These issues include blank screens, monitor detection problems, and system instability. In some cases, these problems may be related to specific DisplayPort cables, such as those that use the 20th pin to send power back to the graphics card. To avoid potential issues, it is recommended to use high-quality DisplayPort cables that meet the appropriate specifications.
Additionally, when using multiple displays, it is important to ensure that all monitors are set to the same resolution. This helps maintain a consistent image quality across all monitors and prevents issues related to mismatched resolutions. By following these guidelines and using a DisplayPort connection for at least one monitor, you can effectively utilize the capabilities of your GTX 970 graphics card to power your multi-monitor setup.
Choosing the Right Cord Size for Studio Monitors
You may want to see also

Use adaptors to convert DVI-D to HDMI or VGA
If you want to hook up three monitors to your GTX 970, you may need to use adaptors to convert DVI-D to HDMI or VGA. The GTX 970 has a variety of ports, including Dual Link DVI-I, HDMI 2.0, and 3x DisplayPort 1.2. If your monitor only has a VGA input, you will need an adapter to convert the signal from your GTX 970 to VGA.
DVI-I ports can output an analogue signal, so a simple DVI-I to VGA adapter will work for one monitor. For the DVI-D output, you will need an 'active' adapter that can convert the digital signal to analogue for VGA. These adapters are more expensive than simple 'dumb' adapters.
HDMI is another option, as it carries both audio and video in one cable. You can use a DisplayPort to HDMI adapter for this.
It is important to note that VGA is an analogue connection and will result in a lower picture quality than HDMI or DVI. If possible, it is recommended to use DisplayPort or HDMI for the best picture quality.
Monitoring Kids' Social Media: Parenting in the Digital Age
You may want to see also

Check your graphics card has disabled onboard graphics
To check if your graphics card has disabled onboard graphics, you will need to access the BIOS setup. Usually, a prompt will appear on boot-up, such as "hit DEL to enter setup". Once you have accessed the BIOS setup, you will need to find and disable the onboard graphics option. This could appear as "On Board VGA -> enable / disable" or "Primary Adapter -> PCIe / On Board". If you have the option to select PCIe as the primary adapter, do so.
If you are unable to access the BIOS setup by pressing the designated key during boot-up, you can try to force access by pressing F11 for advanced options. If you are still unable to access the BIOS setup, you may need to reset the CMOS that controls the BIOS. This can be done by removing the CMOS battery, which is usually located in an exposed housing on the motherboard. Once the battery is removed, press and hold the power button for about 15-20 seconds to drain any residual power. Then, reinsert the battery and reboot your machine.
It is important to note that disabling onboard graphics is typically not necessary if you are using a dedicated graphics card. The act of installing a dedicated GPU will often automatically disable the onboard graphics.
Best Monitor Options After the ASUS TUF VG24VQ
You may want to see also

Use the NVIDIA Control Panel to set up multiple displays
To set up multiple displays using the NVIDIA Control Panel, first ensure that all your monitors are securely connected to your NVIDIA-based graphics card. Verify that your displays are plugged in and turned on.
Then, open the NVIDIA Control Panel by right-clicking on your desktop and selecting it from the popup menu. Under the 'Display' category, select 'Set up Multiple Displays'.
In the box under 'Step 1', you will see a list of all the displays connected to your system and the GPU they are connected to. Check or clear the checkboxes to select the displays you want to use. In non-SLI modes, you can select up to two displays per GPU. In SLI mode with GeForce 8 series and later GPUs, you can select up to two displays connected to GPUs within the same SLI group.
Icons in the box under 'Step 2' will correspond to the displays you selected. Click 'Apply' to activate the new display configuration.
If your display is not shown, click 'My display is not shown...' to force detection. You can drag the boxes around to match the physical arrangement of your displays. To identify which display is represented by an icon, right-click the icon and then click 'Identify' to see which display shows the same number as the icon. You can also move your mouse cursor over an icon to see more information about the display, such as the manufacturer, model, connection, and resolution.
Transforming LCD Monitors: DIY TV Conversion Guide
You may want to see also
Frequently asked questions
Make sure all monitors are connected to the NVIDIA-based graphics card. Open the NVIDIA Control Panel and under the Display category, select "Set up Multiple Displays". Check the box next to the inactive display you wish to activate and click apply.
Click "My display is not shown..." to force detection.
Try hitting the Windows Key and then pressing 'P', you should have a prompt asking you about monitors, click on the 'Extend Display' option. You can also try uninstalling your current drivers and reinstalling them.
You can use a combination of HDMI, DVI-D, and Display Port. You may need to use a DisplayPort to break out more displays.


