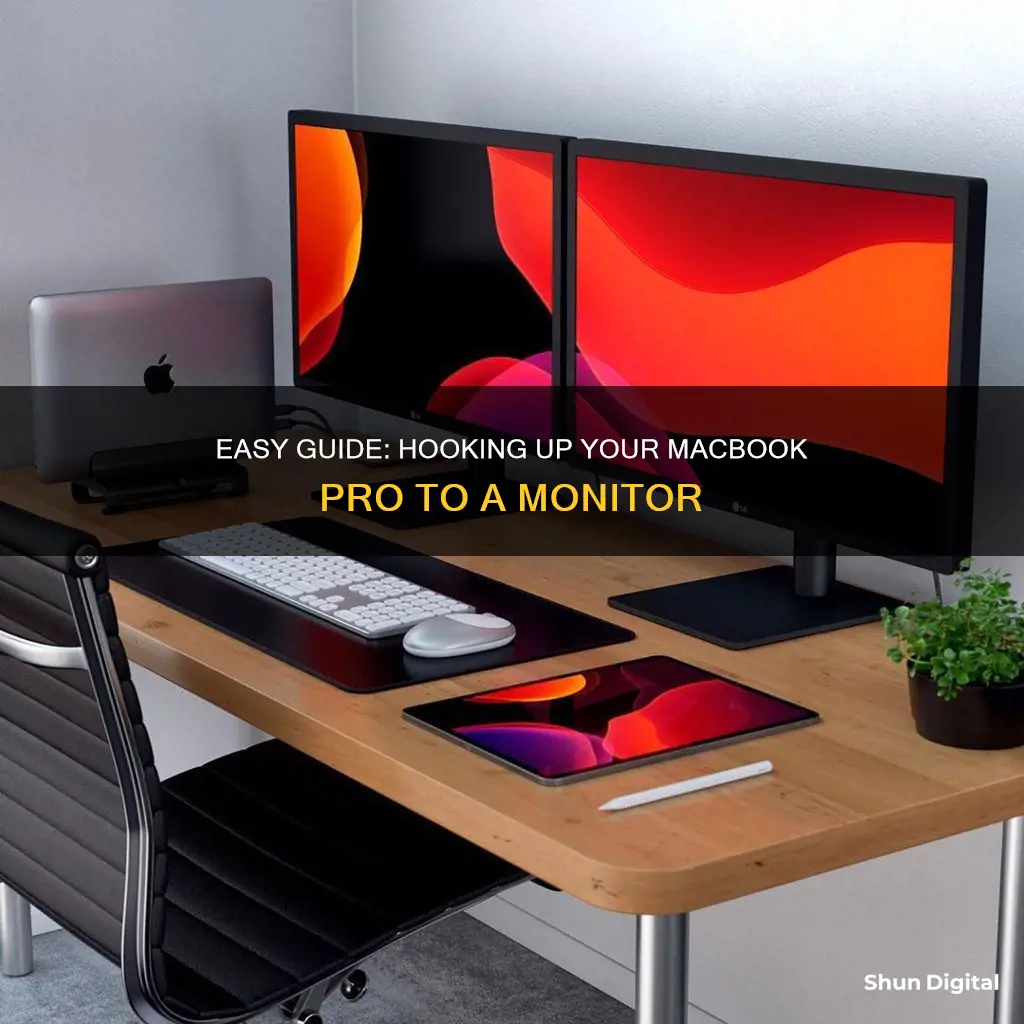
If you're looking to hook up your MacBook Pro to an external monitor, you're in luck! It's a relatively simple process, but you'll need to make sure you have the right equipment. First, check the ports on your MacBook Pro and your monitor – this will determine what kind of cable or adapter you need. If your MacBook Pro is from 2019 or later, it will likely have Thunderbolt 3 ports, which means you can use a USB-C cable. For older models, you may need a different cable, such as one with a Mini DisplayPort connector. Once you have the correct cable, simply connect the monitor to power and your MacBook Pro, and you should be good to go! You may also need to adjust some display settings on your MacBook Pro, such as the resolution and refresh rate.
| Characteristics | Values |
|---|---|
| Number of displays supported | 1 or more |
| Connection type | Power cable, video cable, HDMI/VGA adapter, USB-C to HDMI/VGA adapter, Thunderbolt or HDMI port |
| Display arrangement | Mirrored or extended |
| Display settings | Display resolution, refresh rate, arrangement, colour profile, night shift settings |
| iPad as a second display | Yes, with macOS Catalina’s Sidecar feature |
What You'll Learn

Identify the correct port
To identify the correct port on your MacBook, you must first identify the specific model of your MacBook. The type of port you will be using depends on the age and model of your device.
For instance, a 2023 MacBook Pro (14-inch, Nov 2023) with the M3 chip includes two Thunderbolt/USB 4 ports. On the other hand, if you have a 2023 MacBook Pro (14-inch, Nov 2023) with the M3 Pro or M3 Max chip, it includes three Thunderbolt 4 ports.
Finding your MacBook model and port type is simple. You can use tools like "About This Mac" or the "System Information" app on your macOS device to find this information. Alternatively, if you can't access your Mac, you can find the serial number on the underside or original packaging and use it to check the model on Apple's website.
Once you know your MacBook model, you can determine the correct port for connecting to an external monitor. Different MacBook models have different port options, such as USB-C, HDMI, Thunderbolt, Mini DisplayPort (MiniDP), or a combination of these.
- The 2021 MacBook Pro 14 and 16 have an HDMI port and two Thunderbolt 4 ports.
- The 2020 M1 MacBook Pro 13 doesn't have an HDMI port but has either two or four Thunderbolt 3/USB-C ports.
- The 2019 16-inch MacBook Pro models require an Apple 96W USB-C Power Adapter and USB-C Charge Cable.
- The 2016 or later 13-inch MacBook Pro models require an Apple 61W USB-C Power Adapter and USB-C Charge Cable.
By identifying your MacBook model, you can determine the correct port to use for connecting to an external monitor.
Discovering Your Monitor's Native Resolution: A Quick Guide
You may want to see also

Get the right cable
To connect your MacBook Pro to an external monitor, you will need to get the right cable. The cable you need will depend on the model of your MacBook Pro and the type of external monitor you want to connect.
First, you need to identify the ports on your MacBook Pro. To do this, go to the Apple menu and select 'About This Mac'. Then, click on 'Technical Specifications' and find the 'Charging and Expansion' section. Here, you will see the available ports on your MacBook Pro. Common ports on MacBook Pros include Thunderbolt 3 (USB-C), Thunderbolt 4, and HDMI.
Next, you need to identify the ports on your external monitor. Check the back of your monitor and look for labels that indicate the type of port it has. Common ports on external monitors include USB-C, HDMI, DisplayPort, Mini DisplayPort, and VGA.
Once you have identified the ports on both your MacBook Pro and the external monitor, you can choose the right cable to connect them. If your MacBook Pro and external monitor have the same type of port, you can simply use a cable that matches that port type. For example, if both devices have a USB-C port, you can use a USB-C cable to connect them.
However, if your MacBook Pro and external monitor have different ports, you may need to use an adapter or converter along with the appropriate cable. For example, if your MacBook Pro has a Thunderbolt 3 port and your external monitor has an HDMI port, you can use a Thunderbolt 3 (USB-C) to HDMI adapter with an HDMI cable to make the connection.
It is important to note that not all cables and adapters are created equal. Some cables may only support power delivery and may not transmit video or data signals. Therefore, it is recommended to use the cable and adapter provided by the monitor manufacturer or purchase compatible products from Apple or authorised resellers.
Additionally, consider the length of the cable you need. Make sure the cable is long enough to reach from the back of your external monitor to the port on your MacBook Pro, allowing for any necessary bends or routing.
Monitoring Internet Usage: Security, Productivity, and Privacy
You may want to see also

Connect the display to power
To connect your MacBook Pro to a monitor, you will first need to connect the display to a power source. This is a simple step, but an important one.
Use your display's power cable to connect the display to a power source. Once this is done, you can then connect the display to your MacBook Pro.
The display should be connected to power before you connect it to your MacBook Pro. It is also important to use the correct cable for your display. Check the documentation that came with your display to make sure you have the right cable.
If you are using an external keyboard and mouse, you can close your MacBook's in-built display once you are connected – you may need to press a key or click your mouse to wake up the external display.
Mounting Your ASUS TUF Monitor: A Step-by-Step Guide
You may want to see also

Connect the display to your MacBook Pro
To connect your MacBook Pro to an external display, you'll need to check what ports your MacBook and display have.
Identify the Ports
First, check the ports on your MacBook Pro and your display so that you know what cables or adapters you need to connect them.
Get the Right Cable or Adapter
Depending on the model of your MacBook Pro and the type of display, you may need to use an adapter to connect the two. For example, if your MacBook Pro doesn't have an HDMI/VGA port, you'll need a USB-C to HDMI/VGA adapter.
Connect the Display to Power and Your MacBook
Use the display's power cable to connect it to a power source. Then, use the display's video cable to connect it to your MacBook Pro. If the video cable requires a port that your MacBook doesn't have, try using an adapter with the video cable, or replace the video cable with one that doesn't require an adapter.
Configure Display Settings
Once your display is connected and has power, your MacBook should detect it automatically. You should then see your MacBook's desktop on the display, and you can configure the display settings.
Go to System Preferences and click on Displays. In the Displays menu, you can change the display resolution, choose a refresh rate, arrange your displays, and more.
If you want to use the external display as a second monitor, go to the Arrangement tab in the Displays menu and uncheck the "Mirror Displays" box. This will allow you to use your MacBook's screen and the external monitor as two separate displays.
Troubleshooting
If your display isn't detected, try the following:
- Check that the cable is properly connected to both the display and your MacBook.
- Ensure that your monitor is plugged into a power source.
- Make sure your software is up to date.
- If the above don't work, connect your monitor and MacBook, then go to System Preferences > Displays. Press the Alt/Option key to make the Detect Displays button appear, then click on it.
Connecting Your Nikon D3300 to a Monitor
You may want to see also

Configure display settings
Once you have connected your MacBook to an external monitor, you can configure its display settings.
Step 1: Access Display Settings
Go to the Apple menu in the corner of your screen, click System Settings or System Preferences, then click Displays.
Step 2: Choose Your Display
If you have multiple displays, choose the external monitor from the display preferences to customize its settings.
Step 3: Configure Settings
The Display Settings menu has several tabs that allow you to configure your display in various ways.
Display Tab
In the Display tab, you can select your desired screen resolution from a list of options.
Colors Tab
In the Colors tab, you can choose the type of color display you want. For the richest colors, select "Millions of Colors".
Refresh Rate Tab
In the Refresh Rate tab, you can choose a Hertz setting.
Arrangement Tab
In the Arrangement tab, you can choose whether to mirror your displays or use them as separate displays. If you want to use your external monitor as a second monitor, uncheck the "Mirror Displays" box. You can also tell your computer how the displays are physically aligned on your desk. Additionally, you can choose which display is the primary one by clicking and dragging the white bar above one of the displays to the screen you want to be dominant.
Color Tab
In the Color tab, you can choose a pre-configured display profile or calibrate the display to your own preferences.
Other Settings
You can also adjust the display's brightness or change the color profile.
Monitoring Sub-Panel Electrical Usage: A Step-by-Step Guide
You may want to see also
Frequently asked questions
First, check the ports on your monitor and your MacBook Pro so that you know what cables or adapters you need to connect them to each other. If your MacBook Pro is from 2019 or later, it will have Thunderbolt 3 ports, which means you can plug a USB-C cable into one of those ports and hook the computer up to your monitor with a cable that has a USB-C or HDMI connector on the other end. If your MacBook Pro is older, you might need a cable with a Mini DisplayPort connector.
If the video cable requires a port that your MacBook Pro doesn't have, you might be able to use an adapter with the video cable. Or replace the video cable with one that doesn't require an adapter.
Open System Preferences and then click "Displays." In the Displays menu, you'll find the Arrangement tab, which is what you'll use if you're setting up a second display. Click on this tab, and you'll see a checkbox in the lower-left corner to "Mirror Displays." If you want to use your external monitor as a second monitor, uncheck that box, and you'll be able to use your MacBook Pro's screen and the external monitor as two separate displays.


