The DJI GO 4 app offers a range of camera settings for your drone. You can adjust the focus and metering mode, lock the exposure value, and set the aperture, shutter speed, and EV (Exposure Compensation Value). The app also allows you to choose between different shooting modes, such as Single Shot, HDR Shot, Multiple, Timed Shot, and Pano. In addition, you can configure the sharpness, contrast, and saturation of your images or videos, as well as the camera colour profile.
What You'll Learn
![]()
Adjusting aperture and shutter settings
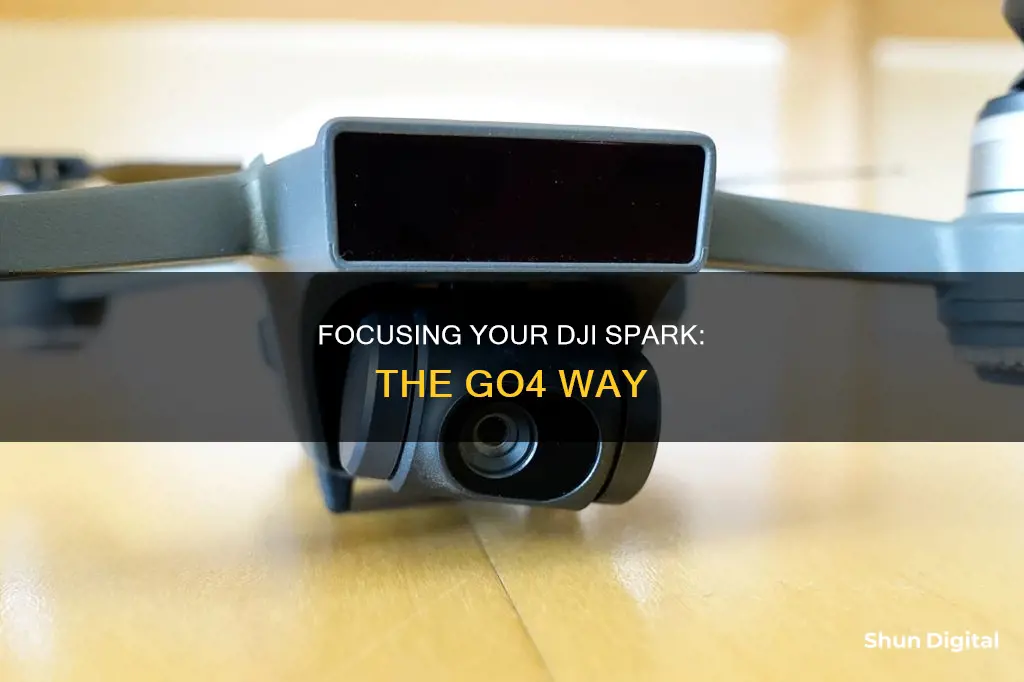
The DJI Spark has a fixed aperture of f/2.6, meaning there is no way to adjust the aperture. However, you can adjust the shutter speed and ISO settings.
Adjusting Shutter Speed
The shutter controls how long light is let into the lenses. A low shutter speed lets more light in and is good for taking pictures in dim lighting. A high shutter speed lets in less light and is good for taking crisp shots of moving objects or people.
To adjust the shutter speed, you need to put the camera in manual mode. This can be done through the DJI Go 4 app by pressing the C1 or C2 button and using the right dial to change the camera settings.
Adjusting ISO
The ISO setting can be adjusted to control the camera's sensitivity to light. A higher ISO means the camera is more sensitive to light, which can be useful in low-light conditions, but it can also introduce more noise into the image.
The ISO can be adjusted in manual mode along with the shutter speed to get the desired exposure value.
Using ND Filters
When shooting in bright conditions, it is recommended to use ND filters to reduce the amount of light entering the lens. This is because the fixed aperture of the DJI Spark camera can cause overexposure in bright lighting conditions, resulting in ruined footage.
ND filters can be purchased from third-party manufacturers, such as the Polar Pro cinema series, which is specifically designed for the DJI Spark.
By using ND filters and adjusting the shutter speed and ISO settings, you can achieve the desired exposure and capture high-quality images with your DJI Spark.
How to Rehearse Slideshows with Camera Access
You may want to see also
![]()
Using the Auto mode
The DJI Spark is a mini drone that features intelligent flight control options, a mechanical gimbal, and a camera with incredible image quality. The drone comes with a range of intelligent flight modes and intuitive controls to help you create cinematic aerial videos with just a few taps.
The DJI GO 4 app features automatic editing templates and an array of filters. You can quickly edit videos and share them straight to social media. The app also allows you to adjust the camera settings, including the aperture, shutter, and exposure compensation value.
- Open the DJI GO 4 app: Start by opening the DJI GO 4 app on your mobile device and connecting it to your DJI Spark drone.
- Access camera settings: On the app's home screen, look for the icon that looks like three sliders. Tap on this icon to access the camera settings.
- Select Auto mode: In the camera settings, you will find the option to select the shooting mode. Choose "Auto" from the available options, which include Single Shot, HDR Shot, Multiple, AEB, Timed Shot, Pano, and ShallowFocus.
- Frame your shot: Use the drone's camera to frame the subject or scene you want to capture. You can adjust the drone's position and orientation to get the desired framing.
- Focus and capture: Once you have framed your shot, the DJI Spark's camera will automatically focus and determine the optimal settings for your photo or video. Tap the shutter button to capture the image or start recording a video.
- Review your footage: After capturing your photo or video, you can review the footage in the app's gallery or playback section. You can also apply filters or make further edits using the app's editing tools.
Remember that in Auto mode, the camera will automatically adjust the settings such as aperture, shutter speed, and ISO to achieve optimal exposure. This mode is excellent for beginners or when you want to capture quick shots without manually adjusting the camera settings.
Charging Camera Batteries: DIY Home Hacks
You may want to see also
![]()
Manual mode for aperture and shutter
The DJI Spark drone has a range of camera settings that can be adjusted manually, including aperture and shutter speed.
Aperture
The aperture setting on your drone's camera controls how much light is let through the lens when you take a picture. This is measured in 'f-stops'. A smaller f-stop number means a bigger aperture, so more light comes through, and a bigger f-stop number means a smaller aperture, so less light comes through.
Shutter
The shutter controls how long light is let into the lenses. A low shutter speed lets more light in and is good for taking pictures in dim lighting, while a high shutter speed lets in less light and is good for taking crisp shots of moving objects or people.
Manual Mode
In manual mode, you can set both the aperture and shutter speed manually to give you maximum control over your photography. This is ideal if you want to experiment with different lighting conditions and movement effects. You can also use manual mode to adjust the EV (Exposure Compensation Value) dial, which shows how far away you are from the recommended settings. For example, if you are taking a picture in a dark environment with a slow shutter speed, you may want to increase the EV setting to let in more light.
To modify your shutter speed in manual mode, you can also adjust the ISO (light sensitivity) setting. This will allow you to align the exposure value while keeping the ISO at the desired level to minimise noise in your footage.
Third-Party ND Filters
If you want to adjust your shutter speed without using ND filters, you can switch to manual mode and adjust the ISO accordingly. However, keep in mind that without ND filters, your sensor will be very exposed to light, which can cause overexposure and ruin your footage in brighter conditions. Increasing the shutter speed can help with this, but it may also make your image look unnaturally sharp and lose any cinematic refinement.
If you want to use ND filters, you will need to purchase third-party ones, as DJI does not sell them for the Spark. The Polar Pro cinema series shutter collection is a good option, but it can be expensive, costing around a fifth of the price of the drone itself.
Unlocking Photography: Understanding Camera's S Mode
You may want to see also
![]()
EV settings
The DJI Spark does not have manual focus capabilities, but it does have a ""shallow focus" function. The camera focus is fixed, meaning no focusing is needed at all.
The Exposure Compensation Value (EV) dial shows you how far away you are from the recommended settings before you take a photo with manual settings. The ideal EV reading is 0; a higher or lower number indicates that your picture will be too bright or too dark, respectively. However, there may be situations where you want a high or low EV, such as when taking a picture in a dark environment with a slow shutter speed.
To adjust the EV settings, you can follow these steps:
- Open the DJI GO 4 app and tap on the camera settings.
- At the top, you will see the shutter icon, camera icon, and settings cog. Tap on the cog to access the general camera settings.
- Here, you will find the EV (Exposure Compensation Value) setting. Adjust the dial to the desired value, keeping in mind that a higher positive number will increase the exposure, while a lower negative number will decrease it.
- After adjusting the EV, you can refer to the histogram to evaluate the exposure of your image. The histogram is a graph that helps you visualize the distribution of light and dark areas in your image.
- Make any further adjustments as needed to other settings, such as aperture and shutter speed, to fine-tune your image.
Remember that the EV setting is just one aspect of achieving the desired focus and exposure for your photos. Other settings, such as aperture and shutter speed, also play a crucial role in the overall image quality.
Creating Camera Raw Profiles: A Step-by-Step Guide
You may want to see also
![]()
Single, HDR, Multiple, Timed, Pano and ShallowFocus shot modes
To access the photo modes on the DJI Spark Go 4, tap the Camera Settings button, then Photo.
Single Shot
The standard mode, it takes a single image every time you tap the shoot button.
HDR (High Dynamic Range) Shot
The camera will take three images of the same scene: one underexposed, one overexposed, and one properly exposed. It will then combine the three images to create a more dynamic JPEG.
Multiple/Burst Shot
With this mode, the camera will take multiple pictures (3-7) when you press the shutter button. This mode is ideal for shooting moving objects.
Timed Shot
This mode allows you to set a countdown timer before the shot is taken. You can select intervals of 2, 3, 5, 7, 10, 15, 20, 30, or 60 seconds. The minimum Timed Shot interval is 2 seconds for JPEG images and 5 seconds for RAW images. Timed Shot is useful for taking selfies and creating time-lapse videos.
Pano (Panorama) Shot
The Pano mode lets you capture wide-angle images. There are several types of Pano modes: Vertical, Horizontal, 180 degrees, and Sphere. In each mode, the camera stitches together multiple photos to create one large, wide-angle image.
ShallowFocus
This mode creates a depth of field effect in your photo. When ShallowFocus is selected and the shutter button is pressed, the aircraft will capture an image and then ascend to capture multiple shots from a higher altitude. You can then select the shots in the playback screen and download them to your mobile device.
HDR Photography: Cameras with Built-In HDR Mode
You may want to see also
Frequently asked questions
Tap the "Focus/Metering" button on the DJI Go 4 app.
Use the "AF Lock/Unlock" feature in the "Button Customization" settings.
Use the "MF Focus Assistant" in the camera settings.