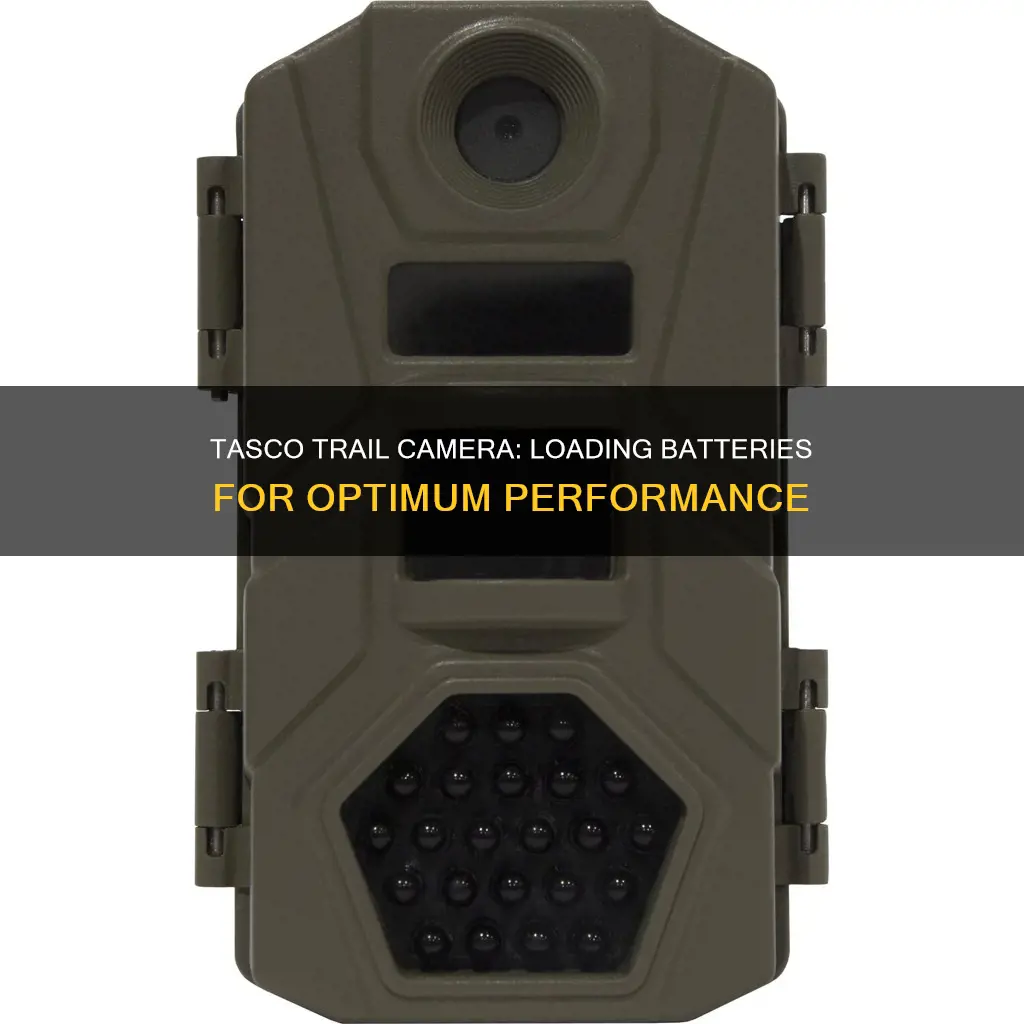
The Tasco Trail Camera is a digital scouting camera that can be triggered by any movement of live animals in a location. It consumes very little power in standby mode, allowing it to deliver up to six months of standby operation time when powered by eight AA alkaline batteries and up to twelve months when using eight lithium AA batteries.
To load the batteries, first, press the battery tray eject button to release the battery tray. Then, pull out the tray for loading, ensuring the camera's power is off while loading/unloading batteries. Insert each battery, matching the polarity indications at the bottom of the tray. The camera can operate with a minimum of four batteries, but eight batteries are recommended for longer operating times.
| Characteristics | Values |
|---|---|
| Number of batteries | 8 AA |
| Recommended battery type | Energizer Lithium |
| Battery life | 6 months |
| Battery tray eject button | Press to release the battery tray |
| Battery polarity | Match +/- indications at the bottom of the battery tray |
| SD card type | Standard SD (Secure Digital) |
| SD card format | .jpg for photos, .avi for videos |
| SD card capacity | Up to 32GB |
| SD card write-protect switch | Off |
| SD card formatting | Recommended before first use |
| Camera modes | OFF, AIM, ON |
| Camera mounting options | Adjustable web belt, tripod socket |
What You'll Learn
![]()
Press the battery tray eject button
To load the batteries into your Tasco Trail Camera, start by pressing the battery tray eject button. This will release the battery tray, allowing you to pull it out and load the batteries. Ensure that the camera's power is switched off while loading or unloading the batteries.
When inserting the batteries, make sure that each battery's polarity (+/- direction) matches the polarity indications at the bottom of the battery tray. The negative (flat) end of the battery should be in contact with the spring side of the slot. The camera can operate with a minimum of four batteries, but using a full set of eight batteries is recommended to ensure the longest operating time.
Tasco recommends using eight new lithium AA (Energizer® brand) or alkaline AA batteries. NiMh rechargeable batteries can also be used, but they may have a shorter lifespan, especially in low-temperature conditions.
Japan Camera Import: Customs and Charging
You may want to see also
![]()
Insert batteries with correct polarity
To insert the batteries with the correct polarity, start by pressing the battery tray eject button to release the battery tray. Pull out the tray for loading. Remember to switch off the camera's power before loading or unloading batteries.
When inserting the batteries, ensure that the negative (flat) end of each battery is in contact with the spring side of its slot inside the camera. The positive and negative terminals will be marked with a "+" or "-" symbol. The positive terminal may also be indicated with a red wire, and the negative terminal with a black wire. Match these with the polarity indications at the bottom of the battery tray.
Once all the batteries are inserted with the correct polarity, push the battery tray back into the camera.
Toucan Camera Battery Life: How Long Does It Last?
You may want to see also
![]()
Insert SD card
To insert an SD card into your Tasco Trail Camera, follow these steps:
First, ensure that the camera's power is switched off. The power switch should be in the OFF position.
Next, locate the SD card slot on the lower right side of the camera. The slot is positioned beneath the power switch.
Check that the write-protect switch on the side of the SD card is in the "off" position. This means it is not in the "Lock" position.
Now, insert the SD card into the slot. It should slide in easily. Note that there is only one correct way to insert the card. If it doesn't fit, flip it over and try again. You should hear a click when the card is correctly inserted.
If you are inserting a new card or one that has been used in other devices, it is recommended that you format the SD card before using it for the first time. This can be done using the camera's "Format" function. Remember to back up any files you want to keep, as formatting will erase all data.
Once the SD card is inserted, you can turn the camera on and enter Setup Mode to customise your preferences.
Charging the Blackmagic Pocket Cinema Camera 4K: A Guide
You may want to see also
![]()
Format SD card
Formatting an SD card for your Tasco Trail Camera is a simple process, but it's important to remember that formatting will erase all data on the card. Before you start, make sure you have uploaded any footage you want to keep to a computer or other device.
Formatting an SD Card in Windows 10
You will need a computer running Windows 10, as well as an SD card port or SD card reader if you are using a standard-size SD card.
- Insert your SD card into your computer, either into the SD card slot or using a USB port with a reader.
- If the card isn't recognised automatically, press the Windows Key + E. This will open File Explorer.
- Navigate to "This PC" in the left sidebar. Your SD card should be visible here.
- Right-click on your SD card and select "Format".
- You can now add a "Volume Label" and give your SD card a name.
- Click "OK" when you see the warning message saying that formatting will erase all data.
- Once formatting is complete, click "OK" to close the "Format Complete" window.
Formatting an SD Card on a Mac
You will need a USB SD card reader if you are using a standard-size SD card.
- Insert your SD card into your computer using your external card reader.
- Open Disk Utility and navigate to your SD card. If it is a new card, it may be named "untitled" or "no name".
- Click the "Erase" tab, then select "Format".
- Choose MS-DOS (FAT32) if your card is 32GB or smaller. For cards larger than 32GB, select exFAT.
- Click "Erase" when you see the confirmation message.
Formatting an SD Card in a Trail Camera
This method does not require a computer or card reader.
- Navigate to the "Format" option in your camera's menu. This is usually found under "Settings" or the gear wheel symbol.
- Select "Format" and confirm that you want to delete all data.
Formatting an SD Card Using CMD (Windows 10)
- Type "cmd" in the search box and right-click on "Command Prompt". Choose "Run as administrator".
- In the command prompt, type "diskpart" and press "Enter".
- Type "list disk" and press "Enter".
- Type "select disk" followed by the disk number you want to format (e.g. select disk 2) and press "Enter".
- Type "list volume" and press "Enter".
- Type "select volume" followed by the volume number you want to format and press "Enter".
- Type "format fs=ntfs" or "format fs=exfat" and press "Enter" to format the drive with NTFS or exFAT.
Remember to always back up important files before formatting your SD card, as this will delete all data on the card.
Canon Camera Battery Life: How Long Do They Last?
You may want to see also
![]()
Switch camera on
To switch on the Tasco Trail Camera, you must first ensure that the camera is set up with batteries and an SD card. Once you have installed the batteries and SD card, you can move on to the setup process.
To enter Setup Mode, move the Power Switch to the middle (AIM) position. The display will turn on and show the initial Setup screen. Press the OK key to begin. When the display flashes, use the UP and DOWN keys to change the settings. When you finish changing a setting, press OK to lock it in and move on to the next option.
Once you have finished setting up your camera, you can switch it on. Move the Power Switch to the ON position. The AIM/Status LED will blink for several seconds, giving you time to close and lock the front cover of the camera before walking away. After it stops blinking, the PIR sensor will be active, and any motion detected by it will trigger the capture of photos or videos as programmed in Setup Mode.
Before leaving the camera unattended, please check the following:
- Are the batteries inserted with the correct polarity, and is their power level sufficient?
- Does the SD card have sufficient available space, and is its write-protection (lock) switch off?
- Is the Power Switch in the ON position? (Do not leave it set to AIM).
Battery Chargers: Are They Included With Cameras?
You may want to see also
Frequently asked questions
To load the battery in your Tasco Trail Camera, first press the Battery Tray Eject Button to release the battery tray. Pull out the tray for loading. Insert the batteries, ensuring that each battery matches the polarity indications at the bottom of the tray. Once the batteries are loaded, push the tray back into the camera.
Tasco recommends using eight Energizer Lithium AA batteries to obtain maximum battery life. You can also use eight new lithium AA or alkaline AA batteries. NiMh Rechargeable batteries can be used, but they may have a shorter lifespan. Do not mix old and new batteries and do not mix battery types.
The camera can operate with only four batteries installed, but eight batteries should be used to ensure the longest operating time.
The battery life will vary depending on operating temperature and the number of images taken. The Tasco Trail Camera can typically capture several thousand images before the batteries die.
A shorter battery life can be caused by using the wrong batteries or SD card, or by having the wrong settings turned on. Use Energizer Lithium AA batteries and a SanDisk SD card, and ensure that the power switch is in the "ON" position.