Installing an outdoor security camera is a great way to enhance the safety of your home and deter potential threats. While it may seem like a challenging task, with proper planning and execution, you can easily set up your outdoor surveillance system. Here's an introductory paragraph to guide you through the process of hooking up a surveillance camera outside:
Installing a surveillance camera outside your home is an effective way to monitor your property and deter potential intruders. When setting up an outdoor surveillance system, there are several key steps to follow. First, you need to choose the right camera with features such as high resolution, weather resistance, and night vision. Consider factors like power source, connectivity, and field of view to ensure it suits your specific needs. Once you've selected the camera, it's time to plan its location, keeping in mind factors like height, proximity to the Wi-Fi router, and power source accessibility. The installation process will involve mounting the camera securely, connecting it to a power source, and adjusting the camera settings. By carefully following the manufacturer's instructions and performing thorough testing, you can ensure your outdoor surveillance system functions optimally.
| Characteristics | Values |
|---|---|
| Camera selection factors | Resolution, field of view, weather resistance, night vision, power source, connectivity, storage, integration |
| Power source preparation | Determine power source location, use outdoor-rated power outlet, consider professional installation, plan cable management, weatherproof the connection, install power surge protector |
| Mounting location factors | Height, stability, proximity to Wi-Fi router, cable length, visibility as a deterrent |
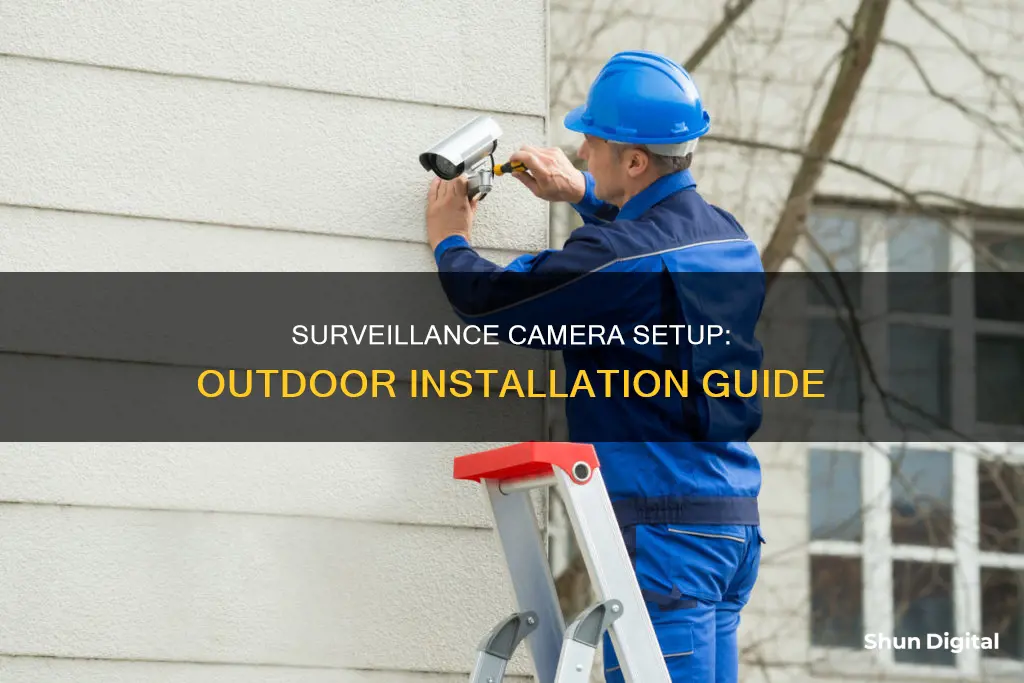
| Mounting tools | Power drill, masonry drill bits, electric screwdriver, chalk/pencil, spirit level, wall scanners |
| Camera placement factors | Height, shade/glare, Wi-Fi range, cable length, wireless capabilities |
| Connection to power source | Gather necessary cables, locate camera's power input, connect power cable, secure and hide/conceal cable, test power connection, consider power backup options |
| Camera settings adjustments | Network connectivity, video quality, motion detection, recording options, privacy settings, remote access, firmware updates |
| Testing and troubleshooting | Verify power and connectivity, live feed testing, motion detection testing, video recording and playback, night vision testing, remote access testing |
What You'll Learn
- Choosing the right camera: Consider resolution, field of view, weather resistance, night vision, power source, connectivity, storage, and integration
- Preparing the power source: Determine the power source, use outdoor-rated outlets, consider professional installation, and protect the power connection from the elements
- Mounting the camera: Select a strategic location, ensure stability, follow manufacturer instructions, position the camera, and test its view
- Connecting to power: Gather necessary cables, locate the camera's power input, connect the power cable, and test the power connection
- Adjusting settings: Access the camera's user interface, set up network connectivity, configure preferences, enable motion detection, and set recording options
![]()
Choosing the right camera: Consider resolution, field of view, weather resistance, night vision, power source, connectivity, storage, and integration
When choosing an outdoor surveillance camera, there are several key features to consider.
First, determine the desired resolution. While 1080p HD cameras are the most common, some cameras offer 4K resolution or 2K resolution, which provide sharper images and allow you to zoom in on finer details. However, higher resolutions also require more bandwidth and storage space.
Next, consider the field of view. A wider field of view is generally preferable as it allows you to monitor a larger area with fewer cameras. Look for cameras with at least a 120-degree field of view, and consider models with pan and tilt capabilities for wide, open areas.
Weather resistance is another crucial factor. Ensure the camera has an IP rating of at least IP66, indicating complete protection from dust ingress and the ability to withstand water jets from any direction.
Night vision is also important for around-the-clock surveillance. Look for cameras with infrared night vision, which provides a wider illumination range and is harder for intruders to spot. Alternatively, consider cameras with colour night vision, which allows for full-colour footage but may be less covert.
Regarding power sources, wired cameras require a nearby power outlet, while wireless cameras offer more flexibility in placement but may need frequent battery changes or recharging. Solar-powered cameras, such as those with solar panels, can be a convenient option as they don't require manual recharging or battery changes.
For connectivity, most modern cameras use Wi-Fi to connect to your home network, allowing remote access via a mobile app. However, wireless cameras may experience interruptions due to spotty Wi-Fi service or power outages. Alternatively, cellular-connected cameras like the Arlo Go 2 can provide more reliable connectivity but at a higher cost.
For storage, you have the option of cloud storage or local storage. Cloud storage typically requires a monthly subscription fee, while local storage uses a microSD card or similar accessory. Some cameras offer both options for added flexibility.
Finally, consider integration with other smart devices. Many cameras now support voice assistants like Amazon Alexa or Google Assistant, allowing for voice control and integration with smart displays. Additionally, look for IFTTT support to connect with other smart devices and create automated routines.
Camera Night Vision: Blurry Focus, Here's Why
You may want to see also
![]()
Preparing the power source: Determine the power source, use outdoor-rated outlets, consider professional installation, and protect the power connection from the elements
When it comes to preparing the power source for your outdoor surveillance camera, there are several important steps to follow. Here's a detailed guide to help you through the process:
Determine the Power Source
First, you need to decide on the power source for your camera. If you opt for a wired connection, ensure there's an electrical outlet nearby. If not, you may need to install a new outlet. Consider the distance between the camera and the power source, as well as the power requirements and accessibility.
Use Outdoor-Rated Outlets
When installing a new power outlet, make sure to use an outdoor-rated outlet. These outlets are designed to withstand the elements and provide a secure power connection for your camera. They are built to handle outdoor conditions and will protect your equipment from moisture and electrical hazards.
Consider Professional Installation
If you're unsure about electrical work or prefer a hassle-free experience, consider hiring a professional electrician. They have the expertise to install the outdoor power outlet safely and efficiently, ensuring that your camera receives a reliable power supply.
Protect the Power Connection from the Elements
To protect your power connection from the elements, use weatherproofing techniques. For example, you can use outdoor-rated conduit or waterproof cable connectors to prevent moisture or water damage. Additionally, consider installing a power surge protector to safeguard your camera from power surges and voltage fluctuations, extending the lifespan of your equipment.
By following these steps, you will ensure a reliable and uninterrupted power supply for your outdoor surveillance camera, which is crucial for its optimal performance and functionality. Remember to refer to the camera's user manual for specific instructions and always prioritize your safety when working with electrical equipment.
Focusing on Yourself: Self-Portrait Camera Techniques
You may want to see also
![]()
Mounting the camera: Select a strategic location, ensure stability, follow manufacturer instructions, position the camera, and test its view
Mounting the Camera
Select a Strategic Location
The best locations for outdoor security cameras are the front, side, and back doors, as well as the driveway, backyard, and first-floor windows. The front door is the most important place to set up a security camera as 34% of burglars use this entrance. Cameras should be placed around nine to ten feet off the ground to avoid tampering and maximise vantage points.
Ensure Stability
Outdoor security cameras should be shielded from the wind, rain, and other elements as much as possible. If possible, place the camera under a rain gutter, porch, or roof overhang to extend its life.
Follow Manufacturer Instructions
Many cameras come with drill templates to help you place holes correctly. Using the template, drill pilot holes at the indicator for the mounting screws, and install any mounting pins by tapping lightly with a hammer. Then, screw the camera mount into the wall securely.
Position the Camera
The camera should be secured onto the mount and adjusted to the desired angle. You can use the camera's app to check the point of view and make any necessary adjustments.
Test its View
Testing an installed outdoor camera goes beyond checking the positioning. You should also test its range of motion capture, night vision, and audio. Adjust the camera as needed.
Evading a Camera Ticket: My Story of Persuasion
You may want to see also
![]()
Connecting to power: Gather necessary cables, locate the camera's power input, connect the power cable, and test the power connection
Connecting your surveillance camera to a power source is a crucial step in ensuring its functionality and effectiveness. Here's a detailed guide on how to establish a reliable power connection:
Gather Necessary Cables
First, you need to identify the type of power connection your camera requires. Most modern surveillance cameras use power adapters or cables, usually with a DC connector. Ensure you have the correct power cable and, if needed, a power adapter that matches your camera model.
Locate the Camera's Power Input
The power input port on your camera is typically located at the back or bottom of the camera housing. Refer to the user manual if you're unsure about the exact location. This step is crucial, as you need to identify the correct port to avoid any connection errors.
Connect the Power Cable
Take one end of the power cable and plug it into the camera's power input port. Then, connect the other end of the power cable to a power source. This could be an outdoor-rated power outlet or a power adapter connected to a wired power source. Ensure that the connections are secure and firm.
Test the Power Connection
Once the camera is connected, verify that it is receiving power by checking the camera's indicator lights or accessing its settings. This step ensures that your camera is powered up and functioning properly. If the camera doesn't turn on or show any signs of receiving power, double-check your connections and ensure there are no loose cables.
Additionally, consider power backup options, such as a battery backup or an Uninterruptible Power Supply (UPS), to keep your camera running during power outages or interruptions.
Troubleshooting Camera Focus Issues: What You Need to Know
You may want to see also
![]()
Adjusting settings: Access the camera's user interface, set up network connectivity, configure preferences, enable motion detection, and set recording options
Once your outdoor camera is connected to a power source, you can adjust its settings to optimise its performance and meet your specific surveillance needs. Here's a step-by-step guide to fine-tuning the camera settings:
Access the Camera's User Interface
Use the camera's manual or the instructions provided by the manufacturer to access its user interface. This is typically done through a web browser, a mobile app, or dedicated software.
Set Up Network Connectivity
If your camera supports Wi-Fi or Ethernet connectivity, configure the network settings to ensure the camera is connected to your home network. Follow the instructions provided by the camera manufacturer to establish a stable and secure connection.
Configure Camera Preferences
Explore the camera's settings menu to customise preferences such as video quality, motion detection sensitivity, recording modes, and notification settings. Adjust these settings according to your surveillance requirements and personal preferences.
Enable Motion Detection
Activate the camera's motion detection feature to receive alerts or notifications when motion is detected within the camera's field of view. Adjust the sensitivity settings to minimise false alarms while ensuring accurate detection of relevant activity.
Set Recording Options
Determine how you want the camera to record and store footage. The camera may offer options such as continuous recording, scheduled recording, or motion-triggered recording. Choose the appropriate recording mode that suits your needs and available storage capacity.
Other Settings to Consider
- Privacy Settings: Adjust the camera's privacy settings to avoid capturing or recording areas that should not be monitored, such as neighbouring properties or private spaces.
- Remote Access: If remote monitoring is desired, configure the camera for remote access. This will allow you to access the camera's live feed, playback recorded footage, and manage camera settings from anywhere using a smartphone, tablet, or computer.
- Firmware Updates: Check for firmware updates for your camera and install them if available. Firmware updates often include bug fixes, security enhancements, and improved performance, ensuring your camera operates optimally.
Wired Lorex Cameras: How Long Do They Last?
You may want to see also
Frequently asked questions
You will need a power drill, masonry drill bits, an electric screwdriver, chalk or a pencil, a spirit level, and wall scanners.
The camera should be at least 8 to 10 feet off the ground to prevent easy access and potential vandalism. It should also be placed in an area with some shade to avoid glare and be directed away from windows to avoid reflections.
If your camera is wired, you will need to drill a hole in the wall and run the cable through it to the power source. If your camera is wireless, it may be powered by batteries or a solar panel.
First, download the camera's app on your mobile device. Then, sync the camera to the app by plugging it in and waiting for the LED light to show up. Follow the app's instructions to connect the camera to your Wi-Fi network.
In addition to height and lighting, you should consider the camera's field of view. Cameras with a smaller field of view (45-75 degrees) can be placed near entryways, while cameras with a wider field of view (180 degrees or above) should be mounted higher up to take advantage of the wider angle.