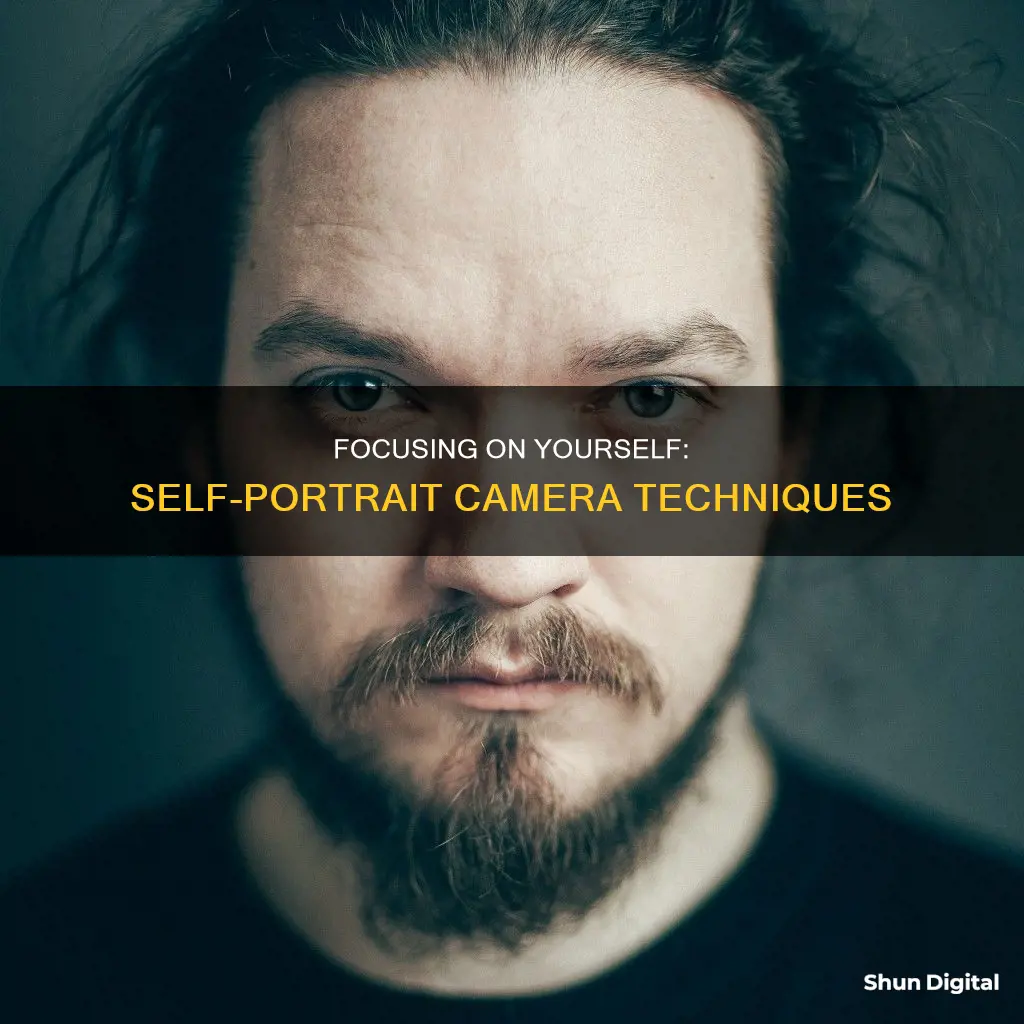
Taking a self-portrait can be a fun process, but it can also be frustrating when you can't get the focus right. There are several methods you can use to ensure your self-portraits are sharp and in focus, whether you're using a DSLR, mirrorless camera, or smartphone. Here are some tips to help you focus your camera for a self-portrait:
- Make sure there is enough light available for your camera to autofocus accurately. In low-light conditions, consider using a speed light with an autofocus assist beam or add extra light to the scene with a constant light source like your phone's torch or an LED ring light.
- Adjust your camera settings: bump up your shutter speed or use a higher aperture (higher F-stop) to make the scene appear darker while avoiding focusing problems. A wider aperture (lower F-stop) can give you a shallow depth of field, but it may be more challenging to get the focus right.
- Set a reference focus point: place an object where you'll be posing and focus on it. Then, move to that spot and take your shot.
- Use manual focus: many manual lenses have distance measurements on their focus rings. Measure the distance between you and the camera and set it on the focus ring.
- Use a remote shutter release or a self-timer: this will help you avoid shaking the camera when taking the shot, and give you time to get into position.
- Use a tripod: this will help stabilise your camera and keep it steady.
- Use a smart remote control or a mobile app: some camera brands offer remote control apps that allow you to control your camera settings and take self-portraits wirelessly from your phone.
- Use autofocus: most modern cameras have an autofocus feature that can focus on the closest object. You can use this to your advantage by darkening the room and shining a light on the area you want to be in focus, such as your eyes.
- Measure the distance: if your lens has distance markings, you can manually set the focus by measuring the distance from the camera to where you'll be standing.
- Use a mirror: place a mirror behind the camera so you can see the display and adjust your pose without having to get up between shots.
| Characteristics | Values |
|---|---|
| Type of focus | Manual or autofocus |
| Equipment | Wireless remote control, tripod, smartphone, camera with flip-out screen, smart remote control app, cable release, mirror, flashlight |
| Lighting | Well-lit environment, speed lights with autofocus assist beam, constant light, phone torch, LED ring light |
| Camera settings | Fast shutter speed, wide aperture, low ISO, single autofocus mode, continuous autofocus mode, manual focal points |
| Composition | Rule of thirds, centre of image |
What You'll Learn

Use a remote control and tripod
Using a remote control and tripod is a great way to improve your self-portrait photography. Here are some tips to help you get the most out of this setup:
Choose the Right Equipment:
- Any tripod will work, but a heavier tripod will provide more stability and keep your camera steadier when taking pictures.
- A wireless remote control is ideal as it allows you to trigger your camera without having to touch the shutter button, reducing camera shake.
- If you're using a DSLR, consider getting a remote that allows you to set the autofocus. This will help ensure that your eyes, not just your nose, are in focus.
Set Up Your Tripod:
- Find a central location with good lighting and adjust the tripod's height and angle to a comfortable position for you.
- Make sure the tripod is stable and won't move around.
- Position the camera at eye level, as close as possible, and look through the lens to get a sense of the framing and composition.
Focus and Compose:
- Use autofocus to focus on an object or person placed where you plan to pose. Then, switch to manual focus to lock in the focus.
- Alternatively, use the "reverse focusing" method: focus on the tripod head, mark that spot, and then stand there for your portrait.
- If you want to be more precise, try the "string method": tie a string to the tripod head, pull it taut, and mark the distance where it crosses the film plane. Anything at that distance from the tripod will be in perfect focus.
- If you're using a shallow depth of field, focus on something in the background that is at the same distance from the camera as where you'll be standing.
- Consider using the rule of thirds for more appealing compositions.
Take the Shot:
- With your remote control, you can simply strike a pose and press the button when you're ready, eliminating the need to run back and forth.
- Take multiple shots with slight variations in your pose, expression, and clothing to increase your chances of getting the perfect photo.
Using a remote control and tripod can greatly improve your self-portrait photography by giving you more control over focus, composition, and posing. With the right equipment and techniques, you can capture stunning self-portraits with ease!
Mastering Camera Lock Modes in League of Legends
You may want to see also

Use an app to see what the camera sees
Using an app to see what your camera sees is a great way to improve the focus of your self-portraits. This method saves you the effort of running back and forth between your camera and your posing position.
If you have a Canon camera, you can use the Canon Camera Connect app to take self-portraits. First, download the app and turn on your camera's Wi-Fi. Then, connect your phone to your camera's Wi-Fi and open the app. Click on "remote live shooting" (ensuring your camera's live view is turned off) and use your phone to compose yourself in the shot. You can click on your face or use the AF button to focus.
Nikon cameras also have a similar feature. You can use the Wireless Mobile Utility app along with the WU-1a or WU-1b wireless mobile adapters or your camera's built-in Wi-Fi to remotely take pictures. Simply set up your camera on a tripod or sturdy surface and use the app on your phone or tablet to take the picture.
For Sony cameras, the inbuilt Wi-Fi can be used to connect your smartphone to the camera and use it as a remote control and live preview.
There are also other apps that can help you take self-portraits. For example, the Camera ClickMe app for iPhones uses face detection technology to orally advise you on where to hold the camera.
Charging Camera Batteries: Empire Adapter Instructions
You may want to see also

Pick a fast enough shutter speed and appropriate aperture
When taking a self-portrait, it's important to get the focus right. Here are some tips to help you pick a fast enough shutter speed and appropriate aperture:
- Use a fast shutter speed to "freeze" any movement and ensure a sharp image. A good rule of thumb is to use a shutter speed that's at least equal to the focal length of your lens. For example, if you're using a 50mm lens, set a shutter speed of at least 1/50th of a second.
- If you're using a wide aperture (low f-number) to create a shallow depth of field, be extra careful with your focusing. A shallow depth of field can make it challenging to get the focus right, especially when you're close to the camera.
- If you want both eyes to be in focus, it's generally best to focus on the eye that's closest to the camera.
- If you're having trouble getting the focus right, try using a smaller aperture. This will give you a wider depth of field, making accurate focusing less critical.
- If you're shooting in low light conditions and need a faster shutter speed, you can increase your ISO. But be mindful of noise and try to keep the ISO as low as possible while still getting the shutter speed you need.
- If you're using a tripod, you can usually get away with a slower shutter speed since the tripod will help stabilise the image.
- If you're photographing children or moving subjects, you'll need a faster shutter speed to capture them sharply.
Candid Camera Mode: Periscope's Secret Weapon
You may want to see also

Focus correctly and lock the focus, or focus manually
Focusing on yourself while taking a self-portrait can be challenging. Here are some tips to help you focus correctly and lock the focus or focus manually:
Use a stand-in or a dummy object:
Place an object or a stand-in where you plan to pose for your self-portrait. This could be a chair, a lamp, a pillow, or even a broom. Focus on that object, and then lock the focus by switching to manual focus mode. Now, when you pose for your photo, make sure to stand precisely where the stand-in was. Even a small step forward or backward can affect the focus.
Use a remote control:
A wireless remote control can be incredibly helpful for self-portraits. It allows you to trigger the shot remotely while being in the frame, giving the autofocus a better chance to do its job. With a remote, you can also use the self-timer function more effectively, as you won't have to rush into the frame after pressing the shutter button.
Use the "closest-subject" focus mode with a flashlight:
Most modern cameras have a "closest-subject" focus mode. You can take advantage of this by darkening the room and shining a flashlight on the area you want to focus on, such as your eye. The camera will then focus only on the illuminated object. Remember to use a flash for the final shot, as the room will be dark.
Use manual focus:
If your camera has a manual focus option, you can carefully adjust the focus ring on your lens to achieve the desired focus. This takes some practice, but it gives you precise control over where the focus lands.
Use a tripod:
A tripod helps stabilise your camera, especially if you're holding it in front of your face. It also frees up your hands, allowing you to focus on posing and composing the shot.
Adjust camera settings:
- Shutter speed: Use a fast shutter speed to freeze any movement. As a rule of thumb, your shutter speed should be at least equal to the focal length of your lens. For example, if you're using a 50mm lens, set a shutter speed of at least 1/50th of a second.
- Aperture: Using a wide aperture (low f-number) creates a shallow depth of field, making you stand out from the background. However, this requires extra attention to focusing. If you're having trouble with focusing, try using a smaller aperture to increase the depth of field.
- ISO: Use a low ISO for a sharp and clear photo. However, adjust the ISO accordingly if you're in a low-light environment.
Remember, achieving perfect focus in self-portraits takes practice. Don't be afraid to experiment with different techniques and settings to find what works best for you.
Beach Camera Sales Tax: What You Need to Know
You may want to see also

Move distracting objects from the foreground
Distracting objects in the foreground can be a common issue when taking self-portraits, and it can be frustrating when these objects mess with the autofocus of your camera. Here are some tips to address this problem and improve your self-portrait photography:
Move the Object Temporarily
If possible, try moving the distracting object out of the frame while you focus your camera. Once you have achieved the desired focus, you can carefully move the object back into the frame before taking the shot. This technique allows you to maintain the intended composition while ensuring that the focus remains sharp on your subject.
Use a Stand-in Object
Another approach is to use a stand-in object to help with focusing. Place an object, such as a stuffed animal, pillow, or lamp, where you plan to pose for your self-portrait. Focus your camera on this stand-in object, and then replace it with yourself. This method ensures that the camera's focus is set correctly for your desired position.
Focus Manually
If you are comfortable with manual focusing, you can try this approach to have more control over the final image. First, place yourself in the frame and estimate the distance between yourself and the camera. Then, switch your camera to manual focus mode and adjust the focus ring until you achieve the desired focus. Remember to lock the focus before taking the shot to prevent accidental refocusing.
Adjust Your Composition
Sometimes, a simple adjustment to your composition can help minimise the impact of distracting objects in the foreground. Try moving yourself slightly closer to the camera or adjusting your pose to ensure that you remain the largest, brightest, and sharpest object in the frame. You can also utilise lines, angles, and lighting to guide the viewer's attention towards your face, making it the main subject of the image.
Use a Remote Control and Tripod
Consider investing in a wireless remote control for your camera, which will allow you to trigger the shutter remotely while being in the frame. This setup gives you more control over the focus and composition and eliminates the need to rush between the camera and your posing position. Combining the remote control with a tripod can further stabilise your images and free up your hands for more creative poses.
Remember, achieving sharp focus in self-portrait photography takes practice and patience. Don't be afraid to experiment with different techniques and settings to find what works best for you and your equipment.
Mastering Large Format Camera Focus: Techniques for Sharp Images
You may want to see also
Frequently asked questions
You can use the trial-and-error method, which involves taking multiple shots until you get the perfect combination of pose, exposure, and focus. Alternatively, you can place an object where you'll be posing, focus on that, and then pose in the same spot.
Autofocus usually focuses on the closest object, so if you're taking a close-up self-portrait, it may focus on your nose rather than your eyes. You can avoid this problem by using a smaller aperture, which increases the depth of field and makes accurate focusing less critical.
You can use a reference object to set the focus before you pose. Alternatively, if your lens has a distance measurement on its focus ring, you can measure the distance between you and the camera and set it on the focus ring.
A fast shutter speed will help to "freeze" any movement and ensure a sharp image. A wide aperture (low f-number) will create a shallow depth of field, making you stand out from the background, but it requires extra attention to focusing. A low ISO will reduce noise and ensure a clear image, but you may need to adjust it if the lighting is low.


