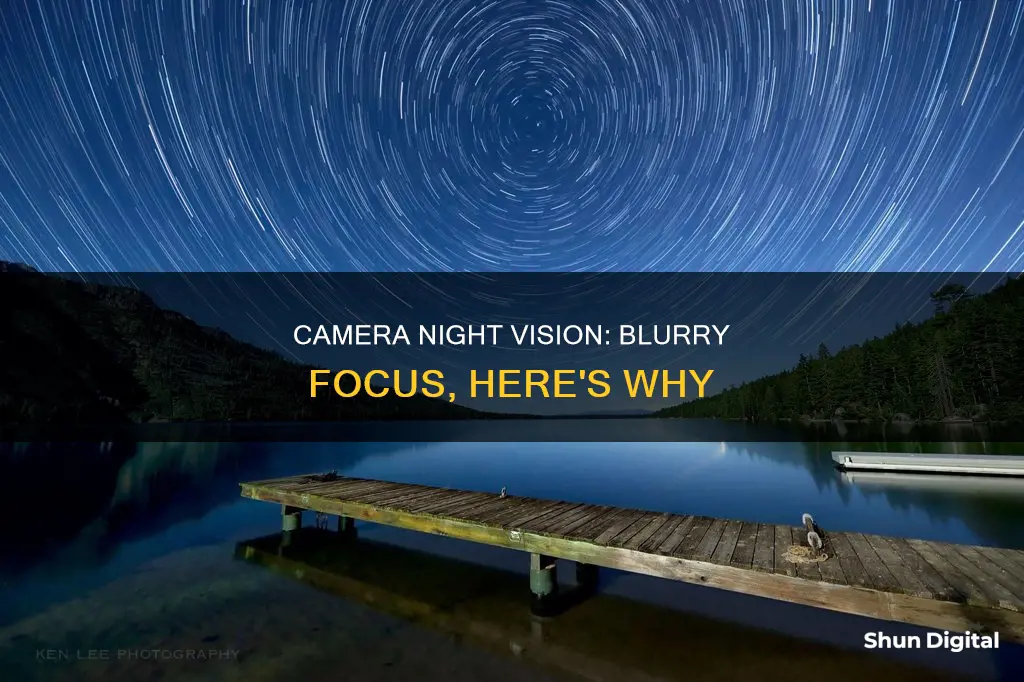
Focusing a camera at night can be challenging due to the lack of light, which is essential for capturing images. While modern cameras have improved autofocus systems, they may still struggle in very dark conditions, requiring manual intervention or additional techniques to achieve accurate focus. The absence of light makes it difficult for autofocus systems to function reliably, and even the most advanced cameras have limitations in extremely low-light environments. In such situations, manual focus techniques, creative use of lighting, and a thorough understanding of camera settings become crucial for capturing sharp images during nighttime photography.
What You'll Learn

Autofocus limitations
Autofocus is so good on modern cameras that most photographers use it all the time. However, it does have its limitations, especially in low-light conditions. The autofocus feature on most cameras works by detecting contrast in the scene. This means that the camera will struggle to focus when there is insufficient light to create contrast, such as in very dark scenes or at night.
Some modern cameras can autofocus in very dark conditions, but even these have their limits. For example, on a moonless night in the backcountry, the sky can be as dark as -9 EV or lower, which is far darker than the -4 EV limit of cameras like the Sony a7S or a7SII. At this level of darkness, most autofocus systems will fail to catch sharp focus, and you will need to rely on manual focusing techniques.
Another limitation of autofocus is that not all lenses have a hard stop at the infinity focus point. This was a feature of old-school manual focus lenses that made it easier to achieve focus at night or in other low-light conditions. With modern autofocus lenses, finding the true infinity point can be problematic.
To work around these limitations, photographers can use a variety of techniques, including pre-focusing during the day, using a flashlight or laser pointer to illuminate the scene, or switching to manual focus. In some cases, it may be necessary to use a combination of these techniques to achieve sharp focus in very dark conditions.
Charging Your Panasonic Lumix DMC-FZ70 Camera Battery: A Guide
You may want to see also

Manual focus as a solution
Focusing a camera at night can be challenging due to the lack of light, which is necessary for autofocus systems to operate effectively. While modern autofocus systems have improved significantly, they may still struggle in very dark conditions. Therefore, switching to manual focus can be an effective solution for night photography.
Manual focus allows for more careful and precise control over the camera's focus, which is crucial when shooting in low-light conditions. By switching to manual focus, photographers can take the time to adjust the focus ring until the desired object is sharp and in focus. This process may require some back-and-forth adjustments, but it ensures that the focus is as accurate as possible.
Additionally, when using manual focus, it is recommended to pre-set the lens to the infinity mark if available. This provides a good starting point for achieving "true infinity focus", which is essential for night photography. However, lens markings may not always be perfectly accurate, so further adjustments may be needed.
For DSLR cameras, enabling Live View mode can be extremely helpful for manual focusing at night. Live View allows photographers to use the LCD monitor to frame their shots and zoom in to achieve precise focus. This is especially useful when shooting in very dark conditions, as the viewfinder may be too dark to see through.
Another technique for manual focusing at night is to use a bright object, such as a star, planet, or artificial light source, as a reference point. By centering this object in the frame and using the camera's magnification feature, photographers can fine-tune their focus until the object appears as small and sharp as possible. This technique ensures that distant objects are in focus, allowing for "true infinity focus."
To ensure that the focus remains locked, photographers can carefully tape the focus ring with gaffer tape. This prevents accidental adjustments and ensures that the focus remains consistent throughout the night.
While manual focusing requires more time and effort, it provides photographers with the precision and control needed to capture sharp and focused images in low-light conditions. With practice and patience, manual focus can be a reliable solution for overcoming the challenges of night photography.
Understanding the 'M' on Your Camera's Mode Dial
You may want to see also

Focusing on bright spots
- Find a bright spot: Night scenes usually have bright spots like streetlights, lit-up buildings, or the moon. These bright spots can be used to set your autofocus. Simply focus on the bright spot normally, and your camera will now be focused on something at the same distance as your subject.
- Focus on the edge: Most cameras use contrast detection to focus. Aim at the edge of the bright spot in your frame to provide the camera with the contrast it needs to focus. This technique works best when you have a bright object against a dark background.
- Recompose after focusing: Once you have set your focus using the bright spot, move your camera back to your desired composition and take the shot without refocusing. You can use focus lock or back-button focus to prevent the camera from refocusing when you recompose.
- Use a flashlight: If you are attempting to autofocus on a close subject, you can shine a flashlight on it to provide enough light for the camera to focus. Set your focus, turn off the flashlight, and take your shot.
- Use Live View: If you are using a DSLR, enable Live View mode. This will allow you to use the LCD monitor to frame your shots and zoom in to achieve more precise manual focus.
- Use a focusing mask: A focusing mask, such as the Bahtinov Mask, is a tool used by astronomers to achieve precise focus. It produces diffraction spikes around bright stars, and when these spikes are lined up symmetrically, the image is in perfect focus.
By following these tips, you can effectively use bright spots to achieve sharp focus in low-light conditions. Remember to practice and be patient, as focusing at night can be challenging but rewarding.
Fight Back: Beating Speeding Ticket Cameras
You may want to see also

Using a flashlight
- Provide additional light for autofocus: If your camera struggles to focus in the dark, a flashlight can provide the extra light needed for autofocus to work effectively. Simply shine the flashlight on the subject or scene you want to capture, allowing your camera to focus more easily.
- Use the flashlight as a focus point: Another technique is to place the flashlight at the distance where you want to achieve focus. Focus your camera on the flashlight, lock the focus, and then remove the flashlight before capturing the photo. This ensures that your desired subject or area is in sharp focus.
- Adjust flashlight position for desired effect: Moving the flashlight closer or farther away from the subject will affect the lighting and shadows in your photo. Moving it closer can add more light to your subject, while moving it farther away will create softer lighting and more subtle shadows.
- Combine multiple flashlights: If you need more light in your scene, you can use two or more flashlights together. This can help illuminate larger areas or create more complex lighting setups.
- Modify flashlight brightness: Most modern flashlights have adjustable brightness settings. Playing with these settings can help you find the ideal brightness for your photo. A dimmer flashlight can preserve night vision and create a softer lighting effect, while a brighter flashlight can illuminate a larger area.
- Be mindful of colour inconsistencies: Using multiple flashlights with different colour temperatures can result in colour inconsistencies in your photo. Try to use flashlights with similar colour temperatures, or adjust the white balance in post-processing to achieve consistent colours.
- Avoid red lights for navigation: While red lights are useful for preserving night vision, they can "bleed" into photographs and affect the overall colour balance of your image. Use a dim white light instead, as it is easier to work with and will not impact your night vision as much.
By following these tips, you can effectively use a flashlight to improve your night photography and achieve well-lit, sharply focused images.
Charging Exilim Cameras: A Quick Guide
You may want to see also

Camera settings
The first thing to note is that autofocus is unreliable in low-light conditions. Even the most advanced autofocus systems can struggle in the dark, so it's often best to switch to manual focus mode. This will allow you to more carefully and precisely adjust your focus.
Infinity Mark
If your lens has an infinity mark, this is a good starting point. Set your focus to infinity, which will allow anything beyond a certain distance to be in focus. However, lens markings are rarely perfectly accurate, so you may need to refine your focus further.
Live View
If you're using a DSLR, enable Live View mode. This will allow you to use the LCD monitor to frame your shots, as the eye-level viewfinder will likely be too dark. Live View can help by amplifying the scene and allowing you to magnify the image on the LCD screen.
Exposure
Before framing your shot, set your camera to Manual mode and input the exposure settings you wish to use. Using a high ISO, such as 6400 or 12800, can make the stars more visible and help with focusing.
Focus on a Bright Spot
Even in the dark, night scenes usually have a bright spot or two, such as streetlights or the moon. You can use these bright spots to set your autofocus. Find a bright spot that is reasonably close to your desired plane of focus and autofocus on that point.
Focus on the Edge
Most cameras use contrast detection to focus. Therefore, they will have the best chance of finding something to focus on if you aim at the area of high contrast between something bright and the dark background. So, rather than focusing on the middle of the bright spot, focus on its edge.
Use a Flashlight
If you're attempting to autofocus on a close subject, you can shine a flashlight on it to lighten it up enough for the camera to focus. Once you've set your focus, turn off the flashlight and take your shot.
Back-Button Focus
Using back-button focus can be helpful when you want to take a shot without refocusing. Set up your focus so that it is triggered by a button on the back of your camera, rather than the shutter button. This way, when you take the picture, there's no chance that your camera will refocus.
Manual Focus Using the Lens Scale
If there's nothing to use for autofocus, you can manually focus using the distance scale on the front of your lens, which tells you the distance at which you're focused. You may need a flashlight to see the scale, so it's a good idea to keep one in your camera bag.
Hyperfocal Distance
Hyperfocal distance is the focusing distance that gives you the best depth of field, meaning most of your image will be in focus. You can use a hyperfocal distance calculator to find the right distance for your needs.
Charging Your GoPro: A Step-by-Step Guide
You may want to see also
Frequently asked questions
The camera needs a certain amount of light to be able to focus. In low-light conditions, it may struggle to find focus.
You can try to use autofocus by aiming at a bright spot or the edge of a bright object. If autofocus still doesn't work, you can try to focus manually.
You can use the lens scale to set the focus or try to guess the focus by shooting with a high aperture value and a wide-angle lens. You can also use the Live View function to zoom in on your subject and clearly see if you have nailed the focus.


