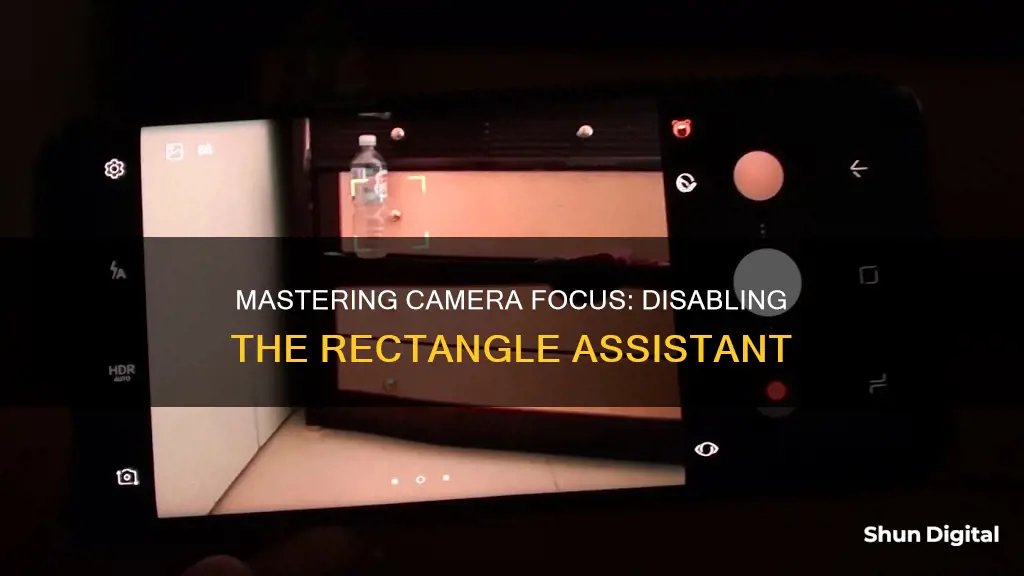
The focus rectangle on your camera can be a nuisance, especially when you want a clear and uninterrupted shot. While some cameras allow you to disable this feature, others do not. For instance, the Canon EOS 550D / Rebel T2i, 5D Mark II, and the Rebels do not have the option to turn off the focus rectangle. However, there are some workarounds that you can try. One method is to set the camera to face detection mode, which will remove the focus rectangle unless it detects a face. Another option is to use third-party software such as Magic Lantern or Camera Live, which can remove the focus box while using autofocus. Additionally, you can try streaming with the EOS utility and switching the AF to MF on the physical camera to eliminate the face rectangles.
| Characteristics | Values |
|---|---|
| Camera model | Canon EOS 7D, 50D, 1100D, 550D, 600D, 5D Mark II, Rebel T2i |
| Method | Switch to manual focus, use Magic Lantern, use Camera Live app, set focusing mode to face detection, use EOS utility |
| Purpose | Remove focus rectangle, improve video quality, set up camera for live presenting |
What You'll Learn

Switch to manual focus
Switching to manual focus is a great way to take control of your camera and ensure a sharp image, especially in situations where autofocus may struggle. To switch to manual focus, you can follow these steps:
- Locate the AF/MF switch on your lens barrel and slide it from AF to MF. This will put your camera into manual focus mode.
- Begin focusing manually by twisting the focus ring on the lens. You can use the viewfinder to check when the image is sharp.
- Utilize the distance numbers on your lens barrel as a guide to help judge the distance between your camera and the subject. This can be especially helpful in low-light situations.
- If your lens doesn't have a focus switch, don't worry. You can still switch to manual focus through your camera's settings.
- Check your camera body for a switch that allows you to change from autofocus to manual focus. This could be labelled as Continuous or Single AF.
- Alternatively, access your camera's menu system. Go to the AF mode settings and change it to MF. This is usually found in the top rows of the first menu screen.
By switching to manual focus, you can take full control over the sharpness and focus of your images, especially in scenarios where autofocus may not deliver the desired results, such as low-light conditions or when shooting through glass.
Charging the Fuji XT-30: A Quick Guide
You may want to see also

Use the app 'Camera Live'
If you want to disable the focus rectangle on your Canon camera, there is an app called Camera Live that can help you do that. Here's a step-by-step guide on how to use the app:
Step 1: Install the App
Firstly, you need to download and install the Camera Live app on your device. You can find the app on GitHub by searching for "Camera Live" or "v002-Camera-Live". Once you find the app, follow the instructions to download and install it on your device.
Step 2: Open the App
Once the app is installed, open it. You should see an interface with various options and settings. Familiarize yourself with the app's layout and functions.
Step 3: Connect Your Canon Camera
Now, you need to connect your Canon camera to the device with the Camera Live app. Make sure your camera is turned on and set up correctly. Follow any specific instructions provided by the app or your camera manufacturer for establishing a proper connection.
Step 4: Access Camera Settings
Within the Camera Live app, look for the settings or options related to your Canon camera. This might be under a "Settings" or "Camera Settings" menu. The app should provide you with various customization options for your camera.
Step 5: Disable the Focus Rectangle
In the camera settings, look for an option related to the focus rectangle or autofocus (AF) settings. There might be a specific toggle or setting to disable the focus rectangle. If not, try changing the autofocus mode to manual focus (MF) or a different autofocus mode that doesn't display the rectangle, such as face detection.
Step 6: Test Your Configuration
After making the necessary changes, test your camera to ensure that the focus rectangle is no longer appearing. Take some test shots or record a video to confirm that the rectangle has been disabled. If it's still appearing, double-check your settings and ensure that you have followed all the necessary steps.
By following these steps and using the Camera Live app, you should be able to successfully disable the focus rectangle on your Canon camera. Remember to refer to the app's documentation or seek further guidance if you encounter any issues during the process.
Fuji's Eye-Detection Mode: Capturing Sharp Portraits with Ease
You may want to see also

Try the Magic Lantern firmware
Magic Lantern is a free software add-on for various Canon digital single-lens reflex (DSLR) cameras and the EOS M. It adds a host of new features to Canon EOS cameras that weren't included from the factory by Canon. It was originally developed for DSLR filmmaking, but its features have expanded to include those for still photography.
Since installing Magic Lantern does not replace the stock Canon firmware or modify the ROM but rather runs alongside it, it is both easy to remove and carries little risk. The camera checks a "boot flag" in its re-writable memory, and if set, reads from a memory card to get the additional firmware routines. Each time the camera is started, there is an option to disable Magic Lantern.
- Audio controls, on-screen audio meter, and audio monitoring via A/V cable
- HDR video, bitrate control, FPS control, and auto-restart
- Precise ISO, White Balance, and Shutter Speed controls
- Zebras, false colour, raw histogram, waveform, spot meter, and vectorscope
- Focus peaking, 'magic zoom', trap focus, rack focus, follow focus, and motion detection
- Automatic Exposure Bracketing and focus stacking
- Intervalometer, bulb timer (up to 8 hours), and bulb ramping
- Custom cropmarks/on-screen graphics
- On-screen focus and DOF info, CMOS temperature, and clock
- Customizable menus and scripting
- Customizable "P" Program mode
- 14-bit raw video on some DSLRs
- Dual-ISO for increased dynamic range up to about 3 EV, with trade-off of somewhat less resolution and more complicated post-processing involving cr2dng
- Auto-Dot-Tune on some DSLRs for automatic micro-focus-adjustment to calibrate lens and body (5D Mk II, 6D, 50D, 5D Mk III, and 7D)
To remove the focus rectangle on your camera, you can try the following:
- Set the camera to manual focus.
- Set the camera to face detection mode.
- Turn the AF to MF on the physical camera.
- Turn the camera upside down.
Best Camera for Nighttime Portrait Mode on the Galaxy S22
You may want to see also

Set the focus mode to face detection
To set the focus mode to face detection, follow these steps:
Firstly, it is important to note that the specific steps to enable face detection mode may vary depending on your camera model and brand. However, the general process typically involves adjusting the focus mode settings in your camera's menu.
For Sony camera users, access the menu and navigate to "Camera Settings 1." From there, select " [Face/Eye AF Set.] and then choose [Face/Eye Prty in AF]." Turn on the setting by selecting " [On]."
Next, go back to "Camera Settings 1" and choose " [Subject Detection], then select [Human]." This ensures that the camera focuses specifically on human faces.
You can also adjust the " [Face Detect. Frame Disp.]" setting to control how the face detection frames are displayed on your camera's viewfinder or screen. Select "Off" if you don't want the face detection frames to be visible.
For Canon camera users, switching to live face detection mode can help eliminate the constant focus rectangle. However, this may be replaced with an auto face detection rectangle.
Additionally, some Canon users have suggested using an app called "Camera Live," which allows you to use autofocus while removing the focus box.
Another suggestion is to try "Magic Lantern," a custom firmware that might provide HDMI output without the focus overlays.
For Fujifilm camera users, you can set up back button focusing, which allows you to quickly switch to face detection mode when needed. This can be useful when handing the camera to someone else to take a photo.
By following these steps and adjusting the settings according to your specific camera model, you should be able to set the focus mode to face detection and eliminate the focus rectangle.
Understanding Camera Raw Conversion: The Basics
You may want to see also

Turn the camera upside down
Turning your camera upside down can be a solution to disable the focus rectangle on your camera. This technique works because face detection systems usually look for a specific pattern: two eyes above a mouth. Turning the camera upside down gives the camera a mouth above two eyes, which the face detection system will ignore.
However, this technique is not 100% reliable. The face detection system may sometimes be able to recognise a face even when the camera is upside down. It likely has a fallback mechanism to handle tilting and glancing camera angles. If you use this technique, make sure to review each shot right after capture, as the rectangle may flash on the screen only for a brief moment.
It is always better to physically turn the camera rather than digitally rotate the camera feed. Digitally altering a live video by rotating it will distort the image. If you choose a 90 or 180-degree rotation, the aspect ratios will change, and a 16x9 aspect ratio will become a 9 x 16 ratio image. However, there are situations where a taller-than-wide image is preferable, such as in a long hallway.
Leatherette Camera: What's It Really Made Of?
You may want to see also
Frequently asked questions
Try switching to manual focus or face detection mode. Alternatively, you can try using third-party apps such as Magic Lantern or Camera Live.
The dotted rectangle is a built-in Windows feature that serves as a cursor for GUI-based navigation. It is not recommended to remove it from the system as it is deeply rooted and may cause issues. However, you can try searching for third-party tools or programs to remove it.
Set the focusing mode to face detection. Then, on the physical camera, switch the AF to MF.
Try using the Magic Lantern app or the Camera Live app.


