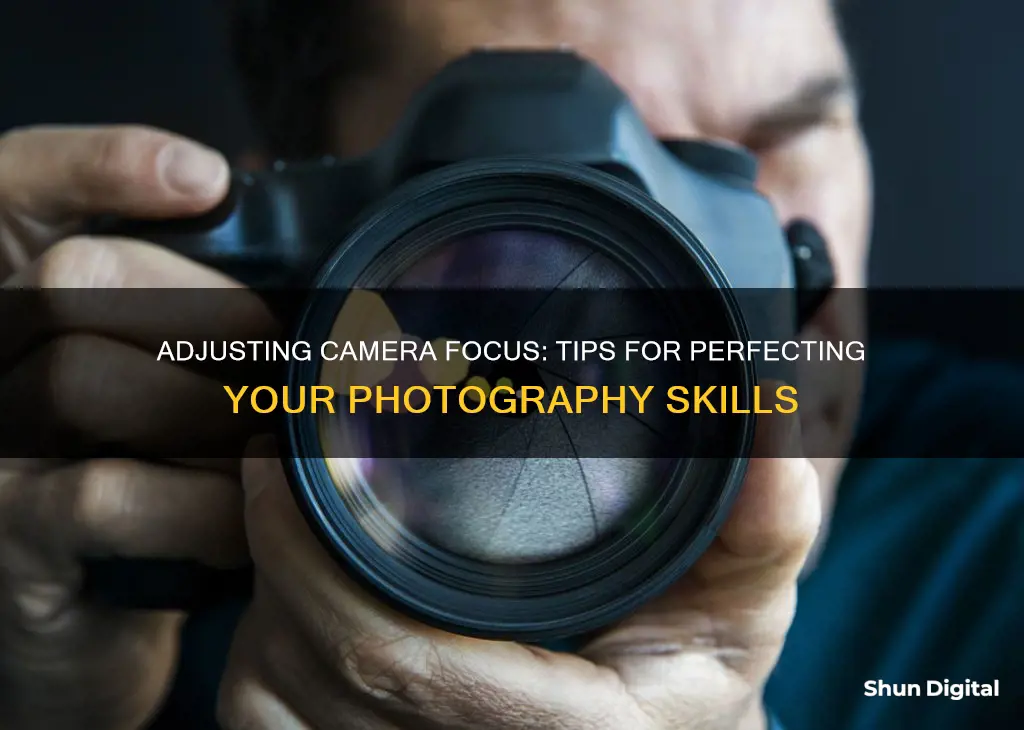
Focusing a camera is a fundamental aspect of photography that ensures your subject shines and your composition comes together. There are a few ways to adjust the focus on your camera, depending on whether you are using a DSLR, point-and-shoot, or smartphone camera.
DSLR cameras have a manual focus option, which can be activated by flipping the switch on your lens to MF. From there, you can twist the focus ring until your subject is sharp. You can also use the live view mode on your camera to fine-tune the focus.
Point-and-shoot cameras have optical zoom, which can be used to manipulate the depth of field and achieve a sharply focused subject with a blurred background.
Smartphone cameras allow you to tap the screen where you want the camera to focus. You can also press and hold the screen to lock the focus on your subject.
Additionally, there are a few general tips and tricks that can help you improve your focus, such as using a large aperture, focusing on an area with contrast, and focusing on the eyes of a person.
| Characteristics | Values |
|---|---|
| Camera type | DSLR, mirrorless, point-and-shoot, or smartphone |
| Focus mode | Single, continuous, or auto |
| Focus point mode | Single point, zone/multi, or auto |
| Drive mode | Single or continuous |
| Aperture | Large or small |
| Focus point | Eyes of a person, or an area with contrast |
What You'll Learn
- Manual focus: twist the focus ring until your subject is sharp
- Focus on the eyes: ensure the eyes are in focus, even if the background is blurred
- Adjust the depth of field: zoom in on your subject for a shallow depth of field
- Use a large aperture: a larger aperture results in a shallow depth of field
- Focus on an area with contrast: the autofocus needs to be able to detect contrast in the area you are pointing it at
![]()
Manual focus: twist the focus ring until your subject is sharp
Manual focus is a useful skill to have as a photographer, as it allows you to take control of the point of focus and can help you get consistently sharp photos. While autofocus is great, it can sometimes lock focus on the wrong parts of a scene or fail to lock focus completely.
To use manual focus, first locate the focusing mode switch on your camera or lens, and switch it to "MF". Then, find the focus ring, which is often near the middle of the lens barrel. Look through your camera viewfinder and twist the focus ring to one side. You should see the focus shift as different areas of the scene go in and out of focus. Keep twisting the focus ring until your subject comes into focus.
Manual focus can be particularly useful in several situations. The first is when there is low contrast in the scene, such as when shooting a white car against a snowy landscape. Autofocus relies on there being enough contrast between the light and dark tones in an image to sense where to focus. In low-light situations, your lens may struggle to lock onto anything, so manual focus is a must.
Manual focus is also useful when the subject is visually similar to its surroundings or background, such as when photographing the stamens inside a flower. Autofocus may have trouble picking out these small, fine details. It can also be helpful when shooting through obstructions like a fence or tree branches, as autofocus may focus on the obstruction rather than your intended subject.
Another situation where manual focus can be beneficial is when shooting video, especially if you need to shift focus between two elements in the scene. Manual focus can provide a more professional-looking result and eliminate the noises of focusing motors inside the lens.
Finally, manual focus can be useful when it's not possible to focus on a subject because it's moving too quickly or hasn't appeared yet. With manual focus, you can find the position where you think the subject will appear, saving you time when it eventually does. Just be sure to select an aperture that will provide enough depth of field in case your calculations are slightly off.
Mastering Manual Focus: A Guide to Camera Precision
You may want to see also
![]()
Focus on the eyes: ensure the eyes are in focus, even if the background is blurred
To ensure the eyes are in focus, you should use a high enough shutter speed. Even a small movement of the subject or hand shake can turn focused eyes blurry. A good rule for shutter speed is to shoot faster than the reciprocal of your focal length. For example, if you are shooting at a focal length of 100mm, your shutter speed should be at least 1/100 of a second.
You can also use a smaller aperture. Shooting with a wide aperture can create a blurry bokeh effect in the background, but this can also cause a loss of sharpness, even in the areas in focus. Using a smaller aperture, such as f/2.8 or higher, will help ensure the eyes are in focus. Additionally, you can position your subject further from the background to achieve a similar effect without sacrificing sharpness.
Another way to ensure the eyes are in focus is to use a single-point focus mode and move the focus point over the eyes. Modern cameras have focus systems that automatically detect and focus on a person's face. However, for more precision, you can use a single-point focus mode and manually adjust the focus point to the eyes. This is especially useful if you are shooting with a wide aperture and at a closer distance, as the focal plane can be quite thin.
When composing your shot, it is important to move your focus point, not the camera. The "focus and recompose" method can change the location of the focal plane, resulting in the nose being in focus instead of the eyes. Instead, keep the camera still and adjust the focus point to the eyes. This ensures that the eyes remain the area of sharpest focus.
Finally, pay attention to the lighting on the eyes. The eyes may appear less sharp if they are not well-lit. Ensure there is enough light on the eyes during the shot, as software brightening cannot create the same contrast and sharpness as real light.
Exploring VR Mode in Cameras: An Immersive Experience
You may want to see also
![]()
Adjust the depth of field: zoom in on your subject for a shallow depth of field
Zooming in on your subject is a great way to achieve a shallow depth of field, which is when only your subject is in focus and the background appears smooth and creamy. Here are some tips to achieve this effect:
- Use a telephoto lens: Telephoto lenses have a shallower depth of field than wider lenses. For example, an 85mm lens will typically have a shallower depth of field than a 50mm lens.
- Get closer to your subject: The closer your subject is to the camera, the shallower the depth of field becomes. Move closer to your subject to blur the background and make your subject stand out.
- Use a wide aperture: A wide aperture, such as f/1.4 to f/5.6, will create a shallow depth of field. This is the simplest way to control your depth of field. Keep in mind that wider apertures let in more light, so you may need to adjust your shutter speed or ISO settings to maintain proper exposure.
- Use a full-frame camera: Full-frame sensors can produce a shallower depth of field compared to cropped sensors. This is because a wider lens is needed on a cropped sensor to achieve the same field of view, and wider lenses result in a less blurry background.
- Focus on the eyes: When photographing people, it is crucial to ensure their eyes are in focus. Audiences are less forgiving if the eyes are blurry, so focus on the eyes to create a strong connection with the viewer.
- Use a follow focus: A follow focus is a small wheel that allows for precise manual adjustments to your lens's focus. This can be very helpful when working with shallow depth of field as it is easy to overshoot or undershoot your focus points when adjusting the focus by hand.
Beat Bus Lane Camera Tickets: NYC Strategies
You may want to see also
![]()
Use a large aperture: a larger aperture results in a shallow depth of field
Using a large aperture is a great way to achieve a shallow depth of field and add a beautiful blur to your images. A large aperture, denoted by a small f-number like f/1.4 or f/2, will result in a shallow depth of field, allowing you to creatively separate your subject from the background. This technique is popular in portrait photography, where the goal is often to isolate the subject and create a pleasing background blur.
When using a large aperture, it's important to understand the relationship between aperture and depth of field. Depth of field refers to the amount of your image that appears sharp from front to back. By using a large aperture, you are intentionally creating a shallow depth of field, which means that only a small portion of your image will be in focus, while the rest will gradually transition into a blur. This can be a powerful tool for drawing the viewer's attention to your subject.
To achieve a shallow depth of field, simply set your lens to its largest aperture (smallest f-number). This will depend on the lens you are using. For example, a "fast" lens designed for low-light photography might have a maximum aperture of f/1.4 or f/1.8, while a zoom lens might have a maximum aperture of f/2.8. Keep in mind that smaller f-numbers represent larger apertures.
When shooting with a large aperture, it's important to pay attention to your focusing distance. The shallow depth of field means that only objects at a specific distance from the camera will be in focus. You can use this to your advantage by carefully choosing what to keep in focus and what to blur. Get creative and experiment with different focusing distances to see the impact on your images.
Another factor to consider when using a large aperture is the quality of the background blur, often referred to as "bokeh." Bokeh is influenced by the shape of the aperture blades in your lens. Lenses with more aperture blades and rounded blades tend to produce smoother and more pleasing bokeh. If bokeh is important to you, test different lenses and apertures to see the effect on the background blur.
Using a large aperture also has an impact on the exposure of your images. A larger aperture allows more light to reach your camera sensor, resulting in a brighter image. This is useful in low-light situations, such as indoor or night photography. However, be mindful that a brighter image may require you to adjust your shutter speed or ISO settings to avoid overexposure.
In conclusion, using a large aperture is a creative way to add dimension to your photos by controlling depth of field. It allows you to achieve a shallow depth of field, isolate your subject, and create a beautiful background blur. Experiment with different apertures, focus distances, and lenses to find the combination that best suits your creative vision. Remember to also pay attention to your exposure settings to ensure your images are properly exposed. Happy shooting!
Recharging Camera Batteries: Efficient Nightly Routine
You may want to see also
![]()
Focus on an area with contrast: the autofocus needs to be able to detect contrast in the area you are pointing it at
When using autofocus, it's important to focus on an area with contrast. This is because autofocus systems rely on sensors to determine the correct focus, and these sensors need to be able to detect contrast in the area you are pointing the camera at.
The autofocus function in most cameras today can automatically adjust the sharpness of the subject, ensuring sharp images in 90% of cases. This has made significant progress for amateur photographers by reducing the number of failed photographs and standardising photography, requiring less technical competence to succeed in taking photos.
The autofocus process involves the camera lens projecting the image onto the image sensor. The autofocus module then retrieves a portion of the image for the CPU to process the contrast information. The CPU then activates the autofocus motor to move the lens for focusing based on the processing result. This process repeats until the subject is accurately focused on.
The autofocus module extracts a portion of the image from the image sensor and processes its contrast information with the help of the CPU. The lens is then moved to focus, and this process repeats until the recorded contrast is the highest, and the lens is focused.
The contrast detection method is based on the principle that the accurately focused image has the highest contrast among all images of the same scene. This method requires contrast for focusing, so the area used for focusing must have a reasonable contrast. As low light implies low contrast, one major drawback of this method is that autofocus may fail in a poorly illuminated environment, and you must find a high-contrast area to focus on.
Passive autofocus, which equips SLR devices, is very effective in low-light or low-contrast situations. This system uses the autofocus "phase contrast" or "phase detection" method, which is very effective when there is little contrast in the scene.
The Evolution of DCS Cameras: Beyond Kodak
You may want to see also