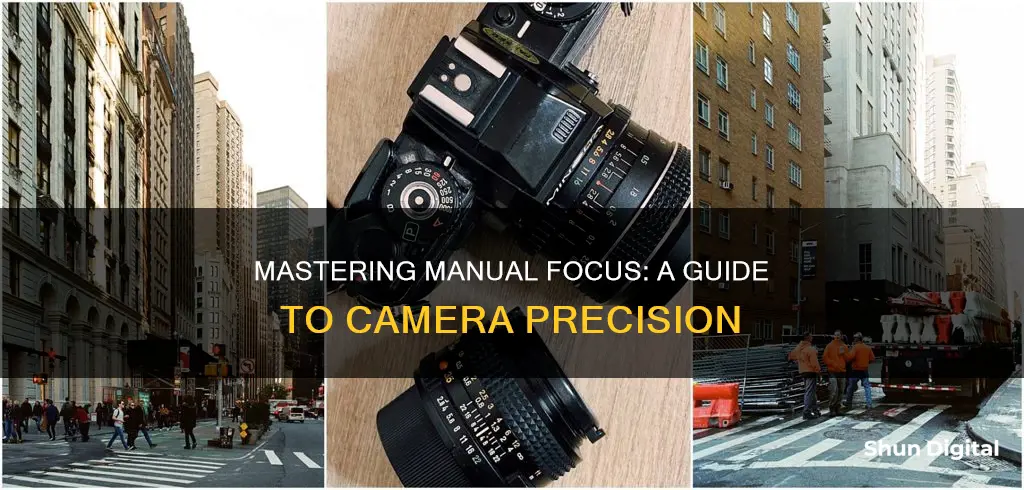
Focusing is fundamental to the imaging process. While autofocus is convenient and usually works well, there are many scenarios in which manually focusing your camera can yield sharper results. In this article, we'll discuss when and how to manually focus your camera to get the perfect shot.
| Characteristics | Values |
|---|---|
| When to use manual focus | When autofocus lets you down, when you have extra time to ensure the focus point is correct, for astrophotography, for landscape photography, for macro photography, for low-light or low-contrast situations |
| How to enable manual focus | Flip the switch on the lens barrel to MF, or use the camera's function menu |
| How to manually focus | Adjust the focus ring on the lens, use live view mode to fine-tune the focus, use camera-assisted manual focus features |
What You'll Learn
- Understand the basics of manual focus and how it differs from autofocus
- Learn how to enable manual focus on your camera
- Know when to use manual focus, such as in low light or for astrophotography
- Get sharp results with manual focus using tools like diopter adjustment and focus peaking
- Practice makes perfect – develop your muscle memory for manual focusing

Understand the basics of manual focus and how it differs from autofocus
Manual focus and autofocus are two different ways of achieving the same goal: a sharp image. Both have their pros and cons, and photographers will often use both depending on the situation.
Manual Focus
Manual focus is when the photographer adjusts the focus ring of the lens themselves. This requires more time and skill but allows for a more precise focus point. It is advantageous when the autofocus is unreliable, such as in low-light or low-contrast conditions, or when there are many objects in the scene. It is also useful for certain types of photography that require precise focus, such as macro or landscape photography.
Autofocus
Autofocus, on the other hand, is when the camera's internal sensors automatically adjust the focus point. This is more convenient and faster but may result in suboptimal focus in certain situations. Autofocus relies on contrast to identify objects and can struggle in low-light conditions or when there are foreground objects. However, it is excellent for quick snapshots, capturing moving objects, and situations where the photographer needs to act quickly.
Differences
The main difference between manual focus and autofocus is the level of precision and control offered. Manual focus allows the photographer to fine-tune the focus point, resulting in sharper and more intentional images. Autofocus, on the other hand, is more automated and can sometimes miss the optimal focus point. Additionally, manual focus requires more skill and practice, while autofocus is generally easier to use.
Editing Essentials: Camera Raw Techniques
You may want to see also

Learn how to enable manual focus on your camera
Manual focus is a great skill to learn and can be particularly useful in situations where autofocus lets you down. It can be a little tricky to get to grips with, but it's definitely worth persevering with.
How to enable manual focus
If your lens has autofocus support, you'll usually see a switch with positions labelled A and M. Other lenses will have options like M/A, A/M, or A-M, which allow you to manually override autofocus. If you set your lens to 'M', you'll turn off autofocus and enter manual-focus-only mode.
You can also enable manual focus via your camera's menu. This will usually be found in the Function menu, with Manual Focus as the last option on the list.
How to manually focus
Once you've enabled manual focus, you'll need to turn the ring on the barrel of your lens. Be aware that zoom lenses have two rings: one for zoom and one for focus.
As you turn the ring, watch the screen on the back of your camera. You'll see the image go from out of focus to perfectly sharp.
When to use manual focus
Manual focus is particularly useful in low-light conditions, or when you're shooting through objects like a chain-link fence. It's also ideal for astrophotography, or when you're expecting action in a specific location, such as a sports game or a wedding.
Manual focus is also useful when you're shooting with a shallow depth of field, using a fast aperture like f/1.4 and telephoto focal lengths.
Land Camera's First Steps: What Made It So Popular?
You may want to see also

Know when to use manual focus, such as in low light or for astrophotography
Manual focus is a great tool to use when you want to have complete control over the focus of your image. It is particularly useful in situations where autofocus might struggle, such as in low-light conditions or when shooting through glass or fences.
Astrophotography is one such situation where manual focus is necessary. The stars are too dim and too small for a camera to autofocus on them. Therefore, it is important to learn how to manually focus your camera for astrophotography.
To focus your camera lens for astrophotography, start by finding the brightest star in the night sky. Turn on the "live-view" mode on your camera, which turns the display screen into a live video of what your sensor sees. You can also use the moon, planets, or a distant streetlamp as a focusing point, but an actual star is best.
Next, you will need to adjust your camera settings to let as much light as possible reach the sensor. Use the following settings:
- Mode: Manual or Bulb
- Lens Mode: Manual Focus
- Aperture: F/4 or below (as low as it goes)
- White Balance: Daylight or Auto
- Exposure: 30-seconds or Bulb
- ISO: 1600 or above (higher will show more stars)
Once you have found a bright star and adjusted your settings, use the digital zoom function to zoom in on the star. Then, slowly adjust the focus ring on your lens until the star becomes a small pinpoint of light. You may need to go back and forth, in and out of focus, several times before finding the spot where the pinpoint is smallest and sharpest.
After you have achieved sharp focus, it is important to lock in your focus to prevent accidentally knocking it out of position when moving the camera. You can do this by taping the focus ring with a piece of gaffer tape.
Another tool that can help you achieve precise focus for astrophotography is a Bahtinov mask. This is a simple accessory that sits in front of your camera lens and creates a star diffraction pattern. As you adjust the focus, the pattern changes, and when the central spike is centred, your camera is in focus.
While achieving manual focus for astrophotography may take some time and practice, it is a valuable skill to have for anyone interested in this type of photography.
Cleaning Camera Battery Terminals: A Step-by-Step Guide
You may want to see also

Get sharp results with manual focus using tools like diopter adjustment and focus peaking
Manual focus is a great way to ensure your photos are sharp. It can be advantageous in a few different situations, such as when using a tripod for landscape photography, or when autofocus struggles with low light conditions or a subject that doesn't contrast well with the background.
To get sharp results with manual focus, you can use tools like diopter adjustment and focus peaking. Diopter adjustment is a dial that allows you to compensate for any visual impairments and ensure that the image you see through the viewfinder is sharp. It's usually located to the right of the eyepiece and works like the device an eye doctor uses to check your vision. By turning the dial, you can adjust the focus to suit your eyesight, making it easier to frame your shot and manually focus the camera.
Focus peaking, on the other hand, is a feature available in most modern mirrorless cameras and some DSLR cameras. It helps you pinpoint the areas of your image that are in focus by overlaying a colour on the areas of the image that are in focus. This overlay is displayed in real time on your camera's LCD screen, allowing you to see how the image's focus changes as you turn the focusing ring on your lens. Focus peaking is especially useful in low-light conditions or when it's challenging to quickly assess what areas are in focus.
To use manual focus effectively, it's important to understand when to use it and how to utilise tools like diopter adjustment and focus peaking. By combining these tools with careful composition and the right camera settings, you can achieve sharp and stunning results with manual focus.
Did I Get Snapped by a Speed Camera?
You may want to see also

Practice makes perfect – develop your muscle memory for manual focusing
To master the skill of manual focusing, you need to put in the hours of practice. This is true for any skill, and the more you do it, the more it will become second nature.
Manual focusing is a valuable skill to have as a photographer, and while autofocus is a great modern feature, it is not always reliable. When autofocus lets you down, you will be glad you took the time to learn how to manually focus.
Manual focusing is especially useful for landscape photography, astrophotography, and macro photography. It is also beneficial when shooting in low light or low-contrast conditions, or when the subject does not stand out from the background.
So, how do you develop your muscle memory for manual focusing? First, you need to understand how your camera's manual focus works. Once you have that down, it's all about repetition and practice. Return to the same shot hundreds of times, adjusting the focus ring slightly each time. The more you do it, the faster you will become, and the more you will be able to make tiny adjustments to get the perfect focus.
You can also try introducing subtle variations into your practice routine. For example, if you are focusing on a landscape, try shooting the same scene at different times of day or in different weather conditions. This will help you learn how to adjust your focus in various lighting and contrast conditions.
Additionally, you can try different types of photography that require manual focusing, such as astrophotography or macro photography. The more you challenge yourself and step out of your comfort zone, the better you will become at manual focusing.
Remember, practice makes perfect. The more you work on your manual focusing skills, the faster and more intuitive it will become. So get out there and start shooting!
Unlocking Super Macro Mode: Capturing Tiny Details with Your Camera
You may want to see also


