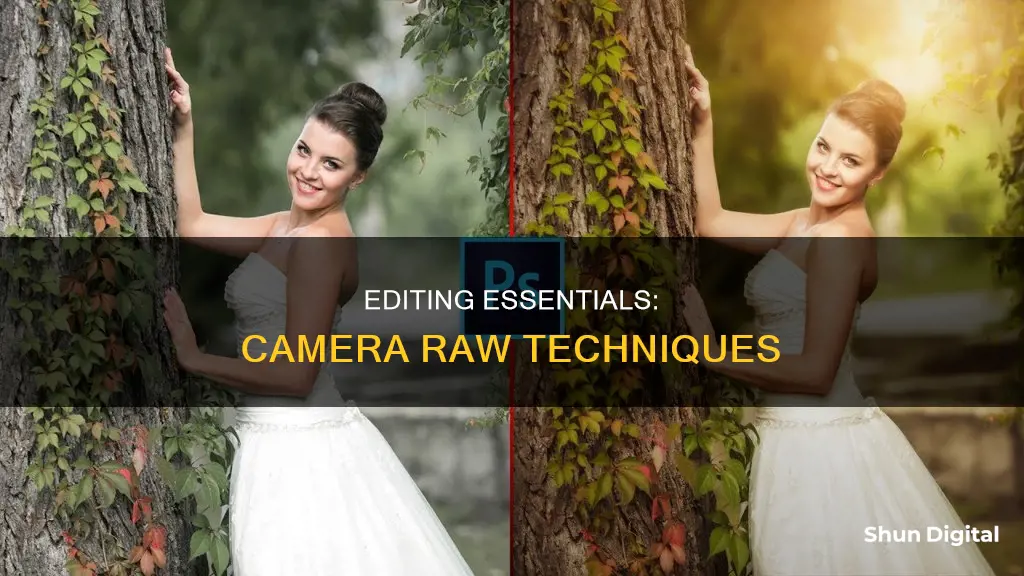
Adobe Camera Raw is a powerful tool for editing RAW images, offering greater flexibility and control over the editing process than JPEGs. RAW images capture more detail and retain all the digital data, resulting in larger file sizes but providing more opportunities for adjustments during post-processing. Adobe Camera Raw is the default program for RAW files and is available with Photoshop or Lightroom. This software allows for corrections to exposure, white balance, distortion, and more, with basic and advanced editing tools similar to those in Photoshop, iPhoto, and Lightroom. By understanding how to use Adobe Camera Raw in combination with Photoshop, photographers can enhance their images and achieve high-quality results.
| Characteristics | Values |
|---|---|
| File format | RAW |
| File size | 3-5 times larger than JPEG |
| Compatibility | Photoshop, Lightroom |
| Purpose | More control over editing images |
| Tools | White balance, exposure, recovery, fill light, blacks, brightness, contrast, vibrance, saturation, sharpening, curves, grayscale conversion, chromatic aberration, preset |
What You'll Learn
![]()
Adjusting the white balance
There are three ways to adjust the white balance in Camera Raw. The first is to automatically adjust the white balance by clicking the "White Balance Tool" button in the expanded "Basic" tab of the Edit Panel after clicking the "Edit" button in the toolbar of the "Camera Raw" dialog box. Then, find a neutral grey area in the image. If a neutral grey area is unavailable, find a white area, but make sure that the selected white area is not specular white. In other words, try to select a white object, rather than a source of white that is from light or a reflection of light. After finding the grey or white area, click it to automatically correct the image's white balance.
The second method is to adjust the white balance by using a preset. To do this, select a preset white balance level from the "White Balance" drop-down in the expanded "Basic" tab of the Edit Panel after clicking the "Edit" button in the toolbar of the "Camera Raw" dialog box. The default setting, "As Shot," displays the white levels using the camera raw image's metadata, which is often the same white balance as the "Auto" preset.
The third method is to manually adjust the white balance. To do this, use the adjacent "Temperature" and "Tint" sliders on the "Basic" tab in the Edit Panel to adjust the temperature and tint of the image. You can also enter temperature and tint values into the adjacent value fields for each slider if preferred. The "Temperature" slider uses the Kelvin colour temperature scale. You can adjust the "Temperature" slider to the left to add more blue to an image that contains too much yellow, or to the right to add more yellow to an image with a blue colour cast. This corrects the colour temperature of the light used when the photo was taken. The "Tint" slider adjusts the white balance to correct magenta or green colour casts in an image. Move the slider to the left, using negative values, to add more green to the image, or to the right, using positive values, to add more magenta.
Vive Cameras: Battery or Plug-in Power?
You may want to see also
![]()
Editing exposure
Understanding Exposure
Firstly, it's important to understand what exposure is and why it matters. Exposure refers to the amount of light entering your camera's sensor when you take a picture. High exposure results in a brighter image, while low exposure leads to a darker picture. Overexposure or underexposure can negatively affect the quality of your image, so finding the right balance is crucial.
Working with RAW Files
When it comes to editing exposure, working with RAW files offers several benefits. RAW files are like digital negatives that contain all the image information without any processing. They provide more flexibility in editing as they are non-destructive, meaning you can experiment with adjustments without losing any pixels or reducing image quality.
Opening Images in Camera Raw
To open your image in Camera Raw, you can go through Photoshop. Navigate to "Photoshop -> Menu -> File -> Open", choose your file, and select "Camera Raw" from the format options. Alternatively, use the shortcut "Shift+Ctrl+A" in Photoshop to open the image directly in the Camera Raw workspace.
Activating Clipping Warnings
To help balance your image's exposure, activate the clipping warnings in Camera Raw. Go to the top corners of the histogram and click on either the white or black clipping alert to view the areas that exceed the intensity represented. This will help you identify the parts of the image that need adjustments.
Adjusting Shadows and Highlights
Start by adjusting the "Shadows" slider to lighten or darken the darker areas of your image. Then, move on to the "Highlights" slider to fine-tune the brighter regions. Play around with these adjustments until you achieve a balance that suits your artistic vision. Remember that there is no one-size-fits-all solution, and you may need to go back and forth between these settings.
Fine-Tuning with Black and White Sliders
If adjusting the shadows and highlights affects the overall contrast of your image, you can use the "Black" and "White" sliders to fine-tune it. The "Black" slider determines the darkest black in your image, while the "White" slider lets you adjust the brightest white. Be careful not to overdo these adjustments to avoid losing detail in your photo.
Using the Tone Curve
The Tone Curve is another powerful tool in Camera Raw that allows you to selectively darken or lighten specific areas of your image. It provides more targeted contrast adjustments, giving you greater control over the final look of your photograph.
Creating an Exposure Adjustment Layer in Photoshop
If you're using Photoshop, you can create an Exposure Adjustment Layer to adjust the exposure of your image. Go to the "Adjustments" tab, click on the Plus-Minus icon, and choose "Exposure". This will open the Exposure window, where you can use the slider to adjust the exposure by dragging it left or right. However, be cautious as it's easy to over-expose or under-expose the image with this method.
Final Thoughts
Remember that finding the perfect exposure is a creative process, and there is no one-size-fits-all solution. Trust your eye and make adjustments until you achieve the desired look. Additionally, always keep an eye on the histogram to ensure you don't lose too much detail in the highlights or shadows. Lastly, don't be afraid to experiment, as you can always go back and forth between adjustments in Camera Raw without permanently affecting your original image.
Charging the Olympus SZ-14 Camera: A Step-by-Step Guide
You may want to see also
![]()
Contrast and brightness
The Contrast slider applies an S-curve to the data, primarily affecting the midtones. Increasing the contrast value brightens the mid-to-light areas of the image and darkens the mid-to-dark areas, while reducing the value does the opposite.
The Brightness slider, unlike Photoshop's image-destroying counterpart, is a non-linear adjustment. It works like the gray input slider in Levels, allowing you to redistribute midtone values without clipping the highlights or shadows.
The Exposure slider is a critical adjustment as it controls the mapping of tonal values in the image. It is also a white-clipping adjustment, allowing you to recover highlight information from overexposed images. However, large increases in exposure may increase shadow noise and even cause posterization in the shadows.
The Shadows slider is the black clipping control, similar to the black input slider in Photoshop's Levels. It lets you darken the shadows to set the black level, but it operates on linear-gamma data, so small adjustments can make significant changes.
To enhance an image's contrast and brightness, follow these steps:
- Use the Exposure slider to match the highlights of your image with the white patch of the Color Checker.
- Click the White Balance tool on the second-lightest gray patch of the Color Checker.
- Adjust the Brightness slider to match the mid-gray patches of the Color Checker.
- Utilize the Contrast slider to fine-tune the darkest patches and the second-lightest patch.
- If needed, use the Shadows slider for further adjustments to the darkest areas.
- Repeat these steps, making small changes and comparing the results to get your desired outcome.
Charging the 808 Camera: Long First Charge Needed?
You may want to see also
![]()
Sharpening and noise reduction
On the sharpening tab, you can also reduce noise in an image from shooting with a higher ISO. Using the noise reduction sliders will reduce some of the fine details, so use them with caution. The top three noise reduction sliders help reduce the overall appearance of noise, while the bottom two help with colour noise, or splashes of unusual colours from high ISOs.
Luminance is the slider that has a wide-ranging effect in reducing noise in your image. However, the drawback is that it robs your image of overall sharpness. You can restore this sharpness with the Luminance Detail slider, but this counteracts the initial effect of the luminance slider. This brings us to the colour slider.
One of the most unseemly attributes of noise is the colour that it produces. Those green and magenta blotches cripple light-starved exposures; often reducing great shots to mediocre snapshots. Removing this colour noise can leave a more grainy texture in your image that is more aesthetically appealing to the eye.
Tasco Trail Camera: Loading Batteries for Optimum Performance
You may want to see also
![]()
Saving and exporting
Saving Images in Camera Raw:
- In the Camera Raw dialog box, click the "Save Image" button in the lower-left corner.
- You can also press "Alt" (Windows) or "Option" (Mac OS) while clicking "Save" to suppress the Camera Raw Save Options dialog box.
- In the Save Options dialog box, specify the save location, filename, and format. You can choose from formats such as PSD, TIFF, JPEG, or DNG.
- Additionally, you can include a JPEG preview in the DNG file and decide whether to embed the original raw file.
Exporting Images from Camera Raw to Lightroom:
- It is recommended to complete your adjustments in Lightroom first and then export the image to Photoshop.
- You can convert the Photoshop image into a Smart Object and apply Camera Raw adjustments as a Smart Filter.
- Alternatively, you can import the raw image as a Smart Object into Photoshop and make adjustments in Adobe Camera Raw.
Exporting Images from Camera Raw to Photoshop:
- After applying adjustments in Camera Raw, click "Open Image."
- If you are working with multiple images, select them on the left side of the dialog box and then click "Open Images."
- The image(s) will open in Photoshop, where you can save them in the Photoshop (PSD) format.
- If you prefer, you can hold down "Shift" while clicking "Open Image" to open the image as a Smart Object in Photoshop.
Charging the Kitmesh Camera: A Quick Guide
You may want to see also
Frequently asked questions
To open a RAW file in Adobe Camera Raw, select File > Open in Photoshop, then select your RAW file, which will open in the RAW editor. Alternatively, select and drag the files onto the Photoshop icon and they will open in the editor.
Shooting in RAW format provides better options for editing images outside the camera. Unlike JPEG images, all the data captured in the camera and converted to RAW is retained on the camera media card. This means RAW images will often be three to five times larger than JPEG files. RAW image settings are not touched in the process of capture, providing photographers with better control over editing their images.
Adjustments made in Camera Raw are displayed in the Adobe Bridge Content and Preview panels. To view these changes, in Adobe Bridge, choose Edit > Camera Raw Preferences (Windows) or Bridge > Camera Raw Preferences (Mac OS). Or, with the Camera Raw dialog box open, click the Open Preferences Dialog button.