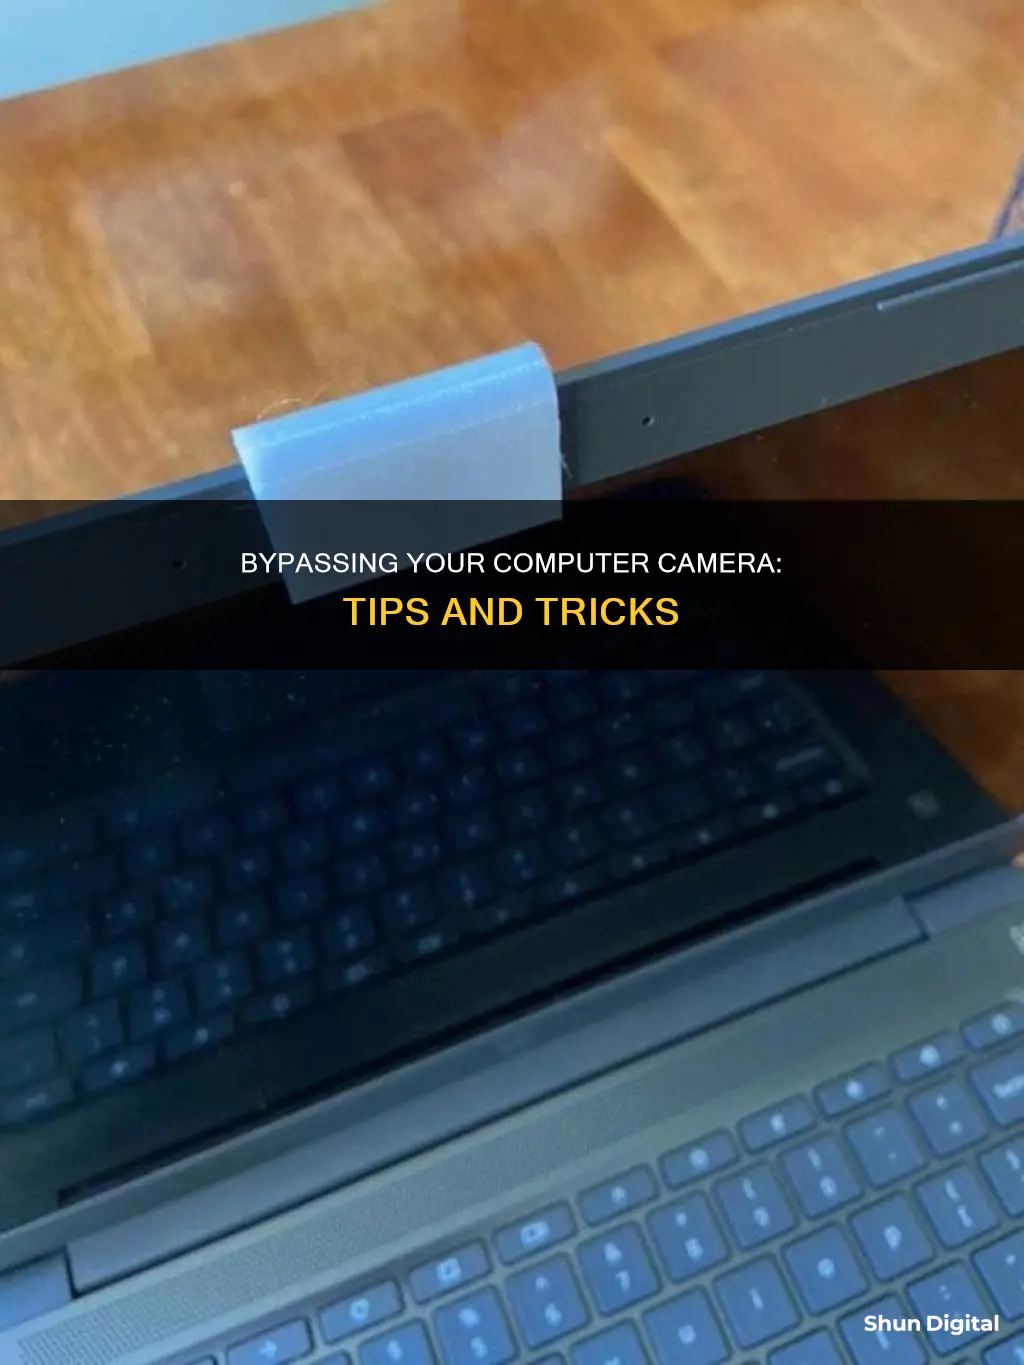
There are several ways to bypass a computer camera. One method involves using a virtual webcam software to intercept the video feed and send a pre-recorded video instead of the live feed. Another approach is to use a non-standard hardware setup, such as an external monitor or projector, to allow someone else to view and provide answers without being detected by the webcam. Additionally, using a virtual machine can isolate the proctoring software and prevent it from detecting other connected devices. While these methods may work, they come with risks and may not be effective with newer proctoring technologies.
| Characteristics | Values |
|---|---|
| Method | Bypassing computer camera |
| Applicable OS | Android 5.0 and below |
| Steps | 1. Tap the Emergency Phone button on your locked Android screen. |
| 2. Enter 10 asterisks (**********), then long press to select all, and then copy & paste them into the dial box. | |
| 3. Repeat the pasting operation in the dial box until you can't do it anymore. | |
| 4. Now return to the lock screen. Tap the Camera button to open it on your phone. | |
| 5. Swipe down the notification bar from the top of the screen, and then tap the Setting button. | |
| 6. Then you will be navigated to the lock screen again. Long-press the blank to paste the 10 asterisks here repeatedly as before. | |
| 7. In this way, your lock screen would crash in minutes. | |
| 8. Once the screen is crashed, your phone will be unlocked through the Camera. | |
| Pros | - Bypass forgotten Android lock screen without losing data |
| - No need to install third-party software | |
| Cons | - Limited to older Android versions only |
| - Potentially void the device warranty |
What You'll Learn

Use a Virtual Machine
Virtual machines are a great way to experiment with new technology without affecting your primary system. If you're looking to bypass your computer camera, using a virtual machine can be an effective solution. Here's a detailed guide on how to do it:
Step 1: Understand Virtual Machines
Virtual machines (VMs) are essentially virtual computers within your physical computer. They allow you to run multiple operating systems (OS) simultaneously and keep them separate from your main system. This means that any software or experiment you run on the VM won't affect your primary OS.
Step 2: Choose Your Virtual Machine Software
There are several options available for creating a VM, such as VirtualBox, VMware Workstation, or VMWare Fusion. Each has its own features and compatibility, so choose one that suits your needs and is compatible with your host OS.
Step 3: Set Up Your Virtual Machine
Install your chosen VM software and create a new virtual machine. During the setup process, ensure that you enable the option to add a camera to the VM. This will allow your VM to recognize and use your computer's camera.
Step 4: Connect Your Camera to the VM
The process of connecting your camera to the VM will vary depending on the VM software you're using. Here are some general steps:
- Open your virtual machine.
- Look for the hardware settings or removable devices section.
- Add your camera as a removable device or USB device.
- If your camera doesn't appear, you may need to update your VM tools or camera drivers.
- Disconnect the camera from your host OS and connect it to the VM.
Step 5: Test Your Camera
Once you've connected your camera to the VM, test it to ensure it's functioning properly. Open the camera app or software within the VM and verify that the camera is recognized and streaming video.
By following these steps, you can effectively bypass your computer camera by using a virtual machine. This method can be useful for privacy concerns, testing new software, or accessing online content that requires camera access without compromising your primary system. Remember to choose a reputable VM software and follow the specific instructions provided by the developer for the best results.
Recharging Camera Batteries: Efficient Nightly Routine
You may want to see also

Use a Non-Standard Hardware Approach
Here's an idea that's extremely simple: you're sitting in front of your laptop, taking an exam, with a webcam trained on you. There's another person in the room, but if the webcam sees them, you'll be in trouble. So, sit them behind your laptop. However, they can't see anything, so connect an external monitor that mirrors your screen and place it behind your laptop. Now, they can see exactly what you see.
But the real goal is to let them help you with the exam, so plug in a USB keyboard and mouse, and now they can type for you, completely out of the view of the webcam.
The system does a "system check", which appears to check for a keyboard and mouse. Theoretically, it would flag you for having more than one. But that seems like a pretty questionable check. I personally use a Bluetooth mouse (not my laptop's built-in mouse) because I prefer it. How would they know if I handed that mouse to a friend? Furthermore, using the Virtual Machine solution, they could be completely unaware that a second mouse and keyboard were hooked up to the same computer.
Night Mode Camera: ZTE Axon 7 Mini's Secret Feature
You may want to see also

Use a Non-Standard Software Approach
A Virtual Machine (VM) is a computer inside your computer. For example, if you're running Windows 8, you could create a virtual machine for Windows XP and run it like a program, allocating it a certain amount of hard drive space, CPU limitations, and RAM.
The main benefit of using a VM is that you can pass it specific hardware. So, if your computer has two keyboards and two mice plugged in, you can pass only one of each to the VM. From its perspective, it only has one keyboard and one mouse, and it doesn't know that it's not your laptop's built-in devices. You can also pass your webcam feed to the VM. This way, you can be sitting in front of your computer, within the webcam's view, while another person types away on the separate hardware, viewing your screen on an external monitor that shows the VM's output.
Additionally, if you've intercepted the webcam feed in some way, you can pass that modified feed to the VM. This way, the VM only sees one keyboard, one mouse, one monitor, and one webcam, and no other software is installed besides the proctoring software.
By running the proctoring software inside a VM, you can minimise the VM window without minimising the exam itself. The VM's operating system will continue to report that its window is in focus, and the proctoring software won't realise it's been minimised because it's still active within the VM.
Other Tips
- Use virtual webcam software to intercept and modify your webcam feed. For example, record a video of yourself using your computer and play this as your video feed instead. This way, you can do anything you want behind the webcam, and they'll only see the feed you send them.
- Use an external monitor or projector to mirror your screen out of the webcam's view, and have someone else view and discuss the exam questions with you.
- Use a second keyboard and mouse, plugged into your computer but out of the webcam's view, and have someone else type for you.
Troubleshooting Snapchat Camera Focus Issues
You may want to see also

Use a Non-Technical Approach
Use the Actual Textbook
Place your textbook or notes between your eyes and the screen, ensuring that the webcam cannot see the book. Make sure you don't accidentally hit any keys with the book. When you're done, maintain eye contact with the laptop screen and slide the book off to the side.
The "Mess With Them" Approach
They track your eyes to ensure you don't look away from the monitor. A simple solution is to wear sunglasses. In many states, a doctor's note is sufficient to allow this, and they cannot ask further questions about your health. Alternatively, claim it's a religious garment.
Wallpaper with Eyes, or a Jonas Brothers Poster
Use a wallpaper covered in gigantic faces, such as pictures of your friends. Facebook once tried to tag the Jonas Brothers as real people in a photo with their poster. The software will have to process both you and the poster, costing the company money in CPU/RAM usage.
Use a Green Screen
Set up a green screen behind you and chroma key it in your webcam software to make it look like you're in an office setting or your bedroom. Dress someone up in a green screen suit, and two people can be on the camera at once, whispering to each other.
How to Know if Your Computer Camera is Hacked
You may want to see also

Use a Virtual Background
Using a virtual background is a great way to bypass your computer camera and elevate your production value without breaking the bank. It is also a fun way to add a little levity to your conference calls.
There are several third-party virtual background applications and software that can help you achieve this. Here are some of the popular options:
ManyCam:
ManyCam is a virtual camera and live-streaming software that offers various functionalities for live video production, including virtual backgrounds. It is available for both macOS and Windows. It allows you to add multiple layers to your virtual background and save it as a preset to use across your conferencing apps. You can also use a tool to blur specific parts of your background and add text across your screen.
Snap Camera:
Snap Camera is a free desktop application for Windows and Mac created by the makers of Snapchat. It offers a familiar and impressive library of prebuilt lenses, filters, and backgrounds. You can choose from thousands of different virtual backgrounds and lenses, including classics made by Snapchat, and fresh designs created by Snap Camera users using the app’s free Lens Studio.
ChromaCam:
ChromaCam is a simple yet powerful virtual background desktop application for Windows and Macs. With ChromaCam’s easy-to-use interface, you can quickly remove your background, blur it, add streaming effects, or insert PowerPoint presentation slides as your background. There is a free-to-use “lite” edition that lets you replace your background with a standard image or virtual green screen.
XSplit VCam:
XSplit VCam is a webcam background removal software for Windows only. It supports JPEGs, GIFs, PNGs, and even full web pages, giving you unlimited personalization options for background replacement. You can also apply a customizable blur effect to your actual background for added privacy.
Remo:
Remo is a video conferencing app that offers a Virtual Background feature. It allows you to display an image as your background during both Conversation and Presentation modes. You can choose from a variety of pre-set images or upload your own custom image.
Vmaker:
Vmaker is an online webcam recorder that allows you to capture both screen and webcam footage with a virtual background. To use Vmaker, you need to sign up on their website using the Google Chrome browser and download the Vmaker plugin. You can then configure your video settings, create your virtual background by choosing from the default images or importing your own image, and start recording.
Movavi Screen Recorder:
Movavi Screen Recorder is a simple-to-use tool for capturing your webcam and screen. It is available for both Windows and Mac. While it does not have a background-changing option, you can use the Movavi Video Editor to change the video background.
Krisp:
Krisp is a noise cancellation app that can be used as an additional layer of protection. It eliminates unwanted noise such as dogs barking, keyboards clicking, and cars honking. It also removes acoustic and room echo, providing a more productive video meeting experience.
CyberLink PerfectCam:
CyberLink PerfectCam is available for Windows and offers virtual backgrounds, background blur, lighting adjustments, and AI-powered face touch-up tools such as makeup and skin smoothing.
CamTwist:
CamTwist is an application available for Mac users that lets you add special effects and filters to live video feeds. It acts as a broadcast-quality video switcher, enabling you to create distinct setups or scenes that can be easily changed during a live call.
These are just a few of the many virtual background apps and software available. Each offers its own unique features and capabilities, so you can choose the one that best suits your needs and preferences.
Understanding Camera Settings: Raw Buffer Size Explained
You may want to see also


