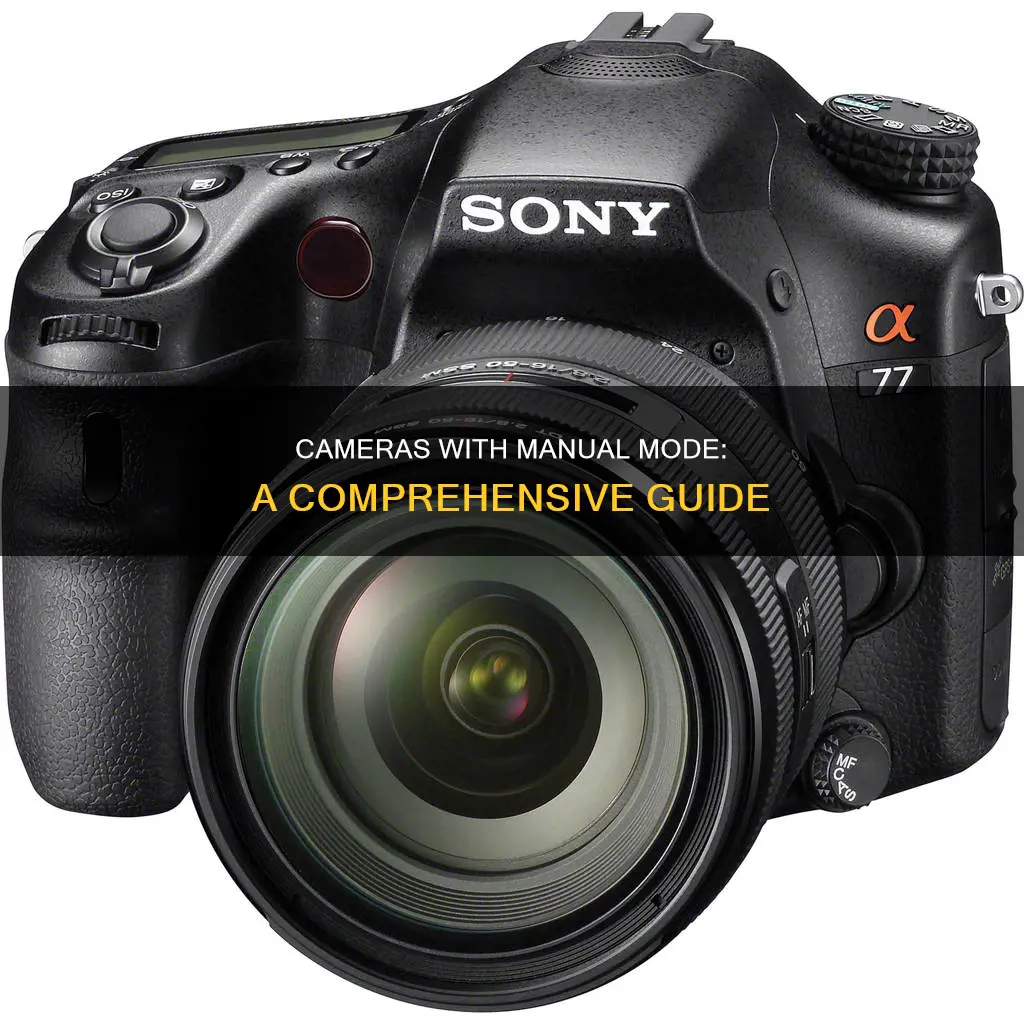
Manual mode on a camera gives the photographer full control over the exposure of an image by allowing them to manually select an aperture value and a shutter speed value. This gives the photographer ultimate control over the look of the photo, but it requires a deep understanding of exposure, and how shutter speed and aperture affect it. While most people start out with automatic mode, manual mode is a great way to take stronger photographs by getting to know your camera better. Many cameras have a manual mode option, including the Nikon Df, the Nikon D5500, the Fujifilm X-T2, the Olympus Pen F, and the Canon EOS R5 Mark II.
| Characteristics | Values |
|---|---|
| Camera models with manual mode | Nikon Df, Nikon D5500, Fujifilm X-T2, Olympus Pen F, Leica rangefinders, Canon EOS R1, Canon EOS R5 Mark II, Sony ZV-E10 II, Leica D-Lux 8, Pentax 17, Canon PowerShot G7 X Mark III, Sony Cyber-shot DSC-RX100 VII, Fujifilm X100VI, Canon EOS R6 Mark II |
| Manual mode characteristics | Complete control over camera settings, including aperture, shutter speed, and ISO |
| Aperture control | Control over the amount of light and depth of field via f-numbers |
| ISO control | Control over light sensitivity and exposure |
| Shutter speed control | Control over how fast a photo is taken, which can be manipulated for creative effect |
What You'll Learn
- Cameras with manual dials: Nikon Df, Fujifilm X-T2, Olympus Pen F, etc
- Manual mode settings: Aperture, Shutter Speed, ISO, and White Balance
- When to use Manual mode: Unchanging lighting, complete control, creative effects, etc?
- When to avoid Manual mode: Fast-paced conditions, changing light, inexperience, etc?
- Semi-automatic modes: Aperture Priority, Shutter Priority, and Program mode
![]()
Cameras with manual dials: Nikon Df, Fujifilm X-T2, Olympus Pen F, etc
The Nikon Df, Fujifilm X-T2, and Olympus Pen F are all cameras that offer manual dials.
The Nikon Df is a retro-style digital camera with big metal dials and control rings replacing tiny toggles and surface buttons. It offers a full-frame sensor and is reminiscent of the finest cameras of the film era in the 1980s and 1990s.
The Fujifilm X-T2 is a mirrorless camera with external dials for quick access to ISO, shutter speed, and aperture. It has a beautiful design and is a joy to use. The X-T2 offers improved autofocus accuracy and a slightly better image quality at high ISO compared to the Nikon D7200.
The Olympus Pen F is a beautiful and compact camera with a fully articulating touch screen and touch-to-focus functionality. It has a unique colour dial for black-and-white photography and is a pleasure to use. The Pen F offers excellent image stabilisation and accurate autofocus.
Charging GoPro Batteries: No Camera, No Problem
You may want to see also
![]()
Manual mode settings: Aperture, Shutter Speed, ISO, and White Balance
Manual mode gives photographers full control over their camera settings, allowing them to adjust the aperture, shutter speed, ISO, and white balance to their liking. These settings, known as the exposure triangle, work together to determine the overall brightness and quality of an image.
Aperture
Aperture refers to the size of the opening in the lens that lets light into the camera. This is measured in f-stops, where a smaller f-number indicates a larger aperture and vice versa. A wide aperture (low f-number) creates a shallow depth of field, resulting in a blurry background, while a narrow aperture (high f-number) keeps both the foreground and background in focus.
Shutter Speed
Shutter speed refers to the duration the camera's shutter remains open, controlling the amount of light that reaches the sensor. A fast shutter speed freezes motion, resulting in sharp images, while a slow shutter speed introduces motion blur, useful for creative effects like light trails.
ISO
ISO determines the camera's sensitivity to light. A higher ISO value increases the camera's light sensitivity, resulting in a brighter image. However, higher ISO settings also introduce noise or graininess, so it is generally recommended to keep the ISO as low as possible.
White Balance
White balance allows photographers to remove unwanted colour casts from their images, achieving neutral white tones. Adjusting the white balance can also be used creatively to produce unique looks, such as enhancing blue hues or golden light.
By understanding and manipulating these settings, photographers can take full advantage of manual mode, achieving their desired exposure and creative vision.
Copying Camera Raw Selections: A Step-by-Step Guide
You may want to see also
![]()
When to use Manual mode: Unchanging lighting, complete control, creative effects, etc
When to use Manual Mode
Manual mode gives you complete control over your camera settings. You can adjust each and every setting your camera offers, including the three key exposure variables: ISO, aperture, and shutter speed. These three variables determine the overall brightness of your photos (i.e., the exposure) and affect your photos in other ways, such as by adjusting the sharpness, depth of field, and overall quality of your files.
Unchanging lighting conditions
Manual mode is a good choice when you're working in a studio or another environment with constant ambient light. In these situations, you don't have to worry about rapidly changing light conditions affecting your exposure. This makes it easier to fine-tune your camera settings and experiment with different creative effects.
Complete control
Manual mode gives you the ability to make your photos appear exactly as dark or light as you want. You can also ensure perfect sharpness, create different depth-of-field effects, and maintain high-quality images in low-light conditions. This level of control is ideal for photographers who want to have precise control over every aspect of their images.
Creative effects
Manual mode allows you to underexpose or overexpose your photos intentionally for creative effects. For example, you can use manual mode to create high-key or low-key images by overriding the camera's meter and intentionally overexposing or underexposing parts of a scene. Additionally, manual mode gives you control over depth of field, motion blur, and image sharpness, enabling you to achieve a variety of artistic results.
Slow, deliberate photos
Manual mode is well-suited for situations where you have the time to carefully adjust your settings, such as landscape photography. It may not be the best choice for fast-paced conditions or when you're dealing with changing light, as it requires more time to fiddle with your camera dials. However, if you're shooting slow, deliberate photos and have the luxury of time, manual mode can help you capture the exact image you're aiming for.
Updating Camera Raw: Elements 14 Edition
You may want to see also
![]()
When to avoid Manual mode: Fast-paced conditions, changing light, inexperience, etc
Manual mode is not always the best option. There are several situations in which you should avoid using it.
Fast-paced conditions
If you are shooting in fast-paced conditions, such as sports or wildlife photography, it is best to avoid manual mode. This is because you will likely need to capture quick movements, and manual mode can be too slow and cumbersome in these situations. Instead, try using a semi-automatic mode, such as Aperture Priority or Shutter Priority mode, which will allow you to capture fast-moving subjects more effectively.
Changing light
If the lighting conditions are changing rapidly, manual mode can be challenging to use. This is because you will need to constantly adjust your camera settings to compensate for the changing light, which can be difficult to do accurately and quickly. In these situations, it may be better to use a priority mode, which will allow your camera to handle some of the adjustments for you.
Inexperience
If you are a beginner photographer, it is best to avoid manual mode until you have a good understanding of the basic concepts and settings. Manual mode can be intimidating and difficult to use effectively if you are not familiar with how your camera works and how to adjust the various settings. Start with automatic or semi-automatic modes to get a feel for your camera, and then gradually transition to manual mode as you become more comfortable.
Autofocus concerns
If you are photographing fast-moving subjects and your primary concern is nailing the autofocus, manual mode may not be the best choice. In these situations, it is more important to have a fast and accurate autofocus system than to have complete control over your camera settings. Trust your camera to handle the technical aspects while you focus on capturing the action.
Low-light conditions
Shooting in low-light conditions can be challenging, and manual mode may not always be the best option. In these situations, it is crucial to have a good understanding of how to balance your aperture, shutter speed, and ISO to get the proper exposure. If you are not confident in your ability to do this, it may be better to use a semi-automatic mode or rely on your camera's auto mode to assist you in getting the correct exposure.
Mastering Canon Camera Modes for Diverse Photography
You may want to see also
![]()
Semi-automatic modes: Aperture Priority, Shutter Priority, and Program mode
Aperture Priority Mode
Aperture Priority mode, often represented as "A" or "Av" on your camera dial, is one of the most valuable camera modes. It gives you control over the aperture and ISO, while your camera automatically selects a corresponding shutter speed. This mode is a great way to capture well-exposed, artistic images, as it allows you to adjust the depth of field and image quality. For example, a wide aperture can create a thin plane of focus, resulting in a blurry background, while a narrow aperture produces a deep plane of focus, keeping the entire scene sharp.
Aperture Priority is particularly useful when you want to focus on your subject, composition, and artistry, while the camera optimises the exposure. It offers both flexibility and speed, making it a popular choice among professional and beginner photographers. However, it's important to note that Aperture Priority may not be ideal in situations where you need full control over all camera settings or when you require the same camera settings for a series of photos, such as panoramas or focus stacking.
Shutter Priority Mode
Shutter Priority mode, denoted as "S" or "Tv", allows you to manually adjust the shutter speed and ISO, while the camera selects the appropriate aperture. This mode is especially useful for capturing fast-moving subjects, such as in sports or wildlife photography. By controlling the shutter speed, you can freeze motion or intentionally introduce blur to create specific effects.
Shutter Priority is a great tool when you need precise control over motion but may not be the best choice if you require specific aperture settings. It is important to monitor the aperture selected by the camera, as sudden changes in lighting conditions can result in undesirable aperture values.
Program Mode
Program Mode, represented as "P" on your camera dial, is similar to Auto mode but offers more control over your camera settings. In this mode, you can change both the aperture and shutter speed, while the camera adjusts the settings to suit the lighting conditions. Program Mode is useful when you want to quickly dial in the aperture and shutter speed to suit your creative needs without worrying about exposure.
However, Program Mode may not be ideal for advanced photographers as it requires constant monitoring of both shutter speed and aperture, especially in changing light conditions. It is also less commonly used compared to Aperture Priority and Shutter Priority modes.
Cleaning Corroded Camera Battery Terminals: DIY Guide
You may want to see also
Frequently asked questions
Manual mode gives the photographer complete control over the camera settings. This includes the three key exposure variables: ISO, aperture, and shutter speed.
ISO controls the camera's sensitivity to light. Aperture is an opening in the lens that lets in light. Shutter speed is the exposure time of an image.
Manual mode gives you the flexibility to make your photos appear exactly as dark or light as you want. You can also ensure perfect sharpness, create different depth-of-field effects, and improve the quality of your low-light photos.
Most modern cameras have a manual mode option. Examples include the Nikon Df, Fujifilm X-T2, Olympus Pen F, and Canon EOS R5 Mark II.