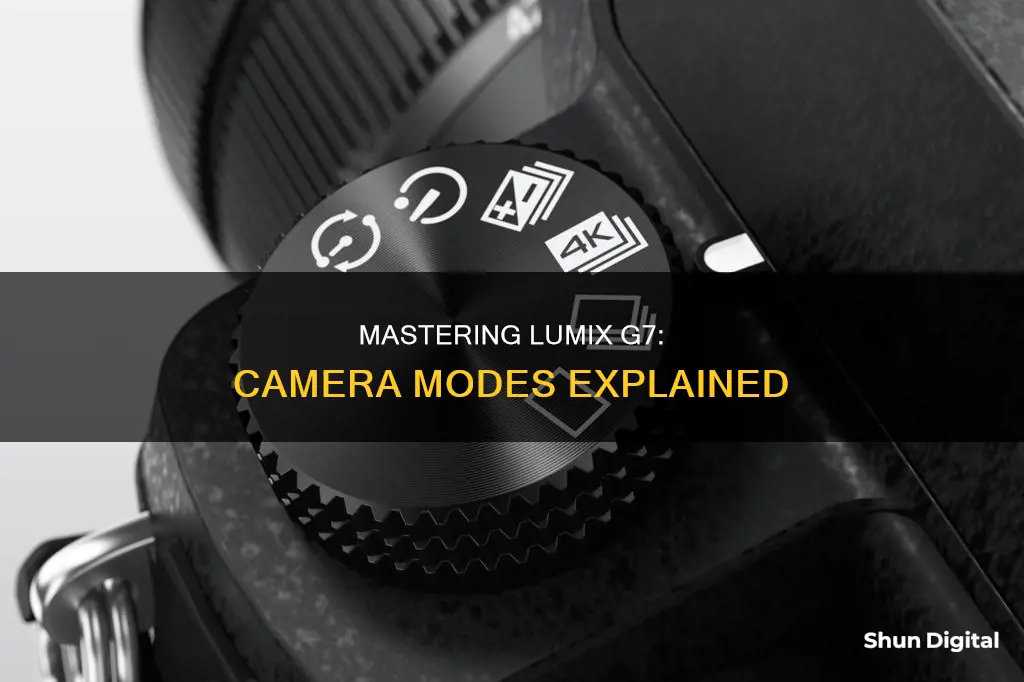
The Panasonic Lumix G7 is a mirrorless camera that is small, lightweight, and costs less than $800. It features a micro four-thirds 16-megapixel MOS sensor and includes intelligent fully automatic modes as well as manual controls for aperture, shutter speed, ISO, and exposure compensation. The camera has several shooting modes, including Intelligent Auto mode, Program mode, Shutter Priority mode, Aperture Priority mode, and Manual mode. It also features 4K Photo modes such as 4K Burst, 4K Burst (Start/Stop), and 4K Pre-Burst, which allow users to capture moments that would usually be too fast for the shutter finger to catch.
What You'll Learn
![]()
Intelligent Auto Mode
The Intelligent Auto Mode (iA) on the Lumix G7 is a direct descendant of the program auto-exposure mode, which itself was born from the ordinary auto mode. The Intelligent Auto Mode combines various camera features to create exposure settings intelligently. The camera controls the shutter and aperture, ISO sensitivity, and other settings.
To help the Intelligent Auto Mode decide on the most appropriate settings, it evaluates the scene using scene-detection mode. If the top half of the frame is bright and the lower half is darker, the Intelligent Auto Mode may decide this is a landscape photo and try to preserve the highlights in the sky. If it detects a face occupying a relatively large area of the frame, it will expose for a portrait. In some cameras, the Intelligent Auto Mode will even detect movement in a scene and increase the ISO to maximize the shutter speed to freeze the subject more effectively.
The Intelligent Auto Mode is usually selected on a camera's mode dial. It is one of the automatic modes, which are good for beginners to use. The camera controls all the exposure settings, like ISO, white balance, and flash, and all you have to do is compose your photos. This turns your camera into a point-and-shoot. Intelligent Auto Mode is a good option when shooting in a casual environment where quick adjustments are needed, and you want some control over the ISO and white balance.
Deleting Adobe Camera Raw Cache: What You Need to Know
You may want to see also
![]()
Program Auto Mode
The Program Auto (P) mode on the Lumix G7 is a great mode to use when you want to take quick, good-looking photos in a casual environment without having to worry about making too many adjustments. It's only one click away from the Intelligent Auto mode, and it gives you more control over your images. While the camera handles the aperture and shutter speed for you, you can change settings like ISO and white balance.
For example, let's say you're at a family picnic, and you want to capture some memories. The light is moving from deep shadow to bright sunlight, so you'll need to balance the ISO, aperture, and shutter speed to get a good exposure. In Program Auto mode, you can choose a white balance setting that suits the conditions—in this case, probably the Daylight setting. Then, you can select your ISO. Remember, the lower the ISO number, the better the quality, but the less light sensitive the camera becomes. For our picnic scenario, ISO 400 should provide enough sensitivity for shadows while allowing fast enough shutter speeds to stop motion.
Now that you've selected your ISO, you can make use of the other controls in Program Auto mode. By rotating the Front dial (or the Control dial on the GM1), you can shift the program settings. This lets you influence the look of your shot. For instance, if you need faster shutter speeds to stop action, turn the Front dial clockwise. If you want a larger aperture for a narrow depth of field, turn the dial counterclockwise until you reach your desired f-stop.
Additionally, by clicking and rotating the Rear dial (GM1: Control dial), you can adjust the exposure compensation to make your image brighter or darker.
So, if you're looking for a mode that's quick and easy to use but still gives you some creative control, Program Auto mode on the Lumix G7 is an excellent choice. It's perfect for those casual shooting situations where you want to capture great-looking photos without having to fiddle with too many settings.
Understanding Camera Raw 8: Unlocking Photography's Potential
You may want to see also
![]()
Aperture Priority Mode
To use Aperture Priority Mode on the Lumix G7, turn the Mode dial to align the 'A' with the indicator line. Then, press the ISO button, rotate the Rear dial to your desired ISO setting, and press the Rear dial again to select. Next, turn the Front dial to select your desired aperture value (f-stop). Point the camera at your subject, and activate the camera meter by depressing the shutter button halfway. You can then view the exposure information in the electronic viewfinder or on the rear LCD panel. Finally, press and turn the Rear dial to adjust the exposure compensation to make your image brighter or darker as needed.
Vive Cameras: Battery or Plug-in Power?
You may want to see also
![]()
Shutter Priority Mode
Shutter speed refers to the amount of time the camera shutter remains open, allowing light to reach the camera's sensor. This setting is measured in fractions of seconds and is crucial in determining the sharpness of your image. A slow shutter speed, typically 1/30 of a second or longer, can introduce blur caused by camera shake or subject movement. On the other hand, a fast shutter speed, usually 1/250 of a second or less, freezes the action and results in sharper images. The Lumix G7 offers a wide range of shutter speeds, from 1/8000 of a second to 60 seconds, giving you the flexibility to capture a variety of subjects.
When using Shutter Priority Mode, it's important to consider the limitations of your lens. In low-light situations or when using a slow shutter speed, you may encounter a situation where your lens cannot open the aperture wide enough to let in sufficient light, resulting in underexposure. This is indicated by a blinking aperture display. Similarly, in bright scenes or when using a fast shutter speed, you may need to reduce the amount of incoming light by using a small aperture, or your image may become overexposed.
To set up and use Shutter Priority Mode on the Lumix G7, follow these steps:
- Turn on your camera.
- Rotate the mode dial to align the 'S' with the indicator line.
- Adjust the shutter speed by rotating the front dial (Control dial on the GM1). Turn the dial right for faster shutter speeds and left for slower speeds.
- Select your desired ISO value by pressing the ISO button and rotating the rear dial (or Control dial on the GM1).
- Point the camera at your subject and press the shutter button halfway to activate the camera meter.
- View the exposure information in the electronic viewfinder or on the rear LCD panel.
- Adjust the exposure compensation by pressing and rotating the rear dial (or Control dial on the GM1) to make the image brighter or darker as needed.
TCL DV007: What's the Camera's Charger Port Type?
You may want to see also
![]()
Manual Mode
The Manual Mode on the Panasonic Lumix DMC-G7 is denoted by the letter 'M' on the mode dial. This mode is an excellent way to learn the basics of photography and gain a complete understanding of how adjustments to aperture, shutter speed, and ISO affect your shots.
When you activate Manual Mode, the camera meter will give you a reading of the scene you are about to photograph. You then need to set the f-stop (aperture), shutter speed, and ISO to achieve the correct exposure. If you need a faster shutter speed, you must make a reciprocal change to either the f-stop or ISO to maintain the correct exposure. This can be challenging at first, but with practice, you will develop a full understanding of how each setting affects your images.
To set up and shoot in Manual Mode on the Lumix DMC-G7, follow these steps:
- Turn the Mode dial to align the 'M' with the indicator line.
- Press the ISO button, rotate the Rear dial to your desired ISO setting, and press the Rear dial again to select. The ISO selection will appear in the electronic viewfinder and on the rear LCD panel.
- Point the camera at your subject and activate the camera meter by depressing the shutter button halfway.
- View the exposure information in the electronic viewfinder (GX7 only) or on the rear LCD display.
- Adjust your aperture value, shutter speed, and ISO to achieve the correct exposure. The exposure is displayed on a scale from -3 to +3 stops, with 0 in the centre. A "proper" exposure will align the indicator with the 0 mark. Moving the indicator to the left will result in underexposure, while moving it to the right will lead to overexposure.
- (GX7) Use the Front dial to change the aperture value. Turn the dial left for a larger aperture (smaller f-stop number) and right for a smaller aperture (larger f-stop number).
- (GX7) Use the Rear dial to adjust the shutter speed. Turn the Rear dial left for a slower shutter speed and right for a faster shutter speed.
- (GM1) Use the Control dial to adjust both the aperture value and shutter speed. Use the cursor button to switch between the two settings.
Charging Your Force Camera: A Step-by-Step Guide
You may want to see also
Frequently asked questions
The Intelligent Auto mode is designed to make shooting easier for beginners or those who want a more straightforward experience. It automatically adjusts settings like ISO, white balance, and flash usage, allowing you to focus on composing your photos.
To select the AFC mode, locate the "AF Mode" or "Focus Mode" button/switch on your camera. Navigate through the available focus modes until you reach AFC. This mode is ideal for capturing moving subjects.
In Aperture Priority mode, you manually set the aperture value, and the camera automatically adjusts the shutter speed to maintain proper exposure. Shutter Priority mode is the opposite; you set the shutter speed, and the camera chooses the aperture.
Program Auto mode is useful when you need to make quick adjustments in casual shooting environments. It gives you control over settings like ISO and white balance while letting the camera handle aperture and shutter speed.
Yes, you can adjust exposure compensation in most modes, including Program Auto (P), Aperture Priority (A), and Shutter Priority (S). This allows you to make your images brighter or darker without changing other settings.