To begin numbering in Camera Raw, you must first understand the file numbering and naming options available on your camera. Camera Raw files are typically named with a .raw extension and are often accompanied by a camera brand-specific extension, such as .crw for Canon or .nef for Nikon.
The numbering of Camera Raw files usually starts from 0001 and goes up to 9999. Once the image count reaches 9999, a new folder is created, and the numbering restarts from 0001. The folders are typically numbered sequentially, starting from 100 and increasing by one for each new folder.
Some cameras offer different file numbering systems, such as Continuous or Auto Reset. In Continuous numbering, each new image is sequentially numbered from 0001 to 9999, regardless of the memory card being used. On the other hand, Auto Reset returns the camera to the start of the number sequence (100 for the folder and 0001 for the file) each time a new memory card is inserted.
| Characteristics | Values |
|---|---|
| File type | RAW |
| File details | Uncompressed and unprocessed image data |
| File format | Raster |
| File size | Large |
| File quality | Lossless |
| File adjustments | Exposure, white balance, colour balance, brightness, contrast, gamma correction |
| File conversion | JPEG, PNG, TIFF, DNG |
What You'll Learn
![]()
How to access the Camera Raw window
There are several ways to access the Camera Raw window, depending on the software you are using.
Using Photoshop
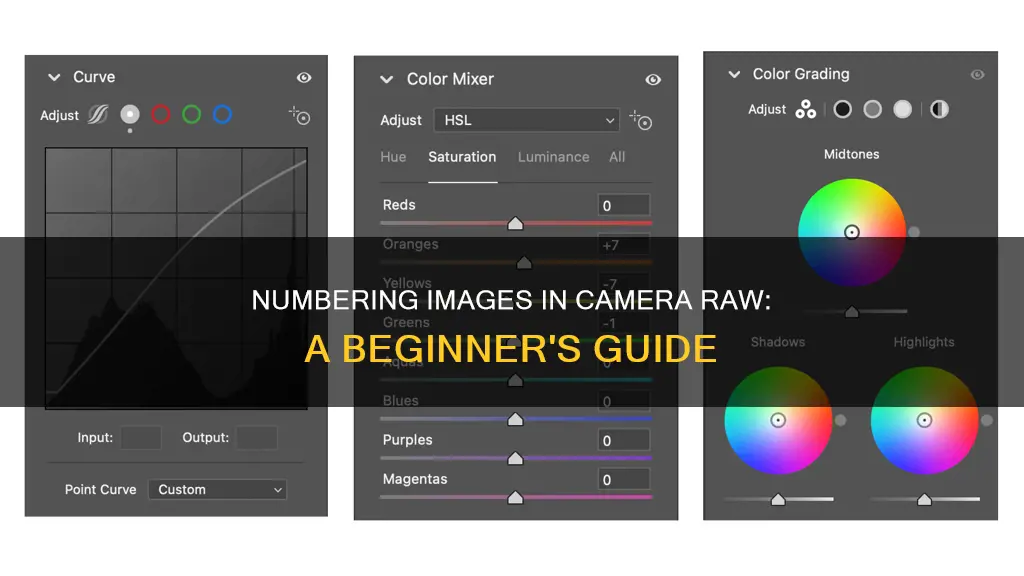
If you are using Photoshop, the easiest way to open an image in Camera Raw is to open a raw image file by going to File > Open. Once you have selected the image, click Open. Camera Raw will automatically open as a new window, where you can make basic adjustments to your photos, such as exposure and tone.
If you are working with a non-raw file format, you can still access Camera Raw by going to Filter > Camera Raw Filter. This will allow you to edit the photo by applying a Camera Raw filter to the layer.
Using Adobe Bridge
To use Camera Raw in Adobe Bridge, open the program and click on the photo you would like to edit. You can then either click the "Open in Camera Raw" icon in the top toolbar or go to File > Open in Camera Raw.
Using After Effects
Camera Raw can also be accessed through Adobe After Effects. To do this, open your desired image in After Effects and choose File > Open in Camera Raw or press Ctrl+R (Windows) or Command+R (Mac OS).
Using a Keyboard Shortcut
If you are using Photoshop, you can also access Camera Raw through a keyboard shortcut. Simply select your layer and use the shortcut Command + Shift + A (Mac) or Control + Shift + A (Windows).
Camera's Impact on Battery Life: What You Need to Know
You may want to see also
![]()
How to open a RAW file
RAW files are uncompressed and unprocessed image files that contain a high level of detail. They are often used by photographers as they can be easily edited, compressed, and converted into other formats.
To open a RAW file, you will need image-editing software such as Adobe Photoshop, Lightroom, or Luminar Neo. The software you choose depends on your camera type, operating system, and personal preference.
- Install the necessary software: If you don't already have image-editing software, you will need to install one that is compatible with RAW files, such as Adobe Photoshop, Lightroom, or Luminar Neo.
- Connect your camera or external drive: Use a USB cable to connect your camera to your computer, or remove the SD card and insert it into an SD card reader.
- Open the image-editing software: Launch the software you have chosen and familiarise yourself with its interface.
- Import the RAW file: In the software, navigate to the "Import" or "Open" option. Browse to the folder containing your RAW file and select it.
- Edit and process the RAW file: Depending on the software you are using, you will have various editing tools at your disposal. You can adjust exposure, white balance, colour balance, brightness, contrast, and more.
- Convert and export the file (optional): If needed, convert the RAW file into another format, such as JPEG or PNG. This is necessary if you want to share the image, as most people won't have the appropriate software to open a RAW file.
Remember that RAW files are large in size and may require additional storage space on your camera and computer. Additionally, not all software can read RAW files from all camera types, so ensure your chosen software is compatible with your camera.
By following these steps, you should be able to successfully open and work with RAW files, taking advantage of the flexibility and detail they offer.
Charging the Heimvision Camera: A Step-by-Step Guide
You may want to see also
![]()
How to convert RAW files to JPEG
RAW files are considered image data that is yet to be processed. They are favoured by professional photographers as they offer the highest quality and editing flexibility. However, they are usually much heavier and less transferable than JPEG files.
How to Convert RAW to JPEG on Mac
You can use Mac’s free editing tool, Preview, to convert RAW files to JPEG. First, open your RAW image in Preview by right-clicking on the file and selecting Open with > Preview. Then, click on File and select Export from the drop-down menu. A pop-up window will appear where you can select to save the file as a JPEG. Hit Save and your image will be converted to a JPEG format.
How to Convert RAW to JPEG on Windows
Similarly to Mac, Windows comes with a free editing app called Photo, which can be used to convert RAW images to JPEG files. Open your RAW file in Photo by right-clicking on the file and selecting Open With > Photos. Then, simply select Save As from the top menu bar and select JPEG from the drop-down menu.
How to Convert RAW to JPEG on iPhone
Apple’s ProRAW format allows iPhone users to shoot RAW files from their iPhones. To convert them to JPEG, open the image in Photos and select the Share button in the bottom left-hand corner. Scroll down until you find Save to Files, click this, and then select a folder under iCloud Drive or On my iPhone. Click Save, and your RAW file will now be saved as a JPEG image.
How to Convert RAW to JPEG in Photoshop
Converting RAW files to JPEG in Photoshop is a simple process. First, open Photoshop on your desktop and open the selected RAW files. Then, go to the top menu bar and select File > Export > Export As. The Export As pop-up window will appear, where you can choose the file size and export location. In the File Settings panel, set the format as JPEG and hit the Export button.
How to Convert RAW to JPEG in Lightroom
Lightroom can also be used to convert RAW files to JPEGs. First, open Lightroom and your RAW image by selecting File from the top menu bar and then Import Photos and Video from the drop-down menu. Once the image is open, click on File and select Export from the dropdown menu. In the Export pop-up window, set the location and file size for the file, then select the File Settings tab. In the File Settings tab, select JPEG in the drop-down menu beside the Image Format box. Click Export and your file will be saved as a JPEG.
How to Convert RAW to JPEG for Free (Online Method)
There are several free online websites that can be used to convert RAW files to JPEG, such as ZAMAR and Raw.pics.io. These websites allow you to upload your RAW file, choose the output format, and then download the converted JPEG image.
Are PTZ Cameras Electrically Charged?
You may want to see also
![]()
Pros and cons of shooting in RAW
Shooting in RAW gives you a lot of advantages when it comes to editing your photos. Here are some pros of shooting in RAW:
- Better image quality: RAW image files are uncompressed, meaning they retain all the data from the camera sensor without performing any compression, resulting in the highest quality image your camera can produce.
- Flexible editing options: With RAW, you have more freedom in post-production to correct mistakes and adjust various aspects of your photos, such as white balance, exposure, brightness, highlights, shadows, contrast, etc.
- Sharper images, less noise: RAW images allow for better sharpness and noise reduction adjustments in post-processing.
- Ability to make additional edits later: You can go back and readjust changes made to a RAW image without losing image quality, unlike JPEG files, which lose quality each time they are edited and saved.
- Future-proof: RAW files can be re-visited and re-processed using future image processing software and technologies, such as AI/ML.
However, there are also some drawbacks to shooting in RAW:
- Larger file sizes: RAW files are much larger than JPEGs because they contain more data. This means they take up more space on your memory cards and hard drives.
- Slower camera performance: Due to the larger file sizes, RAW files can slow down your camera, particularly during continuous shooting, as the camera takes longer to write the information to the memory card.
- Need for post-processing: RAW files are not ready to be used straight out of the camera and require manual processing, which can be time-consuming and require dedicated software.
- Proprietary formats: Different camera brands use their own proprietary RAW formats, which may not be supported by all post-processing software.
Maximizing Camera Battery Life: Tips and Tricks
You may want to see also
![]()
How to send RAW files
When it comes to sending RAW image files, there are a few methods you can use, depending on your camera model and the devices you want to transfer files between.
If you want to transfer RAW files from your camera to a smartphone, you have several options. You can use a wired connection with an adapter cable, which is generally faster and more reliable than a wireless connection. For devices with a microUSB connection, Android may support the use of an On-the-Go (OTG) cable. USB-C connections also offer similar adapters. For iOS devices, you can use a Lightning to SD Card Camera Reader cable. Alternatively, you can use a Wi-Fi SD card, such as the Toshiba FlashAir, which allows full access to the card contents and enables you to transfer RAW files to your smartphone. Another option is to use a Wi-Fi hotspot card reader, such as the Kingston Mobilelite Wireless range, which often doubles as an emergency power bank.
Once you've transferred the RAW files to your smartphone, you can use apps like PhotoMate, Snapseed, or Adobe Photoshop Lightroom to process and edit them. If your RAW files are not compatible with these apps, you can use a raw file converter to convert them into a supported format, such as DNG.
If you want to transfer RAW files between your camera and a computer, you can connect your camera directly to the computer using a USB cable or remove the memory card from your camera and insert it into a card reader connected to the computer. This will allow you to access and transfer the RAW files to your computer for further processing or storage.
It's important to note that different camera models save RAW images in different formats, and you may need specific software to open and edit these files. Additionally, RAW files are larger in size compared to JPEGs, so they will take up more space on your storage devices.
Xomodo Wireless Cameras: How Long Does the Charge Last?
You may want to see also
Frequently asked questions
RAW files contain uncompressed and unprocessed image data, giving photographers more detail to work with when editing photos. JPEG files, on the other hand, are compressed and processed in-camera, resulting in smaller file sizes but limiting the amount of editing that can be done afterwards.
Access your camera's file settings, usually found in the menu, and select RAW instead of JPEG.
You can use image editing software such as Adobe Photoshop, Adobe Lightroom, or Adobe Camera Raw.
RAW files offer greater detail, a wider colour range, lossless compression, and more control during editing.
RAW files are typically much larger than JPEGs, requiring more storage space and taking longer to process. They also may not be compatible with all software, and need to be converted before they can be shared with others.