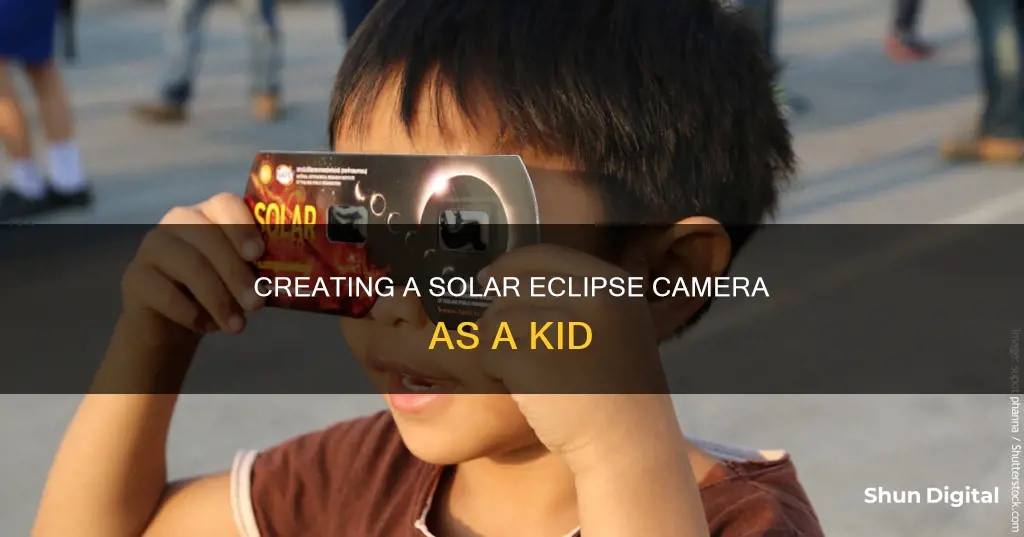
When I was a kid, we didn't have smartphones or tablets, so when there was a solar eclipse, we had to get creative to view it safely. One way we did this was by making a pinhole camera. This simple device allowed us to project an image of the eclipse onto a small piece of card stock, which we could then view without risking eye damage. It was a fun activity and a great way to learn about the sun and moon. These days, there are other options for safe solar eclipse viewing, such as special solar eclipse glasses or viewing the eclipse through a telescope or binoculars with a solar filter. However, making a pinhole camera is still a fun and educational activity for kids and adults alike.
| Characteristics | Values |
|---|---|
| Materials | Cardboard, butterbread wrapping film, sturdy aluminium, adhesive tape |
| Tools | Pin |
| Size | 40cm x 40cm cardboard with a 10cm x 10cm hole in the middle |
| Distance from the white paper | 30 to 40 centimeters |
What You'll Learn
![]()
The pinhole camera projects the eclipse onto card stock
A pinhole camera is a great way to view a solar eclipse safely and easily. The pinhole camera projects the eclipse onto card stock, allowing you to observe the phenomenon without damaging your eyes. Here's how you can make one:
Firstly, gather your supplies. You will need two pieces of white card stock, a pin, a paper clip, or a pencil, and some tape. Cut a 1-inch to 2-inch square or rectangular hole in the middle of one of the pieces of card stock. Then, take a small piece of aluminum foil and tape it over the hole you just cut.
Now, flip over your card stock and use your pin, paper clip, or pencil to poke a small hole in the center of the aluminum foil. This small hole will act as your pinhole camera's lens. It is important to note that you should never look directly at the sun without proper eye protection, even when using a pinhole camera.
To use your pinhole camera, place the second piece of card stock on the ground and hold the piece with the aluminum foil above it, making sure the foil side is facing upwards. Stand with your back to the sun and you will see the eclipse projected onto the card stock below! The farther away you hold the card stock with the pinhole, the larger the projected image will be.
You can experiment with placing the bottom piece of card stock in a shadowed area to make the projection more defined. Additionally, you can try making multiple holes in the foil to create different shapes and patterns, resulting in some neat effects on the projected image.
Remember, the pinhole camera is a safe way to observe the solar eclipse, but always be cautious and never look directly at the sun without proper eye protection. Enjoy your eclipse-viewing experience!
Overnight Charging: Is It Damaging Your Camera Battery?
You may want to see also
![]()
The pinhole camera is a safe way to view the eclipse
The pinhole camera is a fun, safe way to view an eclipse. It's a simple, inexpensive method that can be made at home with just a few basic supplies. This indirect viewing method is a great way to enjoy the eclipse without damaging your eyes.
To make a pinhole camera, you will need two pieces of stiff white cardboard, or card stock, and a pin, paper clip, or pencil. You can also use two pieces of plain white paper, or even paper plates. Start by cutting a small square or rectangular hole in the middle of one piece of card stock. The hole should be around one to two inches in size. Then, tape a piece of aluminium foil over the hole. Now, flip over the card and use your pin, paper clip, or pencil to poke a small hole in the aluminium foil.
To view the eclipse, place the second piece of card stock on the ground and hold the piece with the pinhole above it, ensuring the foil side is facing up. Stand with your back to the sun and view the projected image on the card stock below. The further away you hold the pinhole piece, the bigger the projected image will be. It's important to remember to never look directly at the sun without proper eye protection, as it can cause serious eye damage.
For a more defined projection, try placing the bottom piece of card stock in a shadowed area while the other piece is in the sunlight. You can also experiment with poking multiple holes in the foil to create different shapes, patterns, and designs. Each hole will create its own projection of the sun, resulting in some neat effects.
The pinhole camera works by allowing light from the sun to enter through the pinhole and get focused. The focused light is then projected out of the other side of the hole. When the projected light reaches a surface, like the second piece of paper, you can safely view the image that passed through the pinhole. So, get creative and enjoy the eclipse safely with your very own pinhole camera!
Fuji Batteries: Are They Made by Fuji Camera Company?
You may want to see also
![]()
The pinhole camera can be made with a cereal box
A pinhole camera is a safe way to view a solar eclipse without damaging your eyes. The pinhole camera works by projecting the eclipse onto a piece of card stock. Bob Gee, Axios' Texas bureau chief, made a pinhole camera with his kids using a cereal box, and they worked!
Materials:
- Cereal box
- Scissors
- White paper
- Foil
- Tape
- Pin, paper clip, or pencil
Instructions:
- Cut a 1-inch to 2-inch square or rectangular hole in the middle of one of the pieces of card stock.
- Tape a piece of aluminum foil over the hole.
- Flip over your paper and use your pin, paper clip, or pencil to poke a small hole in the aluminum foil.
- Place your second piece of card stock on the ground and hold the piece with aluminum foil above it (foil facing up).
- Stand with the Sun behind you and view the projected image on the card stock below! The farther away you hold your camera, the bigger your projected image will be.
You can also try poking multiple holes in your foil to make shapes, patterns, and other designs. Each hole you create will turn into its own projection of the sun, creating neat effects.
Charging Your Coolpix Camera: A Step-by-Step Guide
You may want to see also
![]()
The pinhole camera is a fun activity for kids
To make a pinhole camera, you will need a few simple supplies: a cereal box or a piece of cardboard, a small piece of card stock, some aluminium foil, tape, and a pin or something sharp to make a hole.
Start by cutting a rectangle of about 40cm by 40cm from the cardboard. Then, cut a smaller rectangle of about 10cm by 10cm in the middle of the larger rectangle. Cover the smaller hole with a piece of aluminium foil, taping down the sides. Make sure the foil is larger than the hole, so it overlaps with the cardboard. This will ensure that no one accidentally looks directly at the sun. With your pin, carefully poke 50 to 100 holes in the foil within the 10cm by 10cm area.
Now, you are ready to view the eclipse! While outside in the sun, hold the cardboard with the foil side facing the sun, and place the card stock underneath, about 30 to 40 centimetres below. You will see up to a hundred tiny images of the sun projected onto the card stock. It is safe to look at these images, but do not look directly at the sun.
The pinhole camera is a fun, hands-on activity that can help children learn about science and astronomy in a safe and engaging way. It is a simple project that can be made with readily available materials, making it accessible to many. So, the next time there is a solar eclipse, gather your supplies and get ready to observe this fascinating phenomenon with your very own pinhole camera!
New Camera Battery Died? Here's Why
You may want to see also
![]()
The pinhole camera is a cost-free alternative to viewing the eclipse
Here's what you'll need:
- Two pieces of stiff white cardboard or card stock (paper plates can also be used)
- A pin, thumbtack, paper clip, or pencil
- A small piece of aluminium foil (optional)
Instructions:
- Cut a 1-inch to 2-inch square or rectangular hole in the middle of one piece of cardboard.
- (Optional) Tape a piece of aluminium foil over the hole.
- Use your pin, paper clip, or pencil to poke a small hole in the aluminium foil or directly in the cardboard if you chose not to use foil. Ensure the hole is round and smooth.
- With your back towards the sun, hold one piece of cardboard above your shoulder, allowing the sun to shine on it.
- Hold the second piece of cardboard or card stock at a distance and you will see an inverted image of the sun projected on it through the pinhole. The farther away you hold the second piece, the bigger your projected image will be.
Remember to never look directly at the sun without proper eye protection. Sunglasses are not sufficient and can still cause damage to your eyes.
Charging Your 360 Fly Camera: A Quick Guide
You may want to see also
Frequently asked questions
A pinhole camera is a simple device that projects an image of the eclipse onto a piece of card stock. It can be made using everyday items such as a cereal box, cardboard, and aluminium foil.
Cut a rectangle of around 40cm x 40cm from a piece of cardboard. Then, cut a hole of about 10cm x 10cm in the middle of the cardboard. Cover the hole with a layer of aluminium foil and tape the foil in place. Poke 50-100 holes in the foil using a pin, ensuring they are randomly distributed. Finally, hold the cardboard with the foil over a white piece of paper, allowing the light from the sky to fall through the punched holes and project onto the paper.
Ensure that you are positioned outside in the sun. Hold the cardboard with the aluminium foil over the white paper, with the foil around 30-40cm above the paper. Shade the sun with the cardboard so that the light falls through the punched holes in the foil and onto the paper. The projected images of the sun will appear as perfectly round mini-suns.
A pinhole camera is a completely safe and free method of viewing the eclipse. It does not require any special equipment and can be easily made at home, making it a fun activity for children. Additionally, it eliminates the temptation to look directly at the sun, as the attention is focused on the projected images on the white paper.