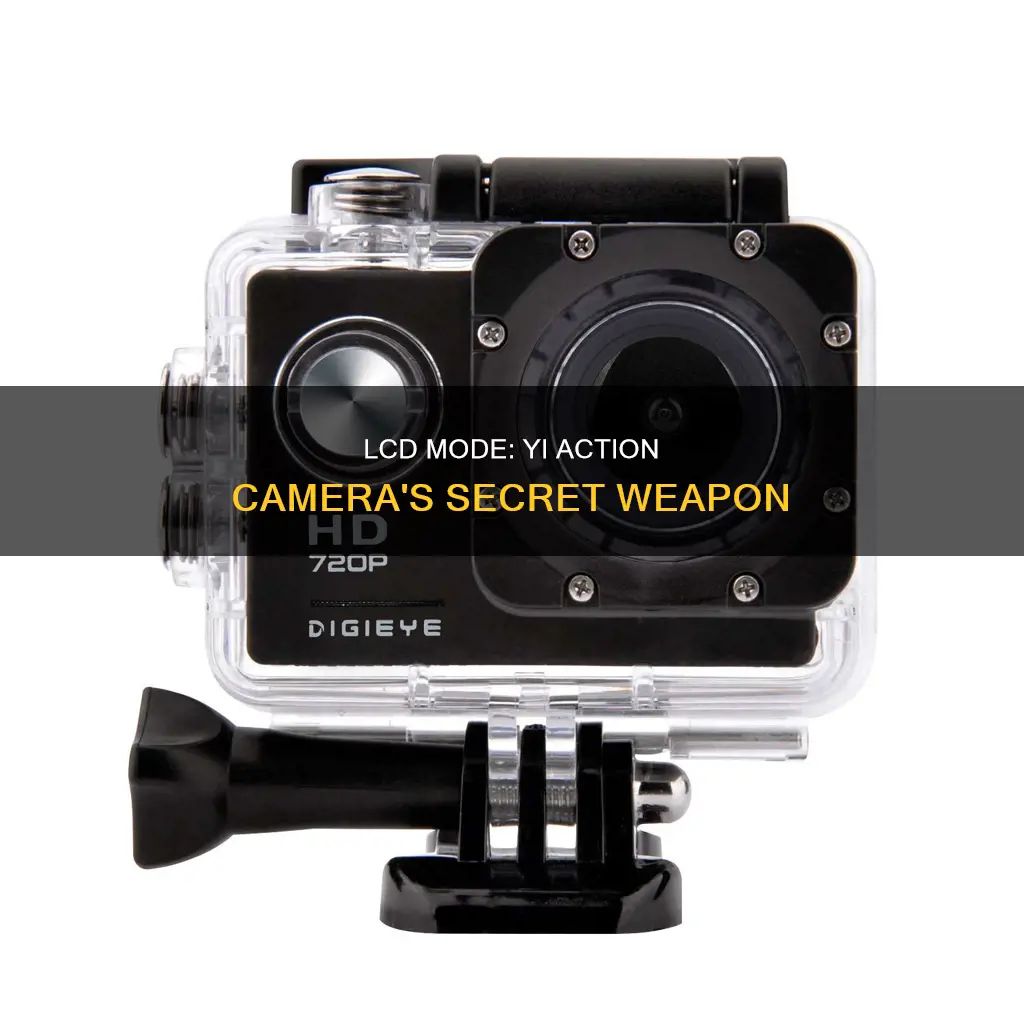
The LCD mode on the YI Action Camera is a power-saving mode that is automatically activated when the camera has not been used for a period of time. To set the auto-lock screen time and control when the device enters power-saving mode, users can navigate to LCD -> Settings -> System Settings -> Advanced Settings -> Auto-lock screen in the camera's settings. Additionally, the auto power-off time can be adjusted by accessing LCD -> Settings -> System Settings -> Advanced Settings -> Auto Power Off.
What You'll Learn
- How to use the LCD to set up the auto-lock screen time and auto-power-off time to conserve battery?
- How to use the LCD to change the shooting mode, resolution, and metering mode settings?
- How to use the LCD to adjust the white balance, sensitivity, and exposure value compensation?
- How to use the LCD to enable the image stabilization function and loop recording?
- How to use the LCD to set the time and restore the camera to factory settings?

How to use the LCD to set up the auto-lock screen time and auto-power-off time to conserve battery
The YI Action Camera will automatically enter power-saving mode when not in use for a period of time. To conserve battery, you can also manually set up the auto-lock screen time and auto-power-off time. Here's how to do it using the LCD:
Setting Up the Auto-Lock Screen Time:
- Go to the "Back Screen" of your camera.
- Navigate to "Settings".
- Select "System Settings".
- Choose "Advanced Settings" or simply "Advanced".
- Select "Auto-lock screen" to set the automatic lock screen time.
After setting the auto-lock screen time, your device will automatically lock after the specified period of inactivity, and it will enter power-saving mode to conserve battery.
Setting Up the Auto-Power-Off Time:
- Again, start from the "Back Screen".
- Navigate to "Settings".
- Select "System Settings".
- Choose "Advanced Settings" or simply "Advanced".
- Select "Auto Power Off" to set the auto-off time.
By setting the auto-power-off time, you ensure that the camera automatically powers off when not in use, further conserving battery life.
Please note that the exact path for these settings may vary slightly depending on the specific model of your YI Action Camera. For example, the YI LITE Action Camera does not include "Advanced Settings" in the path.
Best Night Mode Cameras: Top Picks and Reviews
You may want to see also

How to use the LCD to change the shooting mode, resolution, and metering mode settings
The YI Action Camera is designed to adapt to your ever-changing pace of life. Its LCD mode allows you to change the shooting mode, resolution, and metering mode settings to optimise your videos and photos for different activities. Here's a step-by-step guide on how to use the LCD to adjust these settings:
Changing the Shooting Mode:
- Power on your YI Action Camera and ensure it is fully charged, as the device can record up to 90 minutes of footage without running out of power.
- Familiarise yourself with the available shooting modes. The camera offers 11 different video resolution modes, including high-speed mode for slow-motion videos and extreme sports mode for POV snowboarding footage.
- Navigate to the "Settings" menu on the LCD screen.
- Look for the "Shooting Mode" option and select it.
- Use the on-screen options to scroll through the various shooting modes and select the one that aligns with your current activity or desired effect.
Adjusting Resolution:
- Access the "Settings" menu on the LCD screen.
- Locate the "Resolution" setting.
- Choose from the 11 different video resolution options to optimise your video quality based on your activity. For example, you might select a higher resolution for outdoor adventure sports and a lower resolution for indoor vlogging.
Modifying Metering Mode Settings:
- Enter the "Settings" menu as before.
- Find the "Metering Mode" setting.
- Adjust the metering mode to achieve the perfect balance of light and exposure for your current environment. Play around with the settings to ensure your videos and photos are well-lit and exposed correctly.
The YI Action Camera's LCD mode provides a user-friendly interface for customising these critical settings. By following these steps, you can quickly adapt your camera to suit various activities and ensure you capture the best possible footage.
Is Your Webbie HD Camera Charging?
You may want to see also

How to use the LCD to adjust the white balance, sensitivity, and exposure value compensation
The YI Action Camera's LCD mode allows you to adjust the white balance, sensitivity, and exposure value compensation to fine-tune your photos and videos. Here's a detailed guide on how to use the LCD to adjust these settings:
White Balance:
- White balance can be adjusted to change the overall colour of your photos and videos.
- The YI Action Camera can automatically adjust the white balance based on the lighting conditions.
- You can also manually set the white balance by selecting from the following recommended light conditions: 3000K for tungsten or sunrise/sunset lighting, 5500K for cool fluorescent or average daylight conditions, and 6500K for cloudy environmental conditions.
- To adjust the white balance, access the camera settings through the YI Home/Kami App. Under "Smart Detection", click on "Settings", and then adjust the white balance as needed.
Sensitivity:
- Sensitivity refers to the camera's photo-sensitivity, which can be adjusted in low-light environments to enhance the brightness of your photos and videos.
- A higher ISO setting will result in a brighter image but with more grain or noise. Conversely, a lower ISO will produce a darker image with less noise.
- To change the sensitivity level, launch the YI Home/Kami App and click on the gear icon to access the camera settings. Under "Smart Detection", click on "Settings", and then adjust the sensitivity level using the slider. The default setting is "High".
Exposure Value Compensation:
- Exposure compensation allows you to adjust the brightness of your photos and videos when shooting in contrasting light conditions.
- In very dark or very light scenes, you can add a stop or two of exposure compensation. For scenes with lots of tones, experiment with different values and review the results on the LCD.
- On your YI Action Camera, exposure compensation can be adjusted by pressing the +/- button and turning the main dial right or left to reduce or boost the exposure value.
- Remember that your camera will retain the exposure compensation value after each shot, so remember to reset it to zero when moving on to a new scene.
Air Travel Camera Battery Rules Explained
You may want to see also

How to use the LCD to enable the image stabilization function and loop recording
The YI Action Camera is a lightweight, low-budget camera that can record videos in 2k and create 16MP photos. It is equipped with an LCD screen and a built-in Electronic Image Stabilization (EIS) function, which helps to keep footage clear and stable. To enable the EIS function, simply turn on the Electronic Image Stabilization option when shooting.
To enable loop recording on the YI Action Camera, go to the settings in the YI app. Loop recording allows you to set your video to record continuously, and once the memory card is full, new footage will overwrite the oldest footage.
The YI Action Camera is a great choice for those looking for a camera to record their holidays, take selfies, and make videos of friends and family. With its LCD screen and EIS function, it is a capable and easy-to-use action camera.
Apple Cameras: Night Mode Feature Explained
You may want to see also

How to use the LCD to set the time and restore the camera to factory settings
The LCD screen on your YI Action Camera is a useful tool for adjusting settings and reviewing footage. You can use the LCD to navigate to the Settings menu, where you can adjust various options such as the time and date.
To set the time using the LCD, follow these steps:
- Turn on your YI Action Camera by pressing the power button.
- Swipe or tap the LCD screen to wake it up and access the main menu.
- Use the touch screen to navigate to the Settings menu.
- In the Settings menu, look for the "Date and Time" option and tap on it.
- Now, you can adjust the time and date manually. Set the correct time by tapping on the hour, minute, and second values and changing them accordingly. You can also adjust the date by tapping on the month, day, and year values.
- Once you have entered the correct time and date, confirm your changes by tapping "OK" or "Save."
The LCD screen also allows you to restore your camera to its factory settings if needed. Here's how to do it:
Using the YI App:
- Open the YI App on your mobile device and ensure it is connected to your camera.
- In the app, locate and tap on the "Restore Factory Settings" option.
- Confirm the action, and your camera will be restored to its original settings.
Using the Camera:
- Press and hold both the Power and Wi-Fi buttons on your YI Action Camera simultaneously.
- Continue holding the buttons until you hear a beep. The beep indicates that the camera has successfully been restored to its factory settings.
Please note that restoring your camera to factory settings will erase all your personal settings and customizations. Make sure to back up any important data before proceeding.
Finding Camera Raw: Explorer Secrets Revealed
You may want to see also
Frequently asked questions
The YI Action Camera has an LCD touchscreen that allows you to preview, shoot, and change settings.
The LCD screen turns on automatically when you power on the camera.
Yes, you can use the LCD screen underwater if you purchase a waterproof case for the camera.
Yes, the LCD screen can be used to preview footage in real-time while recording.
Yes, the LCD screen is used to access the camera's settings and change them as needed.
Yes, the LCD screen will turn off automatically when the camera is idle for a period of time, and you can also set the auto-lock screen time to conserve battery.


