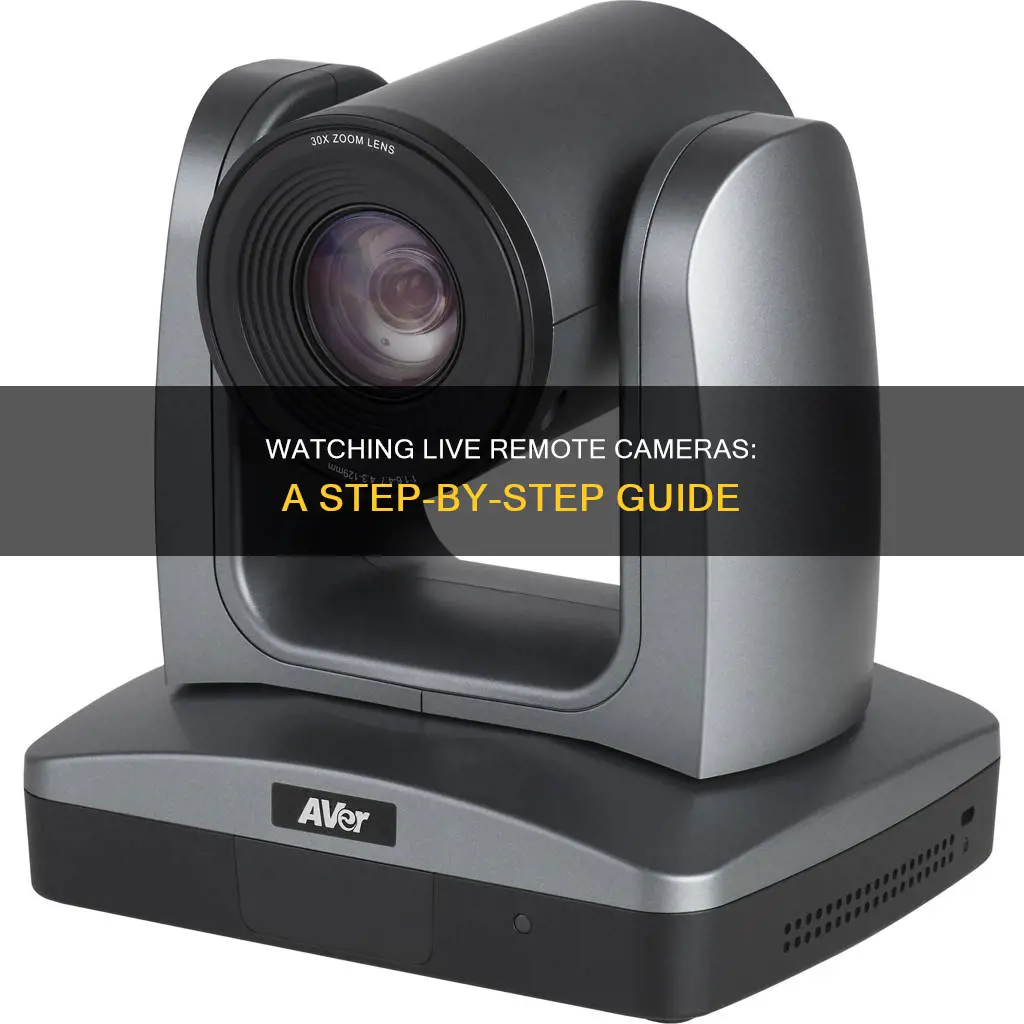
Remote viewing cameras are a convenient way to monitor and access live video feeds from a distance. This can be easily set up by connecting IP cameras over the internet via an app or client, or by setting up port forwarding. This article will provide a step-by-step guide on how to set up and watch remote live cameras, as well as troubleshooting tips for common issues. By following these simple instructions, you'll be able to access your camera feed and view live or recorded footage from anywhere in the world.
| Characteristics | Values |
|---|---|
| Devices | Computer, smartphone, tablet |
| Connection | Internet, WiFi, 4G |
| Software | Reolink App and Client, IP address camera viewer online, CCTV Camera World mobile app, Livestream Studio |
| Camera | IP camera, CCTV, PoE camera, PTZ camera |
What You'll Learn

Using a smartphone app
There are several ways to watch remote live cameras using a smartphone app. Here are some detailed instructions for a few of them:
IP Phone Camera App
The IP Phone Camera app is a free third-party application for Android devices that allows you to view multiple cameras, capture videos and photos, and receive email notifications for motion detection. You can use this app to turn your phone into a live camera that can be viewed from anywhere in the world. Here's how to set it up:
- Open the Google Play Store and install the IP Phone Camera app.
- Choose your connection method: WIFI, Mobile Hotspot, or Mobile Data. Note that Mobile Data is a premium plan that requires payment.
- Choose your preferred mode of connection. If using WIFI or Mobile Hotspot, ensure that both the sender and receiver devices are connected to the same network.
- Tap on "Start Broadcasting" to view your phone's camera live feed.
- To view the live feed, open a web browser on any device and enter the URL provided on the screen.
- You can now view the camera feed from the second device and remotely control the camera, switch cameras, autofocus, and turn on the flashlight.
IP Webcam Android App
The IP Webcam app is another Android application that turns your phone into a network camera that can be viewed and controlled from anywhere in the world. It supports two-way audio and works with most security cameras. Here's how to set it up:
- Open the Google Play Store and install the IP Webcam app.
- Open the app and provide all necessary access privileges.
- The app supports local and cloud broadcasting. For cloud broadcasting, you will need to sign up for its cloud space to access the live camera feed from anywhere.
- Browse through the configurable options and tap on "Start Server" to start broadcasting the live camera feed. Note that local broadcasting requires both devices to be on the same network.
- From another device, open a web browser and enter the provided URL.
- Tap on "Browser" to view and control your camera from the second device. You can take photos and switch cameras.
AirDroid Remote Support App
The AirDroid Remote Support App allows you to control one Android device from another. By installing the apps on two phones and using a 9-digit connection code, you can remotely access and control the camera. Here's how to set it up:
- Download AirMirror on the controller device and AirDroid Remote Support on the controlled device.
- Find the 9-digit code on the AirDroid Remote Support app and enter it in AirMirror, then tap "Connect".
- Enable Screen Sharing on both devices.
- Tap the finger icon and then "Remote Control". You can now turn on the remote phone's camera from your phone.
Reolink App
Reolink offers an app that allows you to view their security cameras remotely. Here's how to set it up:
- Download the Reolink App or Client on your phone or computer.
- Launch the app and enter a unique ID number (UID) to add the camera device.
- Click on the camera on the App or Client to view your IP camera over the Internet outside of your home network. You can also allow family members to access the feed simultaneously.
Apple Watch Series 3: Camera-Equipped or Not?
You may want to see also

Using a web browser
How to Watch Remote Live Cameras Using a Web Browser
To watch a remote live camera feed using a web browser, you will need to know the camera's IP address, which can be found by accessing your camera's settings. You will also need to be connected to the internet to watch the feed online. The better the quality of your internet connection, the higher the quality of the feed and the less buffering you will experience.
Step-by-Step Guide to Watching a Remote Live Camera Feed Using a Web Browser:
Step 1: Find the Camera's IP Address
This will be different for every manufacturer but should be relatively easy to find.
Step 2: Go to the IP Address in Your Browser
You will need to be connected to the same network as your camera to do this successfully. Once you change the router settings, you will be able to access the feed from anywhere in the world.
Step 3: Check the Settings on the Browser Login
Check which port the camera is using and consider changing it from the default setting, as some ISPs are picky with default ports.
Step 4: Reboot the Camera and Log Back In
Use the browser to log back into the camera.
Step 5: Find the WAN/External IP Address of Your Router
Write this down, as you will need it to log into your camera each time.
Step 6: Change the Port Forward Numbers
Change the port forward numbers on your router to your camera's port number. This is usually done via your online router settings.
Step 7: Reboot Your Camera
Reboot your camera once more, and you should now be able to see the feed from your computer browser.
Additional Notes:
- This method will work on any device that can access a web browser.
- Using the manufacturer's apps or standard login will usually be easier than this method, which is typically used as a backup if the brand doesn't have a service sign-in.
- You can also use a plugin-free web browser like Google Chrome, Apple Safari, Microsoft Edge, or Mozilla Firefox to access your camera feed.
Pet Cameras: Do Dogs Watch and Care?
You may want to see also

Troubleshooting
Check Power and Connection
First, verify that your camera is receiving power. Check if the camera is plugged into a power source or powered by a battery. If it's plugged into an electrical outlet, ensure it's receiving the appropriate wattage, especially for more complex cameras such as pan-tilt-zoom models.
Next, check the network connection. Internet Protocol (IP) cameras often have LED indicators for data transmission, though they may be hidden inside the camera. If the LEDs aren't lit, the network may be down.
Discover and Ping Camera
Find your camera's IP address by checking its directory. Once located, you can 'ping' the address using a laptop or smartphone to test the connection strength. On Windows, open the Command Prompt by typing 'cmd' into the search engine, then type 'ping' followed by the IP address. If you see 'Request Time Out' or 'Destination Host Unreachable', check if your device is on the same network as the camera, and if so, try connecting via a browser.
Check Username and Password
If you can ping the camera but can't connect, ensure you're using the correct login credentials. Refer to the camera's manual if needed. You can cross-reference the MAC and IP addresses using the Address Resolution Protocol (ARP) tables, usually located on the outside of the camera.
Confirm No IP Conflict
If you have multiple cameras, ensure they each have unique IP addresses. IP conflicts can prevent you from accessing one or all of your cameras.
Update Camera Software
Ensure your camera is running the latest software. Connect to VMS and access the camera's web page to check for updates.
Reset Camera Settings
Try resetting your camera settings. This can be done by turning the camera off and on again or by performing a factory reset, though this will erase any custom settings. Consult your camera's manual for the specific reset method.
Check Firewall and Port Settings
If you're using port forwarding to connect to your camera, ensure that all ports in the network configuration are mapped to the internet. Also, check your firewall settings on both the router and your computer to ensure they're not blocking access to the camera.
Check Web Server Settings
Verify that your user account has permission to access the IP cameras by checking your Web Server Settings.
Check Camera Compatibility
If you're using a web browser to access your camera, ensure that the camera is compatible with the specific browser you're using.
Contact Support
If you're still unable to view your remote live cameras, contact the camera manufacturer or a remote monitoring provider for further support and guidance.
Mounting Cameras to Sky-Watcher: A Comprehensive Guide
You may want to see also

Setting up port forwarding
Step 1: Find the IP Address of Your Security Camera
First, you need to find the IP address of your security camera. This information can usually be found in the camera's network status page within the camera's software. Alternatively, you can refer to your router configuration software to find the IP addresses of attached DHCP clients.
Step 2: Check the WAN/External IP Address of Your Router
Next, you need to find out your current WAN (Wide Area Network) IP address, which is the address of your home network. This address may change if your Internet Service Provider (ISP) allocates dynamic IP addresses to its customers. If this is the case, consider using a Dynamic Domain Name System (DDNS) service to avoid having to check the WAN IP address every time you access your cameras remotely.
Step 3: Check the Camera Port Numbers and Forward Ports to the Router
Port numbers are used when setting up an IP camera for remote viewing. Routers use ports to limit data access to your IP camera and to differentiate between multiple devices. If you have multiple security cameras, remember to use different port numbers. After obtaining the port numbers from your camera device settings, log into your router's web interface and set up the port forwarding rules.
Step 4: Reserve an IP Address for Your Camera
Before setting up port forwarding for remote access, it is recommended to reserve an IP address specifically for your IP camera. By doing this, you ensure that your camera always receives the same IP address, even if your router loses power or needs to be rebooted. Consult your router's manual to learn how to set up IP reservations for your specific model.
Step 5: Set Up Port Forwarding
To set up port forwarding, log in to your router and navigate to the port forwarding section of the interface. This location may vary depending on the make and model of your router. Consult your manual or search online for specific instructions. In the port forwarding section, forward incoming requests on a specific port to the IP address of your camera. This allows access to your network through your network firewall and forwards all requests to your IP camera.
Step 6: Test Your Port Forwarding Setup
To confirm that your port forwarding is set up correctly, try connecting to your camera from a device that is not on the same network. If you are on-site, you can turn off the Wi-Fi connection on your phone to connect via the cellular network. You can also use an open port forwarding test tool to check if the port is properly open.
By following these steps, you should be able to successfully set up port forwarding for your remote live cameras, allowing you to access and monitor them from anywhere with an internet connection.
Ranged Attack Camera in Medieval Total War: Ultimate Viewing Guide
You may want to see also

Using a DDNS service
Using a Dynamic Domain Name System (DDNS) is a popular way to watch remote live cameras. DDNS is a way of updating a DNS name server with your changing IP address assigned to you by your internet service provider (ISP).
To set up DDNS, you can follow these steps:
- Sign up and get a domain name from IP Camera DDNS servers: Choose a DDNS service provider based on your needs and budget. There are free and paid versions available.
- Check the Hostnames/Domains for remote viewing: After signing up, log in to your account and click on "Dynamic DNS - Hostnames" to find your assigned IP camera DDNS hostname or internet domain.
- Configure IP Cameras with DDNS in Security Camera Viewers: Launch your security camera viewer application and go to the device settings to enable DDNS. Choose a DDNS server type and enter the hostname, username, and password for your IP cameras with DDNS.
- Set up Port Forwarding: Log in to your router and forward the Media Port to the IP address of the IP cameras with DDNS. The steps may vary depending on your router model, so refer to the user manual for specific instructions.
- Access your IP cameras through DDNS: After the setup is complete, you can watch the live view of your IP cameras by entering the DDNS hostname in a web browser.
Using DDNS allows you to access your security cameras remotely with a dynamic IP address, enhancing the security of your remote viewing.
Simultaneously Viewing Vivint's Dual Cameras: A Step-by-Step Guide
You may want to see also
Frequently asked questions
A remote viewing camera is a surveillance device that allows users to monitor and access live video feeds from a distance.
There are two ways to set up a remote camera: connecting IP cameras over the internet via an app/client, or setting up port forwarding.
You can watch your cameras live by streaming live video through mobile apps and remote service/total connect websites.
Recording options are available on the live video screen. You can record a 30-second video clip by clicking the record button.


