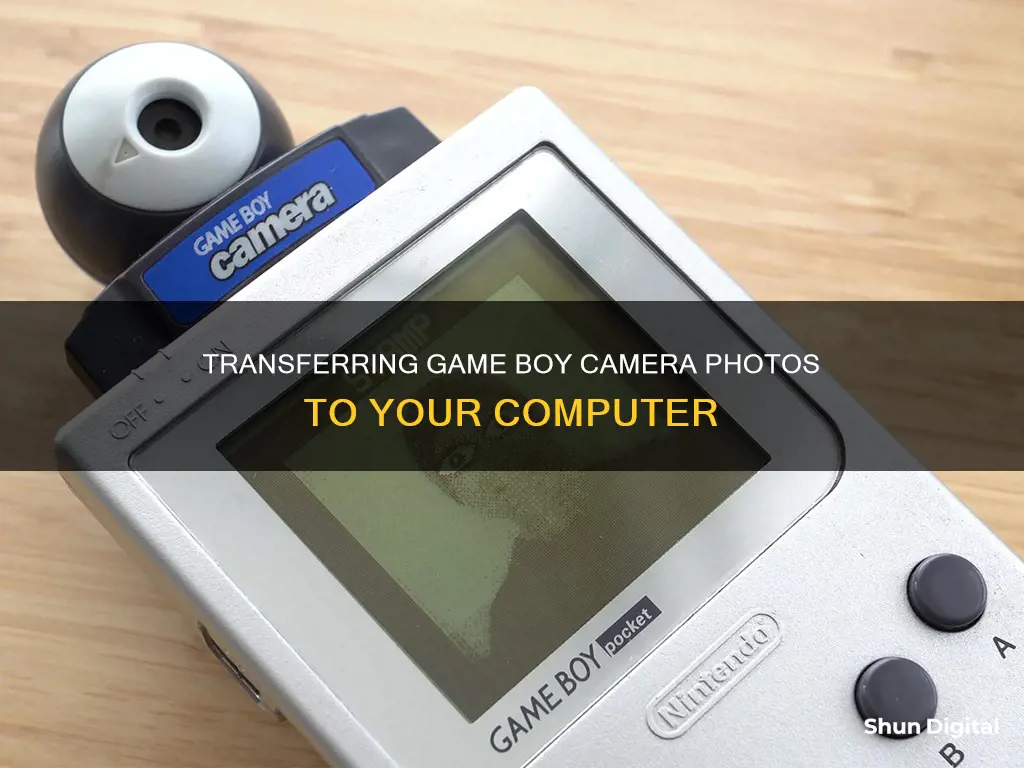
The Game Boy Camera is a unique piece of technology that was released by Nintendo in 1998. It was the first digital camera that could be used with the Game Boy console and had a resolution of 128 x 112 pixels, taking black-and-white photos. The camera featured a rotatable lens and allowed users to edit and save photos onto a Game Boy cartridge. While there is no official way to transfer photos to a PC or smartphone, several options are available, including commercial solutions and DIY projects. This paragraph introduces the topic of uploading Game Boy Camera photos to a computer, highlighting the camera's unique features and the various methods for transferring photos.
| Characteristics | Values |
|---|---|
| Image Resolution | 128 x 112px or 128 x 128 pixels |
| Color | 4 shades of gray |
| Storage Capacity | 30 photos |
| Transfer Options | Game Boy Printer, Game Boy Link Cable, Cartridge Reader, Super Game Boy, N64 Controller & Transfer Pak Cart Reader, Transfer Cable + Everdrive/EZ Flash, Game Boy Camera Fast Wi-fi Adapter, Epilogue Operator |
| Commercial Solutions | BitBoy, Game Boy Camera WiFi Printer, BennVenn — Joey Jr., insideGadgets — GBxCart, Epilogue — GB Operator, Analogue Pocket, NeoGB Printer, Pi Pico Game Boy Printer, WiFi GBP Emulator, Raphnet N64 to USB adapter cable, Game Boy Camera Fast Wi-fi Adapter, Epilogue Operator |
| DIY Solutions | Arduino Nano, Arduino Game Boy Printer Emulator, NeoGB Printer, Pi Pico Game Boy Printer, WiFi GBP Emulator, N64 Controller & Transfer Pak Cart Reader, Transfer Cable + Everdrive/EZ Flash |
What You'll Learn
![]()
Using a Game Boy Printer emulator
Commercial Game Boy Printer Emulators
BitBoy
BitBoy is a ready-to-use solution that connects to a Game Boy using a link cable and acts as a Game Boy Printer emulator. It has its own battery and uses an SD card to store photos. It supports batch printing and can be used with games that support the Game Boy Printer. It costs around $100, which makes it an expensive option. However, it is a good choice for those who are serious about Game Boy photography.
Game Boy Camera WiFi Printer
The Game Boy Camera WiFi Printer, released in 2019, is another commercial emulator option. Similar to BitBoy, it emulates a Game Boy Printer and supports batch printing. It also has a minimal web interface for applying colour palette changes and downloading images. This printer requires external power and does not have a battery. It usually costs €26, making it a cheaper alternative to BitBoy.
DIY Game Boy Printer Emulators
Arduino Game Boy Printer Emulator
This DIY project has been around since 2017 and has improved to support prints from all printer-compatible Game Boy games. It is based on the Arduino IDE and can run on most Arduino-compatible microcontroller development boards. This project requires wiring a Game Boy link cable to the available pins on the microcontroller board. With the development board connected to a PC via USB and the link cable connected to a Game Boy, users can print and capture the transferred data over a serial connection. The raw data can then be pasted into a decoder web page that is part of the project to convert it into a photo. While this method is cheap (a compatible dev board costs less than $10), it is not portable and requires multiple steps.
NeoGB Printer
NeoGB Printer is a recent printer emulator project based on Brian Khuu's Arduino printer emulator. The goal is to create a portable, low-cost, and open-source solution for capturing prints from all games with Game Boy Printer support (110 in total). It runs on any dual-core ESP32 development board and outputs photos in BMP or PNG format onto an SD card. The project also includes a simple web server mode, allowing access to prints directly via WiFi. Depending on the ESP32 development board used, it may be battery-powered or require external power.
Pi Pico Game Boy Printer
This printer emulator project from 2022 is based on the Pi Pico microcontroller. It supports printing from any game with printer support and only requires a few components: Pi Pico, level shifter, and a link cable. When connected to a device via USB, the Pi Pico acts as a network device and hosts a local web server for accessing prints through a web browser. It can be used with PCs and modern iOS devices using the lightning to USB camera adapter.
WiFi GBP Emulator
The WiFi GBP Emulator, developed by Herr Zatacke, started as a way to use the Arduino printer emulator code on the go using a WiFi-enabled ESP8266 (D1 mini) development board. It has since evolved into a two-part project, including the ESP-based WiFi GBP emulator (print mode) and a feature-rich web interface, the Game Boy Camera Gallery web app (web mode). Depending on the ESP development board used, it may be battery-powered or require external power. There is room for creativity in the design, such as adding an optional OLED display. A shield PCB design for the D1 Mini is available, which includes a built-in Game Boy link port and pinouts for the OLED display.
Mastering Focus Stacking: In-Camera Techniques for Sharp Photos
You may want to see also
![]()
Using a cartridge reader
One advantage of using a cartridge reader is that you may be able to retrieve photos that have been "deleted" via the Game Boy Camera interface. This is because photos are only marked as deleted and not completely erased until the unused slot is overwritten with a new photo.
Extracted save data can be processed with a variety of tools to retrieve photos, including the Game Boy Camera Gallery web app. Some cartridge readers also have a dedicated function to retrieve photos from the Game Boy Camera.
Most cartridge reader software runs on a PC, so these devices are not typically a portable solution. Here are some of the most common and well-known cartridge readers:
BennVenn — Joey Jr.
This cartridge reader has a simple function: it shows up as a USB storage device. It works on PC (Windows, Mac, Linux) as well as most smartphones using an OTG cable. It also has a dedicated Game Boy Camera mode that displays photos as BMP on the USB storage device. It supports ROM/RAM dumping and flash cart writing.
InsideGadgets — GBxCart
The GBxCart has a straightforward GUI that runs on PC with dedicated Game Boy Camera viewing and exporting. It has an open community with a variety of software tools that support the device. It supports ROM and RAM dumping and writing to most flash cartridges.
Epilogue — GB Operator
The GB Operator has a clean software UI and dedicated Game Boy Camera photo exporting. It supports ROM and RAM dumping but does not have a writing function. It has direct integration with mGBA for emulating games directly off the cartridge while flashing save progress back onto the cartridge.
Submodule — GB01
The GB01 is unique compared to other cartridge readers as its biggest strength is its ease of operation. The software is designed to be very straightforward, although it only works with this reader. The device supports reading ROMs and reading and writing saves on GB and GBA carts. Bootleg/repro support is minimal.
Cleaning Surveillance Cameras: A Step-by-Step Guide
You may want to see also
![]()
Using a Game Boy Camera WiFi Printer
The Game Boy Camera WiFi Printer is a handy device that allows you to transfer photos from your Game Boy Camera to a PC or smartphone. Here's a step-by-step guide on how to use it:
- Power up the WiFi Printer using a generic micro-USB power supply.
- Connect the Game Boy Camera to the WiFi Printer using a link cable, just as you would with a Game Boy Printer.
- Select the pictures you want to "print" from your Game Boy Camera.
- The WiFi Printer saves the pictures to its internal memory, and you can access them even when the Game Boy Camera is not connected.
- On your PC or smartphone, connect to the WiFi of the WiFi Printer. It will appear in your list of WiFi connections.
- Open a web browser and type in the IP address printed on the back of the WiFi Printer. This will take you to its built-in web interface.
- On the web interface, you will see all the pictures you have "printed." You can also edit the colours and other settings.
- To save a picture to your device, simply right-click on it and save it as you would any other image file.
The Game Boy Camera WiFi Printer is a convenient and relatively inexpensive solution for transferring photos from your Game Boy Camera to modern devices. It is easy to use and does not require any complicated setup or old PC hardware.
However, it is worth noting that the WiFi Printer needs external power to operate and does not have a battery of its own. Additionally, due to hardware limitations, there is no option to download all the pictures at once; they must be saved individually.
Troubleshooting Samsung S8 Camera Focus Issues
You may want to see also
![]()
Using an Arduino Nano
This method requires some programming skills and soldering. You will need an Arduino Nano, a cheap Game Boy Link Cable clone, and a computer. The total cost of this setup is around 6 euros.
First, follow this guide to set up the Arduino Nano:
- Install the Arduino IDE.
- Download the whole project from GitHub and unzip it.
- Open the GameBoyPrinterEmulator folder and then the GameBoyPrinterEmulator.ino file with the Arduino IDE.
- Connect your board and choose the board type (Tools -> Board) and the serial port (Tools -> Port).
- Flash the project to your board (Sketch -> Upload).
- Set the baud rate to 115200 in the Serial Monitor.
Next, you need to wire the Game Boy Link Cable to the Arduino Nano. Cut the cable and splice it directly to the Arduino. Do not destroy old genuine Game Boy Link Cables for this purpose; instead, purchase new cables online.
The pinout for the cable is as follows:
- Pin 2: Serial Output (SOUT)
- Pin 3: Serial Input (SIN)
- Pin 5: Serial Clock (Interrupt)
- Pin 6: GND (Attach to GND Pin)
Note that SIN and SOUT are crossed within the cable, so you may need to trust your multimeter and try inversing them if the device does not work initially.
Now, connect the Arduino to the Game Boy Camera and your PC. Use the serial monitor of the Arduino Software to capture the print output of the Game Boy Camera. Copy-paste this output into a web tool to convert the data into an image.
This method only supports the Game Boy Camera prints and does not work with other games that support the Game Boy Printer. However, with some extra coding, it may be possible to adapt it for other games.
This method is more cumbersome and time-consuming than other options, especially when transferring multiple photos. However, it is a good option for those on a tight budget or those who want to learn more about the technical aspects of the process.
Charging SimpliSafe Camera Batteries: A Step-by-Step Guide
You may want to see also
![]()
Using a flash cart
There are two main types of flash carts: External Memory Multi ROM Carts and Internal Memory Single ROM Carts.
External Memory Multi ROM Carts use an external memory card, usually a Micro SD card, for game and save storage. This type of cart is the easiest to use and offers the greatest compatibility and the most features. Common vendors for these carts include Krikzz Everdrive, EzFlash, and BennVenn’s El Cheapo. While these carts are more expensive, they provide a straightforward way to transfer your Game Boy Camera pictures to your computer. Simply use a link cable to connect your Game Boy Camera to another Game Boy with a flash cart. Then, transfer the photos from the Game Boy Camera to the flash cart via the link cable. Finally, remove the Micro SD card from the flash cart and insert it into your computer to access your pictures.
Internal Memory Single ROM Carts imitate OEM carts in both form and function and can usually hold only one game at a time. These carts are typically cheaper and can be found from vendors like insideGadgets. However, they may have limited compatibility with certain games, so be sure to check before purchasing.
When choosing a flash cart, consider the type of memory mapper and Real Time Clock (RTC) support you need. Most games use or support the MBC5 mapper, but some older games use the MBC1 mapper, which may not be directly compatible with MBC5. Additionally, certain games, like the second-generation Pokemon games, use RTC, which is only supported on the MBC3 mapper.
With a flash cart, you can easily transfer your Game Boy Camera pictures to your computer without the need for expensive or complicated methods. So, if you're looking for a cost-effective and convenient solution, a flash cart is the way to go!
Surveillance Room Setup: Axis Cameras Configuration Guide
You may want to see also
Frequently asked questions
You will need a Game Boy Camera, a Game Boy link cable, and a computer with a Game Boy link cable port. The port is usually found on the back of the computer.
Turn on your Game Boy Camera and your computer. Insert the Game Boy link cable into the Game Boy Camera and the computer. The computer should then recognize the Game Boy Camera and begin downloading the photos.
There are a few other ways to get photos from your Game Boy Camera onto your computer. You can use a cartridge reader, a Game Boy Printer emulator, or a DIY solution.