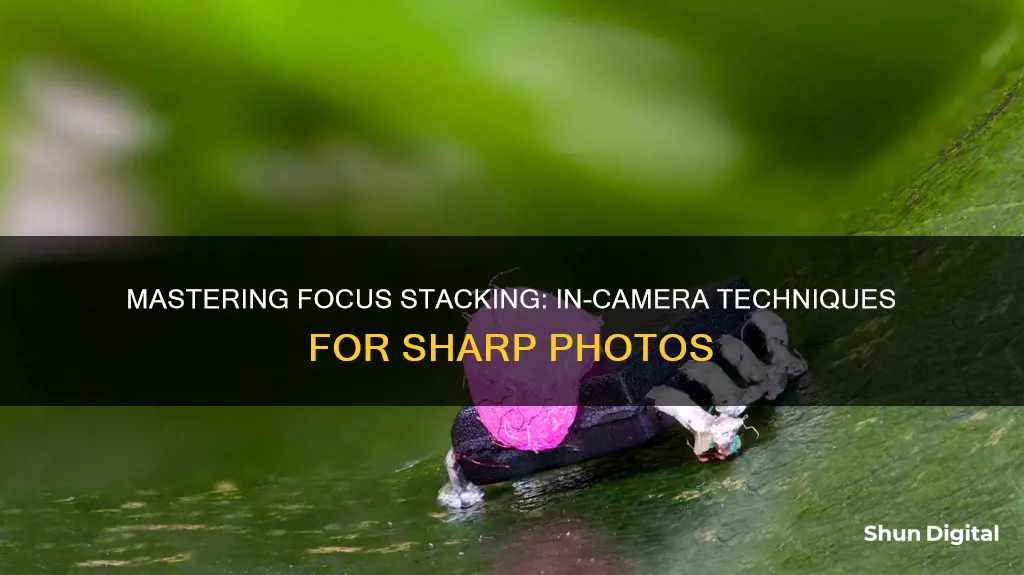
Focus stacking is a technique used in photography to achieve a greater depth of field than one shot with one lens can typically provide. This is done by taking a series of images of the same subject with slightly different parts in focus and then blending them together in post-production to create a single image that is sharp throughout the frame. The number of shots required depends on the level of magnification and the desired depth of field. For example, if working at 1x magnification, three or four images stacked together will result in the entire subject being sharp, while at 2x magnification, eight shots or more may be needed.
Focus stacking can be done manually by adjusting the focus between shots or automatically with certain camera models and lenses. When shooting manually, it is important to use a tripod to ensure that the images are perfectly aligned. Additionally, it is crucial not to change any settings during the sequence, as even small differences in exposure can cause issues during post-production.
Focus stacking is particularly useful in macro photography, where the depth of field is often very narrow due to the close focusing distance. It can also be used in landscape photography to achieve sharp focus from the foreground to the background, especially when using telephoto lenses or shooting in low light conditions.
| Characteristics | Values |
|---|---|
| Purpose | To gain a lot more depth of field by taking different shots with individual focus points and then merging them together in post-production |
| When to use | When you can't have the whole scene in focus with a single shot, e.g. wildflowers in the foreground with a wide lens or a close-up of an insect |
| Equipment | Camera/lens, tripod, focusing rails, Helicon Tube |
| Process | Find the right composition, set up the gear, find the right exposure, make the sequence |
| Sequence | Start from infinity and take as many shots as needed until the closest thing in the frame is in focus |
| Post-production | Use software such as Adobe Photoshop, Helicon Focus, Lightroom AI Noise Reduction, or Canon's Digital Photo Professional |
What You'll Learn

Choose the right camera and lens
Choosing the right camera and lens is essential for achieving the best results with focus stacking. While this technique can be done with just a smartphone, investing in the right gear will significantly improve your images. Here are some key considerations when selecting a camera and lens for focus stacking:
- Image Resolution: A camera with a high-resolution sensor, preferably full-frame or APS-C, will capture finer details and provide better low-light performance. The Canon EOS R8, Fujifilm X-T5, and Nikon Z 7II are excellent options in this regard.
- Autofocus System: An advanced autofocus system with subject detection is crucial for focus stacking. It simplifies the process and ensures precise focal points. The Canon EOS R8's Dual Pixel CMOS AF II and the Nikon Z 6II's hybrid autofocus system are good examples.
- Focus Stacking/Bracketing Modes: Cameras with automatic focus bracketing and stacking modes simplify the process. The Olympus OM-D cameras, for instance, offer this feature.
- Battery Life and Ergonomics: Focus stacking often requires taking multiple shots, so a camera with good battery life and comfortable ergonomics is essential for extended shooting sessions.
- Lens Compatibility: Access to a wide range of high-quality lenses, especially macro lenses, expands your capabilities in focus stacking. Ensure the camera you choose has a good selection of compatible lenses.
- User Interface: An intuitive user interface with a touch screen can expedite settings adjustments, allowing you to focus more on capturing great images.
Additionally, here are some specific camera and lens recommendations for focus stacking:
- Canon EOS R8: The Canon EOS R8 stands out for its full-frame CMOS sensor, exceptional image resolution, and reliable autofocus. Its compact and lightweight design make it easy to carry around. However, it lacks in-body image stabilization and has limited battery life.
- Fujifilm X-T5: The Fujifilm X-T5 offers a high-resolution 40.2-megapixel sensor and exceptional in-body image stabilization. Its classic dial-based layout is user-friendly and allows for quick adjustments. However, the autofocus could be improved, and the price point is higher than some competitors.
- Nikon Z 7II: The Nikon Z 7II is ideal for focus stacking due to its ultra-high resolution 45.7MP sensor, ensuring every element is sharp and clear. It also features dual card slots and enhanced autofocus. However, it has a higher price tag and a bit of a learning curve for those new to advanced mirrorless systems.
- Nikon Z 6II: The Nikon Z 6II delivers on both still photography and video. It offers outstanding low-light performance, high-speed shooting capabilities, and a hybrid autofocus system. While it has a relatively high cost and limited battery life, it's a solid investment for serious photographers.
- Canon EOS R10: The Canon EOS R10 provides a blend of performance and portability. Its 24.2 MP APS-C CMOS sensor and DIGIC X image processor produce excellent image quality. The camera also offers high-speed continuous shooting, making it perfect for capturing fast-moving subjects. However, the included lens may not cover all photographic needs, and autofocus may struggle with less common subjects.
When it comes to lenses, a manual focus lens is crucial for focus stacking. Most lenses offer a switch for toggling between manual and autofocus. For macro photography, consider investing in a dedicated macro lens, such as the M.Zuiko 60 mm f/2.8 macro, which is often used by photographers like Thomas Stirr. Additionally, extension tubes can be useful for macro focus stacking, allowing you to get even closer to your subject.
Action Camera Batteries: How Long Do They Really Last?
You may want to see also

Set up your camera on a tripod
Setting up your camera on a tripod is an essential step in the focus stacking process. While it is possible to perform focus stacking without a tripod, it is not recommended as it can be challenging to keep each successive image aligned. A tripod ensures that your camera remains steady and that your composition is consistent across all the shots.
- Choose a sturdy tripod: While you don't need an expensive tripod, it's important to select one that is stable and can hold your camera securely.
- Lock down your tripod: Once you have composed your shot and set up your tripod, make sure to lock it down to prevent any unwanted movement.
- Use a remote release: If you are shooting in low light conditions or using a slow shutter speed, consider using a remote release to minimise vibrations and ensure maximum sharpness.
- Maintain a consistent composition: Ensure that your camera position and composition remain the same throughout the focus stacking process. Even slight changes in the composition can make it more difficult to align and blend the images in post-processing.
- Avoid moving subjects: Focus stacking works best with stationary subjects. If there are moving elements in your scene, try to time your shots between movements or use a technique like plamping to keep your subject still.
The Evolution of Panasonic Cameras: A Manufacturing Journey
You may want to see also

Adjust your camera settings
Adjusting your camera settings is a crucial step in achieving successful focus stacking. Here are some tips to help you get the most out of this technique:
- Manual Mode: Set your camera to Manual mode to maintain consistent exposure settings across all your stacked shots. This will make it easier to blend the images later in post-processing.
- White Balance: While not mandatory, setting a consistent white balance can streamline your workflow. You can always adjust it during post-processing, but keeping it uniform simplifies the process.
- Aperture: The choice of aperture depends on the depth of field you want to achieve. For landscapes, an aperture of f/16 or smaller may be sufficient to keep everything in focus without focus stacking. For macro photography, wider apertures like f/2.8 or f/4 are common, but you may need to stop down to f/5.6 or smaller for greater depth of field.
- ISO: Adjust your ISO based on lighting conditions. Higher ISOs can help with faster shutter speeds but may introduce more noise. Modern cameras and software often have excellent noise reduction capabilities, so don't be afraid to push the ISO if needed.
- Focus Point: The focus point determines which part of the scene will be in focus. In focus stacking, you'll typically take multiple shots, each focused on a different part of the scene. Start with the nearest part of the scene (foreground) and work your way towards the background.
- Number of Shots: The number of shots depends on the complexity of the scene. Landscapes typically require 2-3 shots, while macro photography may need 8 or more images for sufficient depth of field.
- Focus Differential: This setting determines the difference in focus position between consecutive shots. A value of 3 is often a good starting point, but you may need to adjust it based on your specific lens and scene.
- Lens: Using a lens with manual focus capability is crucial for precise control over the focus point. Most lenses have a switch to toggle between autofocus and manual focus.
- Tripod: While not mandatory, using a tripod helps maintain a consistent composition and reduces camera shake, leading to sharper, more easily blended images.
Movie Camera Anatomy: Unveiling the Intricate Components
You may want to see also

Focus on your subject
Focusing on your subject is a critical aspect of achieving sharp and compelling images through focus stacking. Here are some tips to help you master this technique:
Understand Depth of Field
Begin by understanding the concept of depth of field, which refers to the portion of a scene that appears sharp in your image. In focus stacking, you want to achieve a deep depth of field by ensuring that both the foreground and background elements are in focus. This is particularly important in macro photography, where the depth of field is often very shallow, and in landscape photography with close foreground objects.
Choose the Right Equipment
While focus stacking can be done with any camera, including a smartphone, investing in the right equipment will enhance your results. Consider using a tripod to stabilise your camera and ensure consistent composition across multiple shots. An interchangeable-lens camera will give you more flexibility to work with different lenses. Additionally, a lens with manual focusing capability is crucial as it allows you to precisely control the point of focus.
Set Up Your Camera
Mount your camera on a tripod and carefully compose your photo. Set your camera to Manual mode to lock in your exposure settings. Use the camera's exposure meter and histogram to guide you in setting the optimal exposure. Remember to keep your exposure settings consistent across all focus-stacked shots. Also, consider using a remote shutter release to minimise camera shake.
Focus on Different Parts of the Scene
Take multiple images of the scene, focusing on different parts such as the foreground, middleground, and background. Ensure that you have at least one shot focused on each critical area of the scene. The number of images you need will depend on the complexity of your scene. For landscapes, two or three shots are often sufficient, while macro photography may require eight or more images.
Post-Processing
After capturing the images, it's time to blend them using focus-stacking software. Adobe Photoshop and Lightroom offer built-in focus stacking features. Alternatively, you can use specialised software like Helicon Focus or Zerene Stacker. Load your images into the software, align them, and then use the stacking function to create a composite image with an extended depth of field.
Export ACR Files: Adobe Camera Raw Guide
You may want to see also

Capture multiple images with different focus points
Capturing multiple images with different focus points is a fundamental step in focus stacking. This technique involves taking a series of photos of the same scene, each with a different area in sharp focus. Here are some detailed instructions on how to capture these images:
- Compose your shot: Start by framing the scene you want to capture and arranging the different elements within the frame. It is crucial to be sure about your composition because focus stacking involves merging multiple images. Even slight changes in composition between shots will require a crop when merging the photos. Therefore, it is recommended to shoot slightly wider than normal to avoid cropping out important details.
- Adjust your settings: Set your camera to manual mode so that you have full control over the exposure. Keep the ISO low to avoid image noise, and use a wider aperture to capture more detail. Ensure your shutter speed is fast enough to keep your images sharp.
- Focus on the first area of the image: Set your camera to single-point autofocus mode and focus on the area of the photo closest to the lens. Take the photo and review it to ensure that your exposure and focal point are correct before moving on.
- Take multiple shots with varying focus points: Change the focal point of the camera to the next section of the image and take another shot. Repeat this process, slowly moving the focal point backward until you have captured sharp images of every section of the scene. The number of images you need will depend on the scene and your lens. Most landscapes require 2-3 shots, while macro photography often demands 8 or more images.
- Use a tripod: While it is possible to do handheld focus stacking, using a tripod will make it much easier to maintain a consistent composition across all your shots. This is crucial for successful focus stacking. If you are doing macro photography, consider using a focus rail to make precise adjustments to your point of focus.
- Avoid moving subjects: Focus stacking works best with stationary subjects. If there are moving elements in your scene, such as leaves blowing in the wind, consider using a plamp to hold them in place or blocking the wind with your body. Alternatively, you can try to capture the moving subject with sufficient depth of field in a single image and overlay it onto the focus stack using manual masking techniques.
Understanding Camera Raw: Destructive or Not?
You may want to see also


