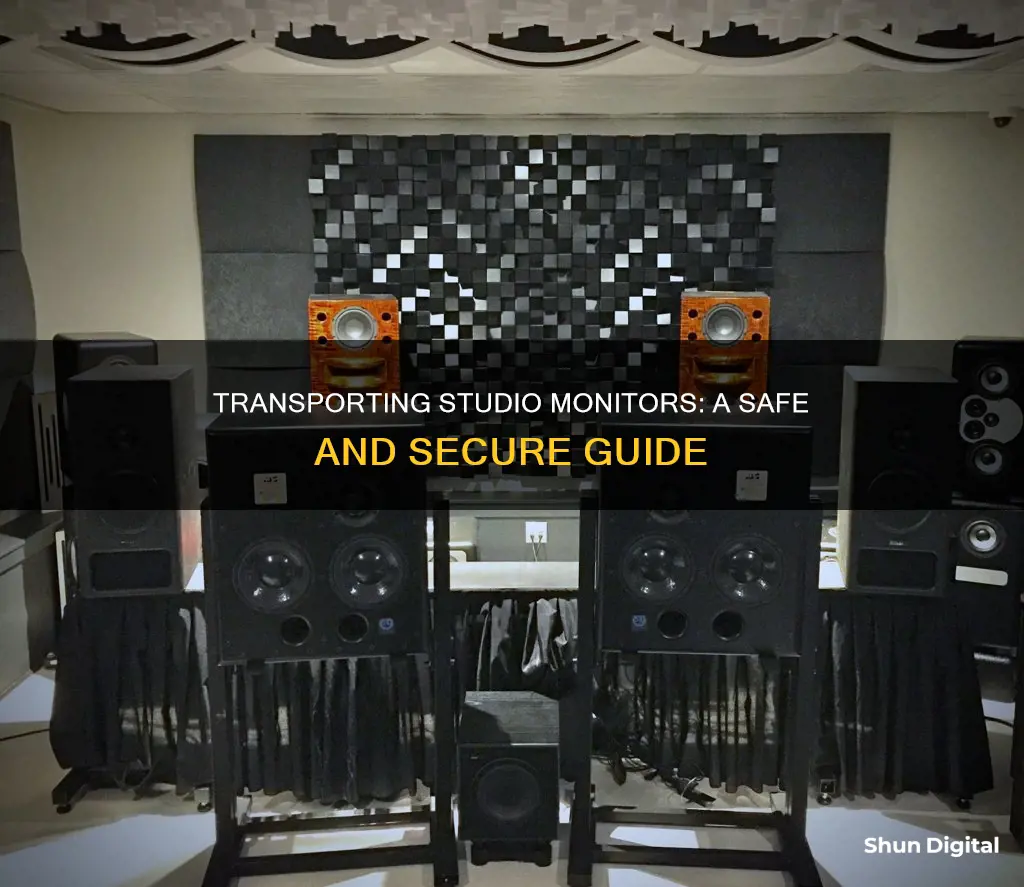
Transporting studio monitors can be a daunting task, especially if you don't have the original boxes. There are several ways to ensure the safe transportation of your monitors, such as using a studio monitor bag, a flight case, or even a creative DIY solution. It's important to consider the size and weight of your monitors, as well as the method of transportation, to determine the best way to keep them secure and protected during travel.
| Characteristics | Values |
|---|---|
| Transportation method | Car, van, plane |
| Packaging | Cardboard, boxes, bags, cases, blankets, mattress toppers |
| Additional items | Tape, filling material, duffel bags, flight cases, fleece jackets, suitcases |
| Speaker protection | Shorting speaker terminals, taping cardboard over cones, custom bags, padded dividers |
What You'll Learn

Use a bag or case
Using a bag or case is a great way to transport your studio monitors safely. Here are some tips and suggestions to consider when choosing this option:
Choose the Right Bag or Case:
- Look for a bag or case that is specifically designed for studio monitors. These will have features like padding, dividers, and compartments to protect your equipment.
- Consider the size of your studio monitors and choose a bag or case that is a perfect fit. A snug fit will prevent your monitors from moving around too much during transport.
- Go for a bag or case made of durable materials, such as nylon or canvas. It should have sturdy handles and, ideally, a removable shoulder strap for easy carrying.
- Ensure the bag has a protective and padded interior with a soft lining to keep your monitors scratch-free.
- Look for a bag with adjustable padded dividers. This will allow you to customise the compartments to fit your monitors and any accessories you need to carry.
- Choose a bag with external storage pockets or compartments for cables, power cords, and other accessories.
Prepare Your Studio Monitors for Transport:
- Before placing your studio monitors in the bag, make sure to cover the faces of the monitors with cardboard or scrap CD-Rs to protect the cones.
- If your studio monitors have exposed woofers, consider shorting out the input terminals to dampen the speaker movement and protect the cones during transport.
- Wrap your studio monitors in a soft material, such as a fleece jacket or a blanket, for added protection.
- Use padding or filling material, such as a cheap mattress pad topper, to fill any gaps and provide extra cushioning.
- If you're transporting multiple studio monitors, place them face-to-face with a layer of cardboard or soft fabric in between to prevent scratches.
Benefits of Using a Bag or Case:
- Bags and cases are generally more lightweight and easier to carry than boxes or flight cases.
- They often have compartments and pockets for cables and accessories, keeping everything organised and together.
- Bags and cases are often more affordable than custom flight cases.
- Some bags have wheels and retractable trolley handles, making transportation even easier.
Remember to handle your studio monitors with care and consider combining the use of a bag or case with other protective measures, such as padding and cardboard, for added peace of mind during transport.
Setting Up KRK Monitors: A Step-by-Step Guide
You may want to see also

Tape cardboard over the face of the monitor
When transporting studio monitors, it is important to take steps to protect the equipment, especially the exposed drivers. One effective method is to tape cardboard over the face of the monitor. Here are some detailed steps to ensure safe transportation:
Before taping cardboard to the front of the monitor, it is recommended to detach any cables and wrap them in plastic bags or original packing material. Place these inside the box you will be using for transportation.
Next, cut a piece of cardboard to fit over the face of the monitor. The cardboard will act as a protective layer for the cones/drivers, shielding them from potential damage. Secure the cardboard in place by taping it firmly to the monitor. Make sure the tape does not come into contact with the drivers, as removing it could cause damage.
After the cardboard is securely taped, consider wrapping the entire monitor in cling film to provide an additional layer of protection. This will also help to keep the cardboard in place during transport.
Then, wrap the monitor in a thick layer of bubble wrap. Ensure the bubble wrap is secure and will not shift during transport. At this point, you may also want to consider placing the monitors in a box, facing each other, with additional padding or bubble wrap between them.
Finally, place the wrapped monitors in a sturdy box, adding more packing material such as packing peanuts or foam wedges to fill any remaining space. Make sure the monitors do not move around inside the box. Seal the box with strong packing tape, ensuring it is securely closed on all sides.
By following these steps and taping cardboard over the face of the monitor, you can help ensure that your studio monitors are well-protected during transportation.
Adjusting Your Monitor: Finding the Perfect Brightness
You may want to see also

Use blankets or clothes for padding
Blankets or clothes can be used to pad studio monitors during transportation. This method is especially useful if you are moving the monitors by car. It is a good idea to wrap the monitors in blankets or clothes to protect them from scratches or other damage.
If you are using blankets or clothes for padding, it is important to make sure that the monitors are securely wrapped and that there are no loose ends that could come undone during transport. It is also a good idea to place the monitors in a box or container to protect them further and make them easier to carry.
In addition to using blankets or clothes for padding, you can also use other materials such as bubble wrap or cardboard to protect the monitors. For example, you can tape a piece of cardboard over the face of the monitor to protect the cones. You can also use a combination of these materials, such as wrapping the monitor in a blanket and then placing it in a box with additional padding.
When transporting studio monitors, it is important to handle them with care and ensure they are securely packaged to avoid any damage.
Monitoring and Interpreting Vital Signs: A Basic Guide
You may want to see also

Short out the input terminals
Shorting out the input terminals of your studio monitors is a great way to prevent damage to the speaker cones during transport. This technique is especially useful if you're moving your speakers across the country or if they are particularly valuable.
To short out the input terminals, follow these steps:
- Identify the input terminals on the back of your studio monitor. These are usually colour-coded (red and black) or labelled as "+" and "-".
- Take a piece of wire, preferably insulated, and strip both ends to expose the metal conductor.
- Connect one end of the wire to the positive (+) input terminal and the other end to the negative (-) input terminal. Ensure a good contact by twisting the wire ends if necessary.
- Tape or secure the wire in place to prevent accidental disconnection during transport.
- Transport your studio monitors as usual, taking care not to expose them to extreme temperatures or physical damage.
- Once you've reached your destination and are ready to set up your studio monitors, remove the short by disconnecting the wire from the input terminals.
Shorting the input terminals creates a circuit that dampens the speaker movement, preventing the cones from flopping about and potentially getting damaged. It's important to remember to remove the short before connecting the speakers to your audio equipment, as leaving it in place will affect the sound quality and could potentially damage your setup.
This method of securing your studio monitors during transport is a clever way to protect your investment and ensure that your speakers arrive at their destination in the same condition they left.
Setting Up Studio Monitors with an Audio Interface: A Beginner's Guide
You may want to see also

Buy a new box
If you are looking to transport your studio monitors, buying a new box is a great option. Here are some tips to help you choose the right box and pack your monitors securely:
Choosing the Right Box
- Size: Ensure the box is large enough to fit your studio monitors comfortably. Measure your monitors and choose a box that is slightly bigger to allow for padding and protection.
- Sturdiness: Opt for a heavy-duty, double-walled cardboard box or a plastic box with a lid. These materials will provide extra protection during transport.
- Shape: Consider the shape of your studio monitors. If they have exposed drivers or unique shapes, you may need to find a box that accommodates those specifics.
Packing the Studio Monitors
- Protection: Cover the front of the studio monitors with cardboard to protect the drivers. You can use duct tape or cling film to secure the cardboard in place.
- Padding: Wrap the studio monitors in a thick layer of bubble wrap or other protective material, such as foam or clothing. Ensure there is enough padding so that the monitors do not move around inside the box.
- Placement: If you are packing multiple studio monitors in one box, place the monitors face-to-face inside the box to provide additional support and protection.
- Secure the Contents: Use plenty of tape to secure the box and prevent it from opening during transport. Consider using a box with a lid or one that can be sealed shut.
- Double Box: For added protection, consider double boxing. Place the smaller box containing the studio monitors into a larger box with extra padding.
By following these tips and choosing the right box, you can safely transport your studio monitors to their destination.
Best Monitor Brand: Acer, Asus, or AOC?
You may want to see also
Frequently asked questions
If you don't have the original boxes, you can tape cardboard over the face of the monitor to protect the cones and place them in boxes for added security. You can also use a bag or padded rolling case designed for transporting studio monitors.
You can use a flight case or a hard suitcase with a fleece jacket on the bottom and speakers placed face-to-face with something soft in between.
You can use styrofoam and boxes from a packing store or U-Haul.


