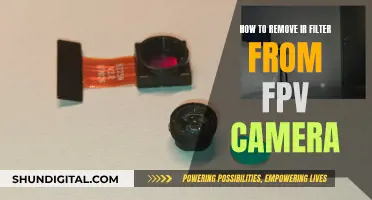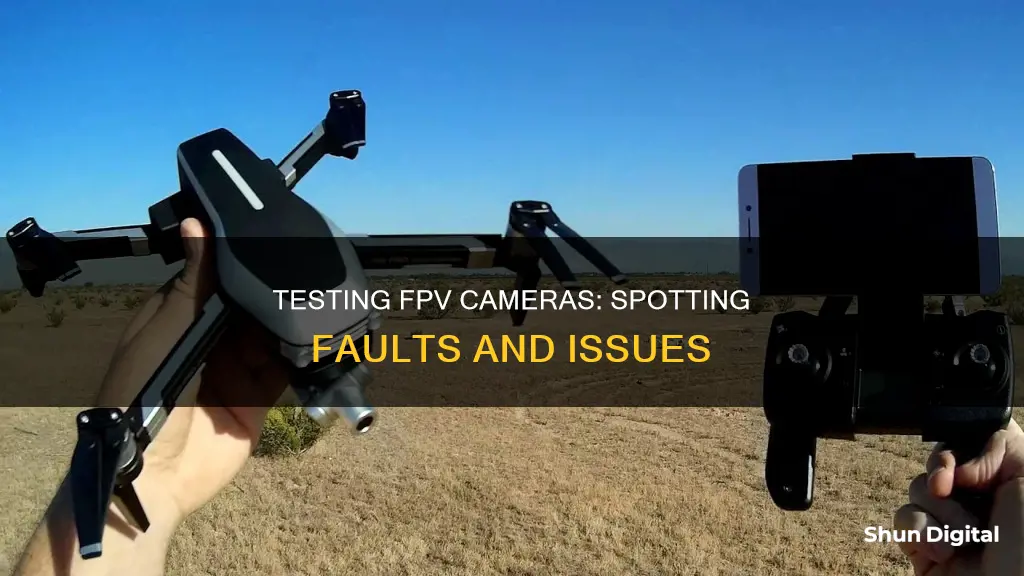
Testing an FPV camera can be done by checking the camera's indicator light and ensuring it is receiving power. If the camera has no indicator light, you can test the camera by connecting the video output to a screen or goggles. If you are still unable to determine if the camera is working, you may need to test it with different lighting conditions to see how it performs in bright light and low light. This can be done by simulating different lighting scenarios with an LED light or by using a mirror to adjust the camera tilt and check the angle of the camera feed. Additionally, checking the solder joints and wiring of the camera can help identify any issues with the power delivery or video transmission.
What You'll Learn

Check for physical damage
To check for physical damage on your FPV camera, there are several things you can do. Firstly, check your SMA antenna connection on the FPV transmitter. If it is loose or wiggly in any way, tighten it or get a new antenna. Vibrations during flight can interfere with the connection, which may lead to a reduction in range and could even cause your video transmitter to burn out.
Next, ensure that your camera cable, video transmitter cable, and wires are all secure. If the video feed is black but you can still see the OSD, then it is likely that your camera needs to be diagnosed. If you can see the image and the OSD but have static lines, then it is probably an issue with your video transmitter.
If you have a bent prop, simply bend it back to the way it was before, or replace it. Bent props can cause your motors to overheat, wear out your motor bearings faster, and cause jello in your video.
Finally, check that your antenna is properly mounted and that your antennas in your goggles are correctly configured. For example, make sure you are using RHCP/LHCP antennas on both your video transmitter and receiver.
The Intriguing World of TV Camera Cranes
You may want to see also

Test the camera's reaction to bright light
Testing an FPV camera's reaction to bright light is crucial to understanding its performance in real-world conditions. Here's a detailed guide on how to conduct this test:
Setup:
Build a testing rig that can simulate different lighting conditions. This rig should be enclosed in a box to prevent interference from outside light. While the primary focus is on testing the camera's reaction to bright light, ensuring consistent lighting conditions for all tests is essential. Position the FPV camera inside the box, maintaining the same position for each test. Use an LED light source to create the bright light conditions, with the ambient light remaining constant.
Test Procedure:
- Set up the testing rig with the LED light source turned off, establishing a baseline lighting condition.
- Power on the FPV camera and ensure it is functioning correctly under the baseline lighting.
- Turn on the LED light source to simulate bright light, such as sunlight.
- Observe the FPV camera's reaction to the bright light. Look for any changes in image quality, such as overexposure, washed-out colours, or loss of detail.
- Repeat the test multiple times, adjusting the ambient light levels to determine the camera's performance under different lighting conditions.
- Analyse the results to understand how the FPV camera handles bright light. Compare the results with other cameras or previous tests to identify any issues or areas for improvement.
Additional Considerations:
- Ensure the LED light source is positioned directly in front of the FPV camera to simulate looking into the sun.
- Maintain consistent ambient light levels throughout the test to isolate the effect of the bright light.
- If possible, vary the intensity of the bright light to evaluate the camera's performance under different levels of brightness.
- Compare the results with other FPV cameras to identify any standout features or limitations.
- Consider testing the camera's low-light performance by gradually reducing the ambient light levels to determine its visibility threshold.
Silverado's Camera: Seeing Through Trailers
You may want to see also

Simulate different lighting conditions
To simulate different lighting conditions for FPV camera testing, a testing rig is required. The FPV camera testing rig is used to simulate different lighting conditions and see how well the camera handles them. The entire rig is enclosed in a box to prevent interference from outside light. The box will have an average, sunny day light level. The cameras will be positioned at the same position to test viewing angles and fisheye. A still image will be captured for comparison.
An ESP32 controller will be used to ensure that each test can be replicated exactly for each camera. The tests are visual, so the results are open to interpretation by the viewers.
One test will simulate looking into the sun and then back to the base light level. An LED will be placed directly in front of the camera to create a blinding light, while the ambient light remains the same. This test can be repeated with different ambient light levels.
Another test will involve lowering the ambient light levels of the camera to determine how much of the environment is still visible. This test may not exactly mimic outdoor environments but should give a good indication of how well the FPV camera will perform.
Smartwatches with Cameras: Innovative Timekeeping
You may want to see also

Test the camera's performance in low light
Testing an FPV camera's performance in low light conditions is crucial, as it can significantly impact the visibility and navigability of your drone. Here are some detailed instructions to help you assess your FPV camera's low-light capabilities:
- Standardised Testing: Follow the ISO standard 19093, which outlines the measurement methods and specifications for testing and evaluating low-light performance. This standard was established in 2018 to provide a consistent and accurate approach to low-light testing.
- Test Setup:
- Test Chart: Use a multipurpose test chart like the TE42-LL, designed specifically for ISO 19093 low-light testing. This chart includes all the necessary test patterns for evaluating critical image quality factors.
- Lighting: Ensure uniform illumination of the test chart. Use an adjustable light source like the iQ-Flatlight, which can provide a broad light spectrum range at different intensity levels required for low-light testing.
Test Procedure:
- Reference Image: Capture a reference image using bright light conditions (>1000 lux).
- Step-by-Step Reduction: Gradually reduce the light level and capture an image at each step.
- Image Evaluation: Assess the captured images for various image quality aspects, including texture, exposure, noise, and colour.
Determining Low-Light Performance:
- Identify Acceptable Thresholds: Define the acceptable thresholds for each image quality factor. These thresholds will depend on your specific application and requirements.
- Identify Lowest Light Level: Determine the lowest light level where all image quality factors remain above their respective thresholds. This light level is reported as the camera's low-light performance.
Image Quality Factors:
- Exposure Time: Ensure images are not blurry due to long exposure times, especially in low-light conditions.
- Exposure Levels: Avoid underexposed images, as they may hide high amounts of noise while maintaining short exposure times.
- Texture: Fine details and low-contrast textures may be lost due to noise reduction applied at high amplification levels.
- Noise: Amplification can introduce noise, degrading image quality.
- Colour Accuracy: Noise reduction in colour channels may lead to a decrease in colour accuracy.
Example Results:
Refer to Table 1 in the provided sources for an example of results obtained from low-light performance measurement. The camera's low-light performance is reported as 3 lux, the lowest light level where all image quality factors remain above the defined thresholds.
Additional Considerations:
- Camera Sensors: Cameras with smaller sensors, like those in mobile phones, often struggle with low-light performance.
- FPV Camera Recommendations: When choosing an FPV camera for low-light conditions, consider options like the Runcam Night Eagle 3, Caddx Ratel Pro, and Foxeer CAT 3. These cameras are known for their exceptional low-light capabilities.
How Multi-Camera Setup Captures the Magic on TV
You may want to see also

Check the camera's tilt
Checking the camera tilt on your FPV camera is important as it directly affects the way you fly and how you "mix" your right and left hand movements while flying. The angle of the camera tilt will be different depending on your flying style and preference. For example, a higher angle is needed for racing, while a lower angle is used for slower flying.
To accurately measure the tilt of your FPV camera, you will need a mirror and a protractor. First, calibrate your Flight Controller on a flat surface and connect it to your PC. Then, place the mirror vertically on that surface and match the centre of the image of your FPV video feed to the reflection of the camera lens on the mirror. The readings you see as "pitch" from the F/C is your camera angle.
There are also other methods to measure the tilt of your FPV camera. You can use an inclinometer app or a bubble level app on your phone. Additionally, some FPV cameras may have a crosshair/centre dot in their OSD settings, which you can use instead of a protractor.
Watching Camera Footage on PC: Easy Steps to Follow
You may want to see also
Frequently asked questions
If you have a faulty FPV camera, you may experience a black screen, or a feed riddled with static. If you see smoke, your camera is likely blown. You can test your camera by connecting the video output to your goggles or a screen.
A poor ground connection on your camera can cause issues. Ensure you have solid solder joints and test continuity.
Wire the yellow cable (video out) from the camera to the video (also yellow) from the VTX. Check if your camera and VTX can take direct battery voltage or only 5v. If they only take 5v, you need a 5v step-down.
If your camera is faulty, you will likely see a black screen on your goggles or monitor. If your VTX is faulty, you will likely see static across all channels.


