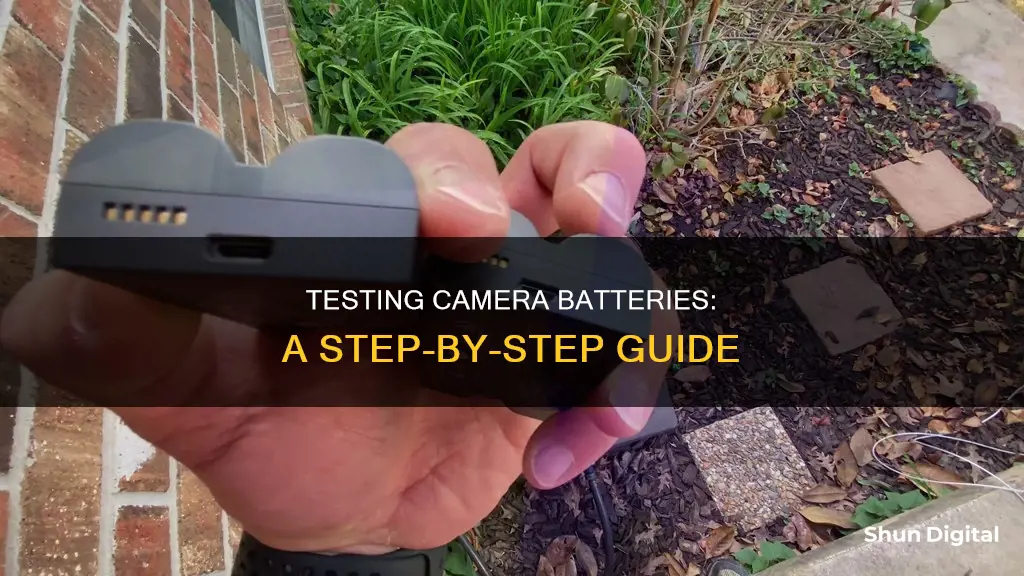
Testing a camera battery is a complex process that requires careful handling and the right equipment. The most accurate way to test a camera battery is by measuring its voltage under a load, which can be done using a multimeter. This device allows you to check the voltage and load, helping you determine if the battery is still functional or needs to be replaced.
Some camera models, such as the Canon EOS, also have a 'Battery info' screen in their menus, which provides information about battery performance. Additionally, you can perform a practical test by using the camera until the battery runs out to get an idea of its capacity. However, this method may not be the most efficient, especially if you have multiple batteries to test.
| Characteristics | Values |
|---|---|
| Best way to test a camera battery | Under a load |
| Alternative way to test a camera battery | Use a multimeter to check the voltage |
What You'll Learn

Use a multimeter to check the voltage and load
To test a camera battery, you can use a multimeter to check its voltage and load. This is a highly accurate method, but it requires some technical knowledge and equipment.
Using a Multimeter to Check Voltage and Load
A multimeter is a tool used to measure electrical properties such as voltage, current, and resistance. It can be used to test electricity in batteries, appliances, and outlets. Here's a step-by-step guide on how to use a multimeter to check the voltage and load of a camera battery:
- Prepare the Multimeter: Ensure your multimeter is working correctly by checking the probes or leads. Set the multimeter to the correct unit to avoid danger and blown fuses. For testing a camera battery, set it to measure DC voltage.
- Connect the Probes: Multimeters typically have three or four ports. Identify the common port (usually black) and the port for measuring voltage (often labelled V, VΩ, or VΩmA). Plug the black probe into the common port and the red probe into the voltage port.
- Test the Battery: Touch the black probe to the negative terminal of the battery and the red probe to the positive terminal. Take note of the reading on the multimeter display.
- Interpret the Results: The multimeter will display the voltage of the battery. If the reading is within the expected range for the battery, it is functioning correctly. If the reading is lower than expected, the battery may need recharging or replacement.
It is important to note that you should always exercise caution when working with electrical equipment. Do not touch the metal tips of the multimeter while testing with live current to avoid electrical shock. Additionally, always set your multimeter to the correct unit and range to avoid inaccurate readings and potential damage to the equipment.
Extend Camera Battery Life: Tips for Photographers
You may want to see also

Test under a load
Testing a camera battery under load is a great way to determine its health and capacity. Here's a detailed guide on how to do it:
Step 1: Prepare the Battery and Multimeter
Fully charge the camera battery before testing. This will ensure that you start with an accurate state of charge. Then, set your multimeter to 20 volts or the closest setting above 15 volts. If your multimeter has probes with clips, connect the red probe to the positive terminal of the battery and the black probe to the negative terminal.
Step 2: Initial Voltage Reading
With the probes connected, take an initial voltage reading. A fully charged battery should read around 12.6 volts. If the reading is significantly lower, your battery may not have enough charge to start a camera or support its functions.
Step 3: Simulate Load with Headlights
Now, turn on the vehicle's headlights for two minutes with the engine off. The headlights will act as a load, simulating a real-world scenario. After two minutes, turn off the headlights and take another voltage reading. The battery should still read above 12.6 volts. If the voltage has dropped considerably, it indicates that the battery cannot sustain the load and may need replacement.
Step 4: Crank the Engine
For this step, you'll need a helper. Ask them to attempt to start the car while you monitor the multimeter. As the starter engages, you'll see the voltage drop, but it should not go below 9.6 volts. If it does, it's a sign that the battery needs replacement.
Step 5: Monitor Voltage Increase
Once the engine starts, continue monitoring the multimeter for 15-20 seconds. The voltage reading should start to climb as the alternator charges the battery. If the voltage doesn't increase, it could indicate a failing alternator that's unable to adequately charge the battery.
Step 6: Final Load Test
For the final test, turn on the headlights while the engine is running and monitor the multimeter. The voltage should still be above 12.6 volts. If it drops below this threshold, it means the battery cannot sustain the increased load, and you may need to replace it.
By performing these steps, you can effectively test a camera battery under load and gain insights into its health and capacity. Remember to take appropriate safety precautions when working with vehicle batteries, and always refer to your vehicle's manual for specific instructions.
Identifying Camera Batteries: A Quick Guide
You may want to see also

Measure the voltage without the battery being loaded
To test a camera battery, you need to test it under a load. You can test the voltage of a battery without consuming current by using a multimeter. A multimeter can measure voltage and load. You can also use a small incandescent lamp as a load to test the battery. A good battery will power the bulb for a minute or more, while a weak one will quickly dim and die.
Another way to test the voltage without disconnecting the load is to temporarily provide load current from a charged capacitor. This can be done using a MOSFET switch and a simple control circuit. This method will disconnect the battery from the load for a small period of time, so a sufficient capacitance value is needed to "hold-up" the load's supply voltage.
Additionally, if you can model the battery as having an internal resistance and the load as a resistance, you can put an AC exciting signal across the battery terminals. This method will allow you to solve for the internal resistance and the battery's unloaded terminal voltage.
Action Camera Batteries: How Long Do They Really Last?
You may want to see also

Check the battery's internal resistance
Checking the internal resistance of your camera battery can be done in a few simple steps.
Firstly, you will need a few components to get started: your battery (any kind will do), a high-power resistor (4-10 ohms should be fine), and a multimeter. It is important to double-check the resistance of the resistor, as most have a 10% tolerance in their actual value.
The next step is to measure the no-load voltage of the battery by connecting the test leads to the battery terminals. This is known as the open-circuit voltage (VOC) and is the voltage when the battery is not connected to any load in the circuit.
Now, you will wire up your battery, voltmeter, and resistor in a specific configuration. Take down the measurements with the voltmeter, which should show a lower voltage value. The drop in voltage is caused by the internal resistance of the battery.
To calculate the internal resistance, you will need to use Ohm's Law and Kirchhoff's Voltage Law formula. First, plug the values you received into Ohm's Law to determine the current flowing through the circuit. Then, use Kirchhoff's Voltage Law to determine the voltage across the internal resistor in the battery, which is also the voltage drop across the internal resistor.
For example, let's say you have a VOC of 1.500V and a voltage across the internal resistor of 1.446V. By subtracting the two values, you get 0.054V. Now, divide this value by the current flowing through the circuit (let's say 0.3615A). This will give you the internal resistance of the battery, which in this case is 0.149Ω.
It is important to note that lower internal resistance means lesser restriction. If the internal resistance is high, the battery will heat up and the voltage will drop. Additionally, internal resistance does not reveal the state-of-health of a battery and often stays flat with use and aging.
Cleaning Camera Batteries: A Step-by-Step Guide
You may want to see also

Use a small incandescent lamp as the load
Testing a camera battery can be done in a few different ways. One way, as suggested by an amateur radio operator, is to use a small incandescent lamp as the load. This method is simple and quick, taking about a minute per battery. The basic setup involves connecting a small incandescent lamp, such as a 5-cell maglite bulb (7.5V), to the camera battery with a couple of short wires.
When testing, a good, healthy battery will easily power the bulb for a minute or more, maintaining a consistent brightness. On the other hand, a weak or faulty battery will quickly begin to dim and eventually die out. This visual test provides a quick and effective way to assess the battery's capacity and overall health.
For those with a collection of batteries to test, this method may be a convenient option. However, it is important to prioritize safety when working with electrical components. Ensure you take the necessary precautions to avoid any potential hazards.
Charging the Kitmesh Camera: A Quick Guide
You may want to see also
Frequently asked questions
You can use a multimeter to test the voltage of a camera battery without a load. However, this method is not always accurate as it does not account for the battery's capacity.
You can test a camera battery with a load by attaching it to a circuit with a known power draw. This will allow you to measure the battery's capacity and voltage under load, giving you a more accurate idea of its performance.
One quick way to test a camera battery is to simply take pictures with it and observe how long it lasts. Another option is to use the camera's built-in "Battery info" screen, if available, to check the battery's performance.


