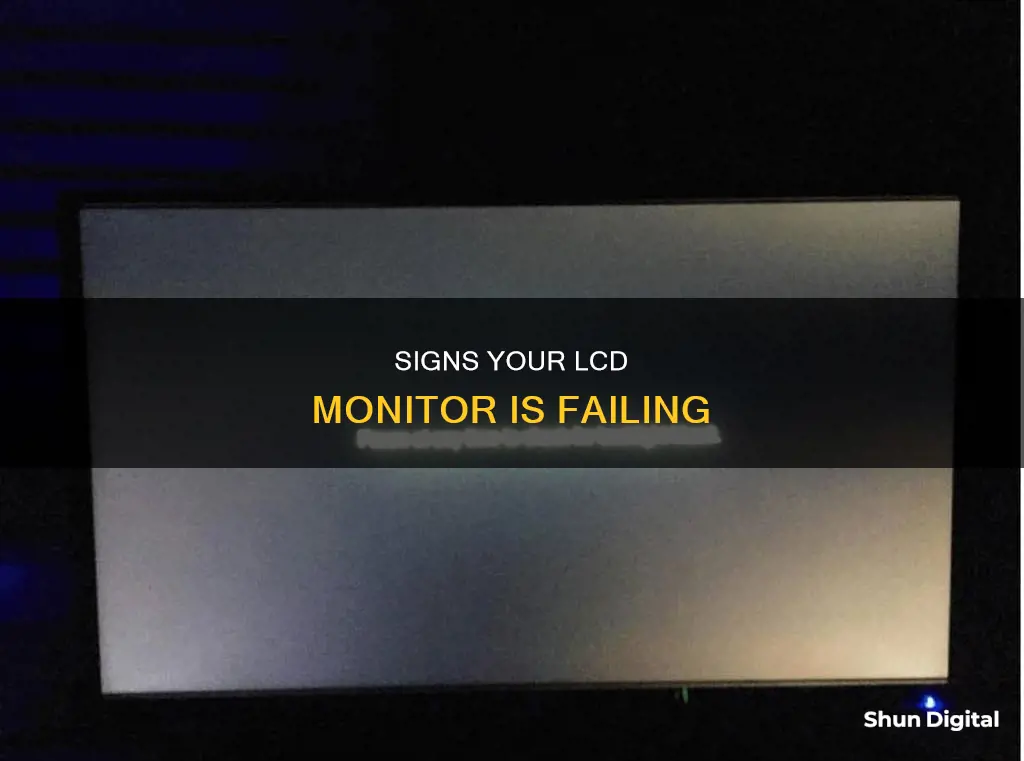
LCD monitors don't last forever, and there are several warning signs that yours might be on its way out. If your screen is stuttering or flickering, this could be due to a loose or faulty cable, an incorrect refresh rate setting, or a power deficiency. If you notice dim or distorted images, this could be due to a failing backlight or a problem with your graphic card, RAM, or power supply. If your monitor is taking longer than usual to turn on, this could indicate an internal problem. Strange lines and patterns on your screen could be a sign of a failing graphics card or monitor screen panel. If your monitor is not turning on at all, this could be due to a problem with the power supply board or a faulty connection to the monitor.
What You'll Learn

Distorted liquid background
A distorted liquid background on your LCD monitor can be a sign that the monitor is failing. This issue can manifest as a melting effect, as if there is water behind the screen. While this can be caused by an old video card, it is one of the early warning signs that your LCD monitor may be dying.
If you notice this issue, there are a few steps you can take to try and resolve it. Firstly, check the cable connections between your monitor and your computer. Ensure that each end is securely connected and consider unplugging and plugging back in both ends. Additionally, try removing any monitor extension cables. If your monitor accepts multiple input sources, cycle through the input modes by pressing the INPUT button.
If the problem persists, try removing any magnetic or electrical devices, speakers, lamps, or fans from the vicinity of your computer. These devices can sometimes interfere with the display elements in LCD monitors, causing distortion.
If the distortion is specifically related to fonts and text, adjusting the pitch and phase settings of your monitor may resolve the issue. You can also try resetting your LCD monitor to its factory default settings.
If none of these steps resolve the distorted liquid background issue, the problem may lie with a faulty cable or connector. In this case, you may need to replace the monitor cable or seek professional service to resolve the issue.
Cleaning Your LCD Monitor: Removing Internal Dust
You may want to see also

Backlight issues
There are a few things you can try to diagnose and potentially fix the problem. First, check your screen settings and ensure that the brightness is set to maximum. You should also check for any deterioration of a faulty graphics card, RAM, or a bad power supply. If you find any errors here, the problem is likely not with the monitor itself. If no errors are found, the monitor is at fault, and you should consider replacing it.
You can also try replacing the backlight, although this is rarely a cost-effective option. If you do decide to replace the backlight, be aware that this is usually a job for professionals, as it requires specialised knowledge and tools.
Another potential fix is to adjust the brightness of your screen. This may not be an optimal solution if you require a specific brightness setting, but it can help to dissipate any buzzing or whining noise coming from the monitor, which is often a sign of a faulty backlight.
If your monitor is still under warranty, contact the manufacturer's service department as soon as possible. They may be able to help you diagnose and fix the issue, or offer a replacement.
Monitoring Data Usage: Xfinity Router Guide
You may want to see also

Dead or stuck pixels
A dead or stuck pixel is a defective pixel on an LCD monitor that is not performing as expected. Dead and stuck pixels are mechanical defects of your screen. A pixel is composed of three sub-pixels—red, green, and blue—that light up to create different colours.
A dead pixel will always appear black as all three sub-pixels are dead. A stuck pixel will be stuck to a specific colour, usually a combination of one or more stuck sub-pixels. A stuck pixel is almost always a colour other than black or white, whereas a dead pixel is almost always black or white.
There are several ways to identify dead or stuck pixels. Firstly, ensure your screen is clean, as dust or dirt can be mistaken for a dead or stuck pixel. You can do this by gently wiping the screen with a soft, preferably high-density, cloth. Once your screen is clean, set your screen to display a single colour. You can do this by using a dead pixel testing app or video. Carefully inspect each colour displayed on your screen, keeping in mind that a dead pixel will appear black and a stuck pixel will appear as a specific colour.
If you have a dead pixel, your monitor will need to be repaired or replaced. There are some methods you can try to fix a stuck pixel, such as gently rubbing the pixel with a soft cloth and applying more and more pressure. However, it is important to note that dead pixels are more challenging to fix than stuck pixels.
Mounting Your ASUS Monitors: A Step-by-Step Guide
You may want to see also

Popping sounds
If your LCD monitor is making popping sounds, this could be a sign that it is about to fail. Popping sounds can indicate that a component in the monitor has already failed and could pose a fire hazard. In addition to the noise, you may also notice that the LCD liquid background gets distorted randomly and appears to 'melt' as if there is water behind the screen. Other signs of an impending failure include a massively dimming or cutting-off backlight, dying or stuck pixels, and the monitor shutting off with the orange standby LED flashing.
If your LCD monitor is making popping sounds, it is recommended that you have it repaired or replaced by a qualified technician. While the exact cause of the popping sounds can vary, one possible explanation is that the capacitors have gone bad. Capacitors are responsible for storing and releasing electrical energy, and when they fail, they can cause the monitor to take longer to display video or even fail to turn on at all. In some cases, the issue can be resolved by purchasing a repair kit and soldering in new capacitors. However, it is important to act quickly, as leaving a faulty monitor unattended for too long can increase the risk of fire.
It is worth noting that some users have reported that their LCD monitors make popping sounds, especially when cooling down after extended use, without any apparent negative consequences. These sounds may be more common in colder weather, as the temperature changes can cause the monitor's components to contract and expand, resulting in popping noises. However, if you are concerned about the popping sounds or notice any other unusual behaviour, it is always best to consult a technician for advice.
Adjusting Monitor Size with DisplayFusion: A Simple Guide
You may want to see also

Slow to reach full brightness
If your LCD monitor is slow to reach full brightness, it could be a sign that your monitor is going bad. LCD monitors can start to deteriorate over time and may eventually need to be replaced. However, there are several troubleshooting steps you can take to try and fix the issue. Here are some potential solutions:
- Give the display time to warm up. Sometimes, especially in colder environments, it can take longer for the monitor to reach full brightness.
- Check that the display brightness is not turned off. You can usually adjust the brightness level using a designated button on your keyboard or through the monitor's settings.
- Update your display driver. An outdated display driver can cause issues with brightness control.
- Disable adaptive brightness. The adaptive brightness feature automatically adjusts the screen's brightness based on ambient light sensors. Even if you set it to 100%, the adaptive brightness may override this setting.
- Enable high-performance mode. This mode prioritizes performance over battery saving and can prevent the screen from dimming.
- Run the Power troubleshooter. Minor issues with your power settings can affect screen brightness, so running the troubleshooter may help identify and fix any problems.
- Enable and disable the display adapter. Glitches with the display adapter can cause the screen to be dark, so disabling and then enabling it again may resolve the issue.
If your monitor is older, it may simply be reaching the end of its lifespan and taking longer to reach full brightness as a result. In this case, it may be time to start considering a replacement. However, if your monitor is still relatively new and none of the above troubleshooting steps work, you may need to contact a technician for further assistance.
Customizing Your View: RGB Control on ASUS Monitors
You may want to see also


