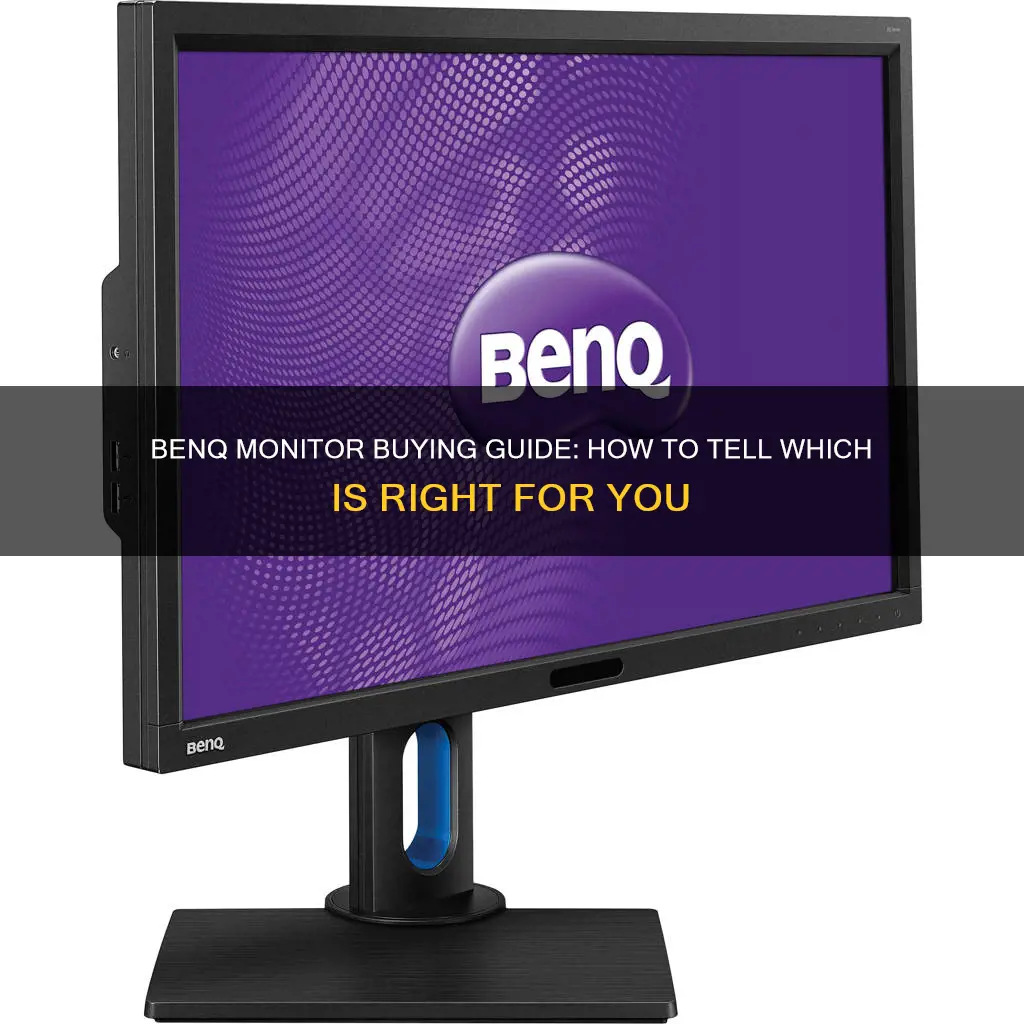
BenQ monitors are a popular choice for many, but they can be a little tricky to set up. If you're having trouble getting started with your new BenQ monitor, you're not alone. The initial setup can be a common issue for many users, as BenQ monitors don't auto-sense the input you're using. This means you'll need to manually tell your monitor which input to use. This can be done by using the buttons on the front of the screen, which will bring up a series of icons representing the inputs on the back of the monitor. Simply select the input you're using, and you should be good to go.
In addition to this unique setup process, there are a few other BenQ-specific features worth noting. For example, if you're looking to take advantage of a high refresh rate, you'll need to pay attention to the ports on your monitor and use the appropriate cables. Additionally, if you ever need to locate your monitor's model or serial number, you can find this information on a white sticker on the bottom or back of the device.
| Characteristics | Values |
|---|---|
| Common support query | Difficulty with the initial hookup |
| USB3 cable | Not a video cable, it's for the calibration process and to enable the downstream USB ports on the monitor |
| Video connection | DisplayPort, HDMI, USB-C or DVI |
| On-screen error | 'No Signal Detected' or 'No Cable Connected' |
| Auto-sensing | BenQ monitors do not auto-sense which input you are using |
| Fix | When you first turn on your monitor from cold, touch the buttons on the front of the screen. You will see a series of icons appear - these are visual representations of the inputs on the back of the monitor. Then, push the button under the icon that corresponds to the input you are using. |
| DisplayPort icon | One corner cut off |
| HDMI icon | Two corners cut off |
| Cables | If you want to expect a high refresh rate, pay attention to the ports your monitor came with. Some monitors may use both HDMI and DisplayPort ports at the same time but will be limited to a lower refresh rate when connected via HDMI. You then need to use a DisplayPort cable. |
| DisplayPort | Supports video resolutions of up to 3840 x 2160 pixels at 120Hz and the maximum bandwidth sent through a DisplayPort cable is 32.4 Gbps |
| HDMI | HDMI 1.4 supports 4K resolution at 30Hz and the maximum bandwidth is 10.2 Gbps |
| Native resolution | Set your monitor setting to the native resolution for the best display quality |
What You'll Learn
- BenQ monitors do not auto-sense input, so you must manually select the input method (HDMI, DisplayPort, etc.)
- To do this, press the buttons on the front of the screen when the monitor boots up
- You can also find the model number on a white sticker on the bottom of the monitor
- If the sticker is missing, use the projector’s menu to find the model number
- BenQ monitors require a video connection (DisplayPort, HDMI, USB-C or DVI)

BenQ monitors do not auto-sense input, so you must manually select the input method (HDMI, DisplayPort, etc.)
When connecting your computer to the BenQ monitor, you must use a video connection such as DisplayPort, HDMI, USB-C, or DVI. If you have not specified the input method to your monitor, you will likely encounter an error message such as 'No Signal Detected' or 'No Cable Connected'. This issue arises because BenQ monitors do not automatically detect the input method and must be manually instructed.
To resolve this, first turn on your monitor and wait for the purple startup screen and BenQ logo to appear. After a few seconds of booting up, press the buttons on the front of the screen (physical buttons for most SW models, touch buttons for PV models). A series of icons will appear, representing the inputs on the back of the monitor. Press the button that corresponds to the input method you are using.
- One corner cut off = Display Port
- Two corners cut off = HDMI
Once you have specified the input method, your computer screen should appear within a few seconds.
Connecting Xbox to a Monitor Without HDMI: Alternative Methods
You may want to see also

To do this, press the buttons on the front of the screen when the monitor boots up
To enter your monitor's menu, press the buttons on the front of the screen when it boots up.
Here's a more detailed description of the process: When you first turn on the monitor, you will see the purple startup screen and the BenQ logo. The monitor will then boot up for a few seconds and become unresponsive. At this point, press the buttons on the front of the screen (physical buttons in the case of most SW models, touch buttons that look like little LED lights in the case of PV models).
You will then see a series of icons representing the inputs on the back of the monitor. Press the button under the icon that corresponds to the input you are using.
One corner cut off = Display Port
Two corners cut off = HDMI
Once you have done this, your computer screen should appear within a second or two.
Monitoring Bandwidth Usage: PRTG's Per-IP Address Insights
You may want to see also

You can also find the model number on a white sticker on the bottom of the monitor
If you want to find out your BenQ monitor's model number, the first thing you should do is turn your monitor over and look for a label on the bottom. You should be able to find the model number on a white sticker, along with other vital information.
If you can't find the sticker, or if it's missing, don't worry. You can also find the model number in the On-Screen Display (OSD) menu. First, press the "menu" button on your monitor or remote control. Then, navigate to the “Information" section, where you'll find the model number listed, along with other details.
If you're still having trouble locating the model number, you can always refer to the user manual for guidance on how to access the OSD menu and find the model number. Alternatively, you can visit the BenQ website, where you can locate the model number using the serial number.
It's important to note that the location of the model number may vary depending on the specific model of your BenQ monitor. If you're unable to find it in the locations mentioned above, try checking the back or sides of the monitor as well.
By following these steps, you should be able to easily find the model number of your BenQ monitor and access the information you need.
Asus Monitor Models: Identifying Your Display
You may want to see also

If the sticker is missing, use the projector’s menu to find the model number
If the sticker on the bottom or back of your BenQ projector is missing, you can find the model number in the projector's menu. First, turn on your projector. Then, using the projector's remote control, navigate to the menu. Using the arrow keys, head to the Information section and press Select. The model name and serial number will then be displayed.
Alternatively, you can press the "menu" button on the top of the projector, choose "Information", and then find the 13 digits of the serial number.
If you are looking for the model number of a different BenQ product, such as a monitor, the process may be different.
Monitoring Cellular Data Usage on Your iPhone: A Step-by-Step Guide
You may want to see also

BenQ monitors require a video connection (DisplayPort, HDMI, USB-C or DVI)
BenQ monitors require a video connection to function. This can be done through a DisplayPort, HDMI, USB-C, or DVI connection. It is important to note that the USB3 cable is not a video cable; it is used for the calibration process and to enable the downstream USB ports on the monitor.
When setting up a BenQ monitor, it is crucial to specify the input type being used. Unlike other monitor brands, BenQ monitors do not auto-sense the input type and must be explicitly told. If the monitor is not informed of the input type, an error message like "No Signal Detected" or "No Cable Connected" may appear on the screen.
To resolve this issue, press the buttons on the front of the screen when the monitor is first turned on. This will bring up a series of icons representing the different input types. Select the icon that corresponds to the input type you are using, and the monitor should display your computer's screen within a few seconds.
Additionally, when setting up multiple monitors, it is recommended to use identical models or at least displays with the same resolution. This ensures compatibility and avoids issues with scaling and gaming performance.
Monitoring Internet Usage: Workgroup Strategies for IT Pros
You may want to see also


