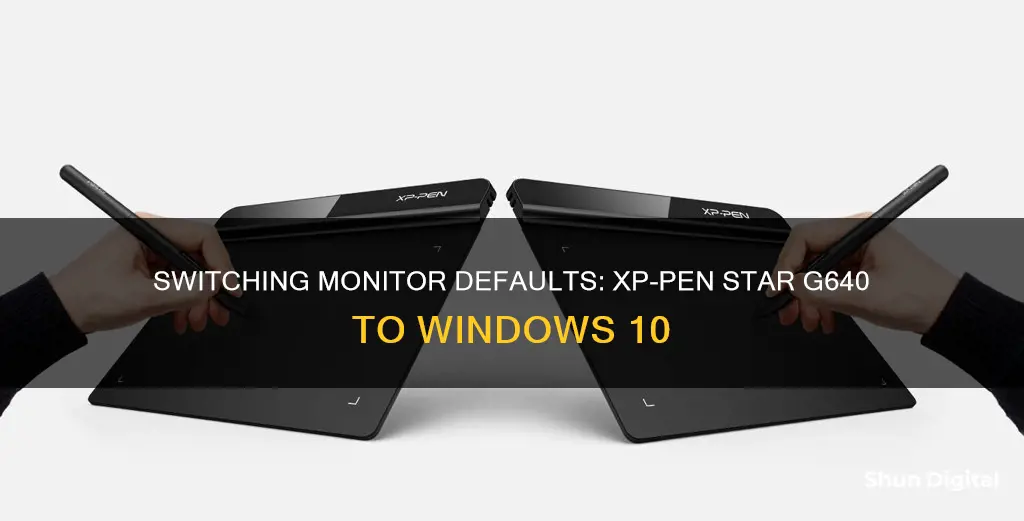
The XP-Pen Star G640 is a screen-less tablet that is extremely minimalistic and only includes the features you need. It is a good choice for beginners who want to try out digital art without investing a lot of money. The XP-Pen G640 offers similar capabilities to the Wacom Intuos at a lower price point. It has a battery-free pen, an acceptable drawing area size, and comes with 20 replacement nibs. The tablet is sturdy, flat, and comfortable to use, even for people with larger hands. The XP-Pen G640 drivers are easy to install and allow you to set the pen buttons, pen pressure, and choose which monitor the tablet maps to. Overall, the XP-Pen Star G640 is a good option for those who want to explore digital art without breaking the bank.
| Characteristics | Values |
|---|---|
| Price | $29.99 USD on Amazon.com; $40 on the XP-Pen Store |
| Active Area | 6 x 4 inches |
| Pen Type | Battery-free |
| Buttons | 2 side buttons, no eraser |
| Pen Pressure | 8192 |
| Pen Tilt Sensitivity | None |
| Expresskeys | None |
| Multi-touch | None |
What You'll Learn

How to download and install the driver
To download and install the driver for your XP-Pen Star G640, follow these steps:
Step 1: Download the driver
Go to the official XP-Pen website and download the latest version of the driver for your specific operating system. Make sure to download the driver that is compatible with your operating system, as there are different versions for Windows, macOS, Linux, etc.
Step 2: Remove other tablet drivers
Before installing the new driver, it is recommended to remove any other tablet drivers you have installed on your computer. This will ensure that there are no conflicts between different drivers and that your XP-Pen tablet will function properly.
Step 3: Install the driver
Once you have downloaded the correct driver for your operating system, install it on your computer by following the standard installation process for your operating system. This usually involves double-clicking on the downloaded file and following the on-screen instructions.
Step 4: Restart your computer
After the installation is complete, restart your computer to allow Windows to properly update the files necessary for the driver to run smoothly. This step is important, even if the installer doesn't prompt you to restart.
Step 5: Access the tablet settings
After restarting, you can access the tablet settings by clicking on the XP-Pen icon in the system tray, usually found in the bottom right corner of your screen. If you don't see the icon, click on the small white arrow to show all the hidden system tray icons.
Step 6: Adjust settings
The XP-Pen driver has a simple one-page interface with all the important settings. Here, you can set the pen buttons and pen pressure, choose which monitor the tablet maps to, and adjust other settings according to your preferences.
Step 7: Test the tablet
After configuring the settings, test your XP-Pen Star G640 tablet to ensure that it is functioning properly. Open a drawing program or any software that supports pen input and try using the tablet to draw, write, or perform other tasks.
By following these steps, you should be able to successfully download and install the driver for your XP-Pen Star G640 tablet, allowing you to start creating and exploring your digital art journey.
Monitors and GPUs: The Optimal Setup for Performance
You may want to see also

How to connect the tablet to your computer
To connect your XP-Pen Star G640 tablet to your computer, follow these steps:
- Download and install the XP-Pen driver from the XP-Pen website.
- Follow the instructions to set up your Star G640 tablet.
- Use the provided USB cable to connect the tablet to your computer.
Once your tablet is connected, you can access the tablet settings by clicking on the XP-Pen icon in the system tray, usually found in the bottom right corner of your screen. Here, you can customise settings such as pen buttons, pen pressure, and monitor mapping.
If you are a left-handed user, you can rest assured that the XP-Pen Star G640 is already usable in left-hand mode. Additionally, the XP-Pen G640 is compatible with multiple monitors, allowing you to choose which monitor the tablet maps to.
Identifying Your LG Monitor: A Step-by-Step Guide
You may want to see also

How to adjust the pen pressure settings
To adjust the pen pressure settings of your XP-Pen Star G640, you will first need to download and install the driver. Once you have done that, you can access the tablet settings by clicking on the XP-Pen icon in the system tray (the bottom right portion of your screen).
The new XP-Pen driver is a simple one-page driver with all the important settings on just one window. Here, you can adjust the pen pressure by clicking on the "Click Sensitivity" section, which controls the pen pressure curve of the pen directly.
The default setting of the graph is a straight diagonal line, but to get a lighter pen pressure setting, you should move the top dot to the middle and the middle dot to the top middle. This will give you a feel closer to what you get from most other tablets and will also help to drastically reduce pen nib wear. However, you should play around with the settings to find what suits you best.
Additionally, you may need to check the Windows Ink checkbox at the bottom left for certain programs such as Photoshop, but most programs will work better with Windows Ink turned off. If you are having problems with a particular program, try toggling the Windows Ink option.
Mastering Black Level Calibration on LCD Monitors
You may want to see also

How to use the tablet with multiple monitors
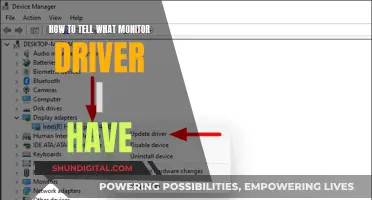
To use the XP-Pen Star G640 tablet with multiple monitors, you need to install the latest XP-Pen tablet drivers from their website. The drivers allow you to choose which monitor the tablet maps to.
Firstly, download and install the driver, following the instructions to set up your Star G640 Pen Tablet. Once you've installed the driver, it should create a desktop shortcut for you to easily access the tablet settings. When your tablet is plugged in, the XP-Pen icon driver icon should appear in the system tray in the bottom right. You can also access the tablet settings by clicking on that.
In the tablet settings, you can choose which monitor the tablet maps to. In the "Current Screen" section, pick the monitor you are going to draw on using the drop-down menu at the top, then click the "Display Ratio" button to match the drawing area of your tablet with the aspect ratio of your monitor.
If you want to quickly switch between monitors, you can assign the "Switch Monitor" function to one of your pen buttons. This will allow you to cycle through all the available monitors in the drop-down list at the top of the "Current Screen" section.
Blind Spot Monitor: How Safe Is Your Car?
You may want to see also

How to use the tablet with different art programs
To use the XP-Pen Star G640 with different art programs, you will first need to download and install the driver from the XP-Pen website. After installing the driver, you will need to connect the tablet to your computer via a USB cable. The tablet is compatible with Windows 7 and later, Linux, and Mac OS X 10.10 and above. It also works with many major designer software programs, including Photoshop, SAI, Painter, Illustrator, and Clip Studio.
Once the tablet is connected and the driver is installed, you can access the tablet settings by clicking on the XP-Pen icon in the system tray on the bottom right of your screen. In the tablet settings, you can customise the functions of the pen buttons, adjust the pen pressure sensitivity, and choose which monitor the tablet is mapped to.
For certain programs, such as Photoshop, you may need to check the Windows Ink checkbox in the bottom left corner of the tablet settings. However, for most programs, it is recommended to have Windows Ink turned off. If you are having issues with a particular program, try toggling the Windows Ink option.
Additionally, the XP-Pen Star G640 provides 8192 levels of pressure sensitivity, allowing for a wide range of brush and pen options. The tablet also has a battery-free stylus, so there is no need to worry about charging it.
Overall, the XP-Pen Star G640 is a versatile tablet that can be used with various art programs by adjusting the settings to suit your needs.
Easy Steps to Remove Monitor from HP ZBook 15
You may want to see also
Frequently asked questions
To switch the default monitor on your XP-Pen Star G640, open the XP-Pen driver settings. In the "Current Screen" section, use the drop-down menu to select the monitor you want to draw on. Then, click the "Display Ratio" button to match the drawing area of your tablet with the aspect ratio of your monitor.
To adjust the pen pressure, open the XP-Pen driver settings and navigate to the "Click Sensitivity" section. Adjust the pen pressure curve by moving the dots on the graph. For a lighter pen pressure, move the top dot to the middle and the middle dot to the top middle. Play around with the settings to find the configuration that suits you best.
To connect your XP-Pen Star G640 to your computer, simply use the provided USB cable to connect the tablet to your computer's USB port.


