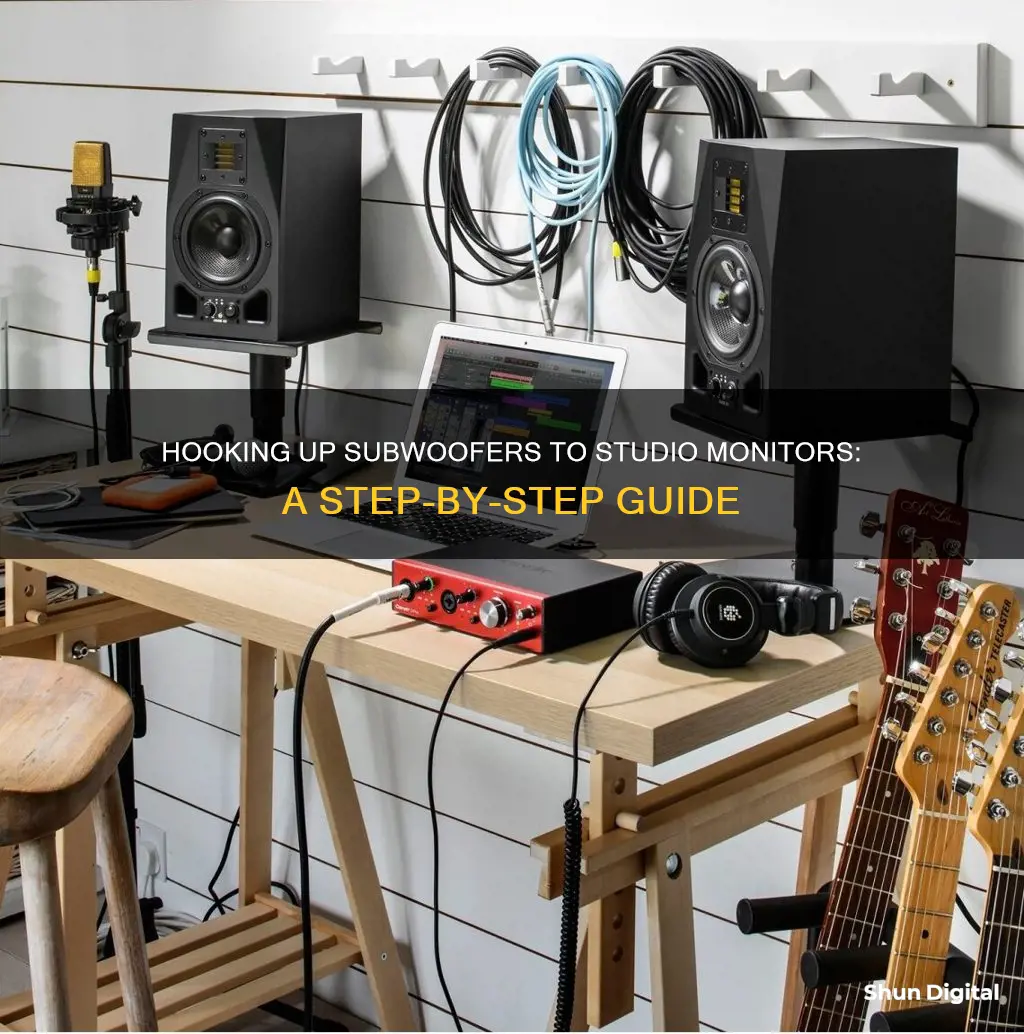
Adding a subwoofer to your studio setup can enhance the listening experience by providing ultra-low frequencies that most monitors can't reproduce. However, if not calibrated correctly, it can also distort the accuracy of your system with an excess of low-end. To connect a subwoofer to your studio monitors, you'll need to consider the type of subwoofer, the placement, and the correct cables. The process involves connecting the left and right outputs from your interface to the subwoofer's inputs and then connecting the subwoofer outputs to your monitor speakers. The subwoofer's amplifier will then receive the full frequency range of audio from your interface, and you can use the crossover dial to control the frequency sent to the monitors.
What You'll Learn

Choosing the right subwoofer
When choosing a subwoofer, the most important consideration is the amount of bass you require, not the volume. Subwoofers are designed to reveal the lower spectrum of frequencies, allowing you to make informed mixing and EQ decisions. Therefore, the size of your subwoofer will depend on the size of your studio and the desired sound.
A 12-inch subwoofer is typically sufficient for most studios and can reach the lower twenties in a sealed box. If you opt for a ported subwoofer, a 10-inch size is usually enough.
It is worth noting that the integration of the subwoofer with your studio monitors will impact the overall sound more than the type of subwoofer enclosure you choose. Sealed subwoofers are generally recommended for smaller studios as they offer better time behaviour for lower frequencies. On the other hand, ported subwoofers are more suitable for larger studios as they provide extra output and low-frequency extension.
When selecting a subwoofer, ensure it has a variable high-pass filter, as this makes integration with your studio monitors much simpler. Additionally, it is advisable to stick to a single larger subwoofer instead of multiple smaller ones.
Regarding placement, it is critical to experiment with different locations in the room to find the sweet spot that complements your studio monitors.
Removing Red Dot Issues on Your ASUS Monitor
You may want to see also

Connecting the subwoofer to the monitor speakers
For an active subwoofer setup, you should connect the left and right outputs from your audio interface or mixer directly to the subwoofer's corresponding left and right inputs. Then, connect the left and right outputs of the subwoofer to your left and right monitor speakers. This way, the subwoofer's amplifier receives the full audio frequency range, and you can use the crossover dial to control the frequencies sent to the monitor speakers. For example, if the crossover is set to 80Hz, the subwoofer will output frequencies below 80Hz, while the monitor speakers will handle frequencies above that threshold.
If you're using a passive subwoofer, the stereo line outputs from your interface or mixer will go to the amplifier or receiver's left and right inputs. The amplifier or receiver then acts as the crossover and amplifier, splitting the audio signal and sending the appropriate frequencies to the subwoofer and monitor speakers.
When connecting your equipment, it's essential to use high-quality shielded cables to prevent noise, interference, and signal degradation. Additionally, ensure that your cables are as short as possible to minimise these issues.
How to Connect Your Monitor: GPU or CPU?
You may want to see also

Setting the crossover frequency
To set the crossover frequency, you need to refer to the technical manual of your studio monitors. Look for the frequency response graph, which shows the range of frequencies that your monitors can effectively reproduce. The response will typically drop off somewhere between 20Hz and 100Hz. This is the range where you want to set the crossover. If there is a noticeable bump or dip in the response just before the drop-off, it is recommended to set the crossover frequency higher to avoid any unwanted peaks or dips in the overall sound.
For example, if the frequency response of your monitors drops off at around 50Hz, you would set the crossover frequency of your subwoofer slightly above or below this point, depending on the shape of the response curve. This ensures that the subwoofer takes over where the monitors leave off, creating a smooth and seamless transition between the two.
The crossover frequency setting on your subwoofer will determine which frequencies are sent to the monitors and which are reproduced by the subwoofer itself. For instance, if you set the crossover to 80Hz, the subwoofer will output frequencies below 80Hz, while the monitors will handle anything above that frequency. This allows the subwoofer to extend the low-frequency response of your system, providing a fuller and more accurate sound.
Fine-tuning the crossover frequency can be done by using acoustical measurement software or by listening to a variety of reference tracks and adjusting the subwoofer's output level until each song sounds full yet realistic, without an exaggerated low end. This process ensures that your studio monitors and subwoofer work together harmoniously, providing an accurate representation of the audio across the entire frequency spectrum.
Removing OSD from Your ASUS ROG Monitor
You may want to see also

Fine-tuning the subwoofer's output level
Use Measurement Software:
Utilize acoustical measurement software, such as Fuzzmeasure or RoomEQWizard. These tools allow you to record and analyse test tones, providing data-driven insights for adjustments. The goal is to achieve a flat frequency response, which may require several iterations of adjustments and measurements.
Reference Tracks:
If you don't have access to measurement software, a practical approach is to use a variety of reference tracks. Play music that you are familiar with and adjust the subwoofer's level until the bass sounds full yet realistic. Avoid excessive bass that may distort your perception.
SPL Meter and Pink Noise:
Use a smartphone app like Decibel X Pro: dBA Noise Meter, which functions as an SPL (sound pressure level) meter. Set the app to C-weighting to mimic the response of a human ear. Play pink noise through your speakers and adjust the level of your subwoofer until it reads around 79 dB on the SPL meter. This method provides a simple and effective way to calibrate the subwoofer's output level.
Polarity Switch:
Experiment with the polarity switch positions on your subwoofer. Choose the setting that delivers the smoothest and most extended bass response at the crossover region. This step ensures that your subwoofer is in phase with your speakers, creating a cohesive and well-balanced sound.
Volume Calibration:
After setting the initial level, play music at a mid-low volume and gradually turn down the subwoofer's output until it blends seamlessly with your studio monitors. This technique helps prevent the subwoofer from overpowering the monitors, creating a cohesive and balanced soundstage.
High-Pass Filter:
Use a high-pass filter on your tracks to identify the frequency where it starts to affect the low-end sound. This frequency can be your crossover frequency, ensuring a smooth transition between your subwoofer and studio monitors. Adjust the gain accordingly, but remember that it's better to start with a quieter setting and gradually increase it.
Placement Experimentation:
Don't underestimate the impact of subwoofer placement. Try different positions in your room, as it can significantly affect the bass response. Common placements include along the centre of walls or in the corners. However, be cautious of time delay issues if the subwoofer is placed too far away from your listening position.
Reference on Different Systems:
Remember that room acoustics play a crucial role in how your audio system sounds. After fine-tuning your subwoofer, test your mixes on various systems, such as studio headphones, car sound systems, and phone headphones. This will help you identify any discrepancies and make necessary adjustments to ensure a consistent listening experience across different playback devices.
Enabling 165Hz on Your ASUS Monitor: A Step-by-Step Guide
You may want to see also

Troubleshooting phase cancellation
- Check your wiring: Ensure that your studio monitors and subwoofer are properly connected and that there are no loose connections. Check the polarity of the speaker cables to make sure they are correct and consistent across all components.
- Use a test tone: Play a test tone, such as a sine wave or pink noise, through your studio monitors and subwoofer. Listen for any cancellation or unnatural sound. You can also use a microphone to record the output and analyse the waveforms for any phase issues.
- Swap speaker cables: Try swapping the speaker cables between the left and right channels to see if the issue follows the cable. This can help determine if the problem is with the cable or the speaker itself.
- Adjust placement: The placement of your studio monitors and subwoofer can greatly affect the stereo imaging and phase coherence. Try moving them closer together, ensuring they are at the same height, and angled towards your listening position. You may also want to consider treating your room acoustically to minimise reflections and improve the accuracy of your sound.
- Compare with reference tracks: Compare your mixes with professionally mixed tracks in a similar style. Listen for any discrepancies in the stereo imaging and overall balance. Use headphones or reference monitors to cross-reference and identify any phase issues.
- Use measurement tools: Invest in tools such as an SPL meter or acoustic measurement software to help identify and resolve phase issues. These tools can provide objective data to complement your subjective listening tests.
- Consult a professional: If you are unable to identify and resolve the phase cancellation issue, consider consulting a professional audio engineer or studio technician. They can bring their expertise and specialised tools to help troubleshoot and optimise your setup.
Remember to take detailed notes during each test and adjustment, as this will help you identify patterns and narrow down the cause of the phase cancellation issue. By following these steps and taking a systematic approach, you should be able to effectively troubleshoot phase cancellation when connecting a subwoofer to your studio monitors.
Expanding Your iMac: Using an External Monitor
You may want to see also
Frequently asked questions
A subwoofer can fill out the sound of small speakers in a studio and extend the range of your system to reveal ultra-low frequencies that most monitors can’t reproduce.
If the manufacturer of your monitors sells a subwoofer for that line, that should be your first choice. Otherwise, try to get the closest thing possible from the same brand.
You will need a crossover: a circuit that splits the incoming audio signal into low- and high-frequency bands to be sent to the subwoofer and the monitors, respectively.
Connect the left and right outputs you usually connect to your pair of speakers, directly to the subwoofer's left and right inputs. Then, connect the left and right subwoofer outputs to your left and right monitor speakers.
Use acoustical measurement software like Fuzzmeasure or RoomEQWizard to fine-tune your subwoofer’s output level.


