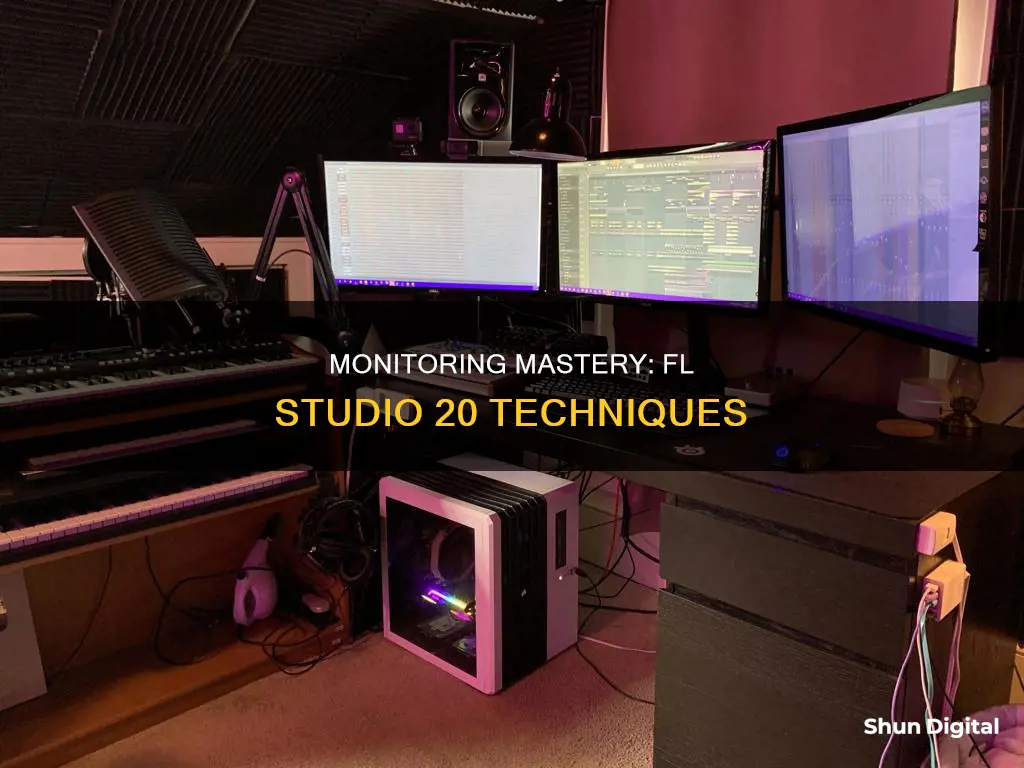
FL Studio 20 is a digital audio workstation (DAW) that allows users to record and mix audio. The software has various settings and configurations to optimize the recording experience, including the ability to use dual or multiple monitors. When it comes to monitoring in FL Studio 20, there are a few key aspects to consider. Firstly, FL Studio introduces a noticeable delay when recording vocals, which can be improved by adjusting the buffer settings or using hardware monitoring. Additionally, the software offers different recording pickup selectors, allowing users to choose where in the signal chain to record audio. It is generally recommended to record direct from the audio interface (EXT) to avoid any internal effects or mixer tracks being blended with the recording. FL Studio also provides options for direct monitoring, which eliminates latency by routing the input signal directly to the outputs, including the headphone jack. Furthermore, users can customize the graphical user interface (GUI) scaling to fit their monitor setup, ensuring optimal visibility during the monitoring process.
What You'll Learn

Reducing latency
Firstly, it is important to understand what audio latency is and how it affects your recording process. Audio latency is a delay in your voice when recording, causing an echo that can throw off your timing. This issue also affects MIDI keyboards and the creation of beats.
One way to reduce latency is to use an audio mixer or an audio interface with a direct monitoring knob. While this method is not free, it is an effective way to achieve zero-latency recording. An audio interface with a direct monitoring switch can also be used, but it offers less control over the levels. When using an audio interface, ensure that it has its own ASIO driver, as this will improve performance.
Another way to reduce latency is to adjust the ASIO driver buffer size. Go to Settings, select "Audio", and then click on "Show ASIO panel". From here, you can adjust the buffer length or sample size. A lower ASIO sample size will reduce latency. FL Studio's manual recommends a setting between 440-880 samples (10-20ms). Anything over 10ms (512 samples) will likely result in noticeable audio latency.
Additionally, the power of your CPU plays a significant role in reducing latency. If you are working on a large project with many virtual instruments and plugins, consider exporting your song to an .MP3 or .WAV file, and then recording over it in a new project. This way, your CPU can focus solely on recording, allowing for lower latency times.
Finally, if you are experiencing issues with mic monitoring in FL Studio 20, you can turn on the direct monitoring feature on your audio interface. This will allow you to hear yourself with zero or low latency while recording an instrument or microphone input.
Destroying LCD Monitors: A Step-by-Step Guide
You may want to see also

Using direct monitoring
Direct monitoring is a useful feature when recording in FL Studio 20. When you have a microphone or instrument plugged into your audio interface, the direct monitoring switch lets you hear yourself with zero or low latency. This means that you can play or sing along to the track while hearing what you're recording in real time.
To use direct monitoring, simply turn on the direct monitoring switch on your audio interface. This will make the sound of the tracks quieter, and the bass response will also be quieter. This is likely so that the computer audio becomes background noise, and whatever is plugged into the audio interface becomes the main focus.
Direct monitoring is particularly useful when recording vocals or instruments, as it allows you to hear yourself in real-time without any noticeable delay. This can improve the quality of your recordings and make it easier to stay in time with the music.
It's worth noting that direct monitoring is not a common feature on basic or consumer-level audio interfaces, so check your audio interface manual to see if it's available. Most external USB/FireWire audio devices have a hardware knob or button labelled 'Direct Monitoring' or 'Monitor'.
If your audio interface doesn't support direct monitoring, you can try lowering the buffer settings to reduce latency. Additionally, you can use the Recording Pickup Selector in FL Studio to choose where in the signal chain to record audio. This can help minimise the delay between your live input and the monitored signal.
Is Your Webcam Spying? How to Know for Sure
You may want to see also

Setting up multiple monitors
Detached Mode
Detached mode allows you to move windows freely between monitors. To enable this mode, click on the drop-down arrow on the left of the title bar of the window you want to move and select 'Detached'. You can then drag the window to another monitor. This mode is useful if you want to keep a window in one place while scrolling through the window below it.
Maximise/Restore
Another option is to click the 'Maximise/Restore' button (located between the minimise and close buttons) and stretch the work area over multiple monitors. This method may be preferable if you want to expand your entire FL Studio workspace across all your monitors.
With these simple steps, you can easily set up multiple monitors in FL Studio 20, giving you more screen real estate to work with and improving your productivity.
Best Places to Buy a BP Monitor
You may want to see also

Recording external audio
The Playlist Method:
Before beginning, ensure that you have FL Studio Producer Edition or higher. Additionally, make sure that the following prerequisites are met:
- For Windows, select an ASIO audio device driver for your audio device. It is recommended to use the OEM ASIO driver designed for your audio interface. Avoid the 'FL Studio ASIO' driver as it can introduce latency.
- For macOS, grant FL Studio permission to access your microphone by going to 'System Preferences > Security & Privacy > Microphone' and enabling access.
- Set the recording filter to record audio by right-clicking the record button if you are recording to disk (Playlist recording).
- Connect an audio source, such as a microphone or guitar, to your audio device's audio input.
- Select the active audio device input on the Mixer track input menu.
- Arm the Mixer track for recording by clicking the disk recording icon.
Once the prerequisites are met, follow these steps:
- Associate a Playlist Track lane with a Mixer Track by right-clicking the Playlist track header and selecting 'Track mode > Audio track > Insert' to link it to the desired Mixer Track.
- Choose an external input or microphone. Most audio devices have at least one Mic and one Line input. You may need to experiment to find the input that suits your needs.
- Use the Recording Pickup Selector to choose where in the signal chain to record audio. This will determine if effects or other sounds are blended with the recording. The recommended option is 'External input only (EXT)', which records audio directly from the audio interface without any alterations.
- Set the monitoring options for the external input. You can choose to monitor the external input when the Mixer track is armed for recording or always monitor it.
- Press the Play button to start recording. When finished, press the Stop button. The recorded audio will appear as an Audio Clip in the Playlist window.
The Edison Method:
The Edison method is useful for sound design and general recording tasks where you don't need to sync the recording with the Playlist. Here's how to do it:
- Load Edison in an FX slot in the Mixer track that you want to record. Avoid using the Master track as all audio from all tracks is routed there. A quick way to do this is to select the Mixer track and press (Shift+E) to auto-load Edison.
- Select an external input, such as a microphone or guitar, from the Mixer INPUT menu.
- Place Edison before any effects loaded in the same Mixer track for a 'dry' recording. It is recommended to record external audio without effects to allow for maximum flexibility in post-production.
- Record using Edison by following the normal recording setup options. You can record into Edison, where it is stored in memory, and then export the audio to a sample or Audio Clip.
- Export the recorded audio from Edison to the desired location. You can send it to the Playlist as an Audio Clip, dump the selection to a selected Channel, or drag and copy the sample to a compatible location in FL Studio.
Removing the Stand from Your LG Monitor: A Step-by-Step Guide
You may want to see also

Recording internal audio
Non-realtime recording
Non-realtime recording, also known as track freezing, involves exporting the output of one or more Mixer tracks as .wav files and then auto-inserting them as Audio Clips in the Clip Track area. This method results in the highest audio quality.
Realtime recording
Realtime recording, on the other hand, involves using Edison or the track recording icon to capture audio from any number of Mixer tracks in real-time. This method allows for the recording of ASIO inputs.
Non-realtime recording:
- Select the Mixer track(s) you want to record from.
- Right-click and choose 'Assign to new mixer track(s)'. You can select multiple tracks if you want to set up multiple tracks.
- Alternatively, you can select any number of Playlist tracks, right-click one Track Header, and choose Track mode > Audio track, and then select the Mixer Track to receive audio from.
- Choose an external input or microphone.
- Use the Recording Pickup Selector to choose where in the signal chain to record audio. This will determine if effects or other sounds are blended with the recording.
- Set the Recording Filter to record audio by right-clicking the record button.
- Arm the Insert Mixer track for recording by clicking on the disk recording icon.
- Press the Play button to start recording.
- Press the Stop button when you are finished.
Realtime recording:
- Select the Mixer track you wish to record and load Edison in an FX slot.
- Place Edison before any effects loaded in the same Mixer track for a 'dry' recording. It is recommended to record all audio dry and then add effects later.
- Click on the Mixer track record icon associated with the track to enable disk-record function.
- Choose an external input or microphone.
- Set the 'Monitor external input' setting to 'Off' to prevent the external audio input from being sent back to your speakers.
- If your audio interface supports it, use 'Direct Monitoring' to eliminate latency caused by the audio buffer.
- Press the Play button to start recording.
- Press the Stop button when you are finished.
- Export the recorded audio from Edison by left-clicking on the 'Send to Playlist' button.
Setting Up an External Monitor: A Simple Guide
You may want to see also
Frequently asked questions
Monitoring in FL Studio 20 involves hearing your voice with effects while recording. To do this, you can use direct monitoring on your audio interface, which lets you hear yourself with zero/low latency. You can also try lowering the buffer settings to minimise any echo caused by latency.
FL Studio allows the use of dual or more monitors. To set up multiple monitors, you have two options: 1) Set the window you want to move to "Detached" in the top left system menu, or 2) Click the "Maximize/Restore" button and stretch the work area over the multiple monitors.
To monitor external input, you can use direct monitoring if supported by your audio interface. This eliminates the latency caused by the audio buffer. In FL Studio, go to the Mixer track and set the 'Monitor external input' setting to 'On' to always monitor, or 'When armed' to monitor only when the track is armed for recording.


