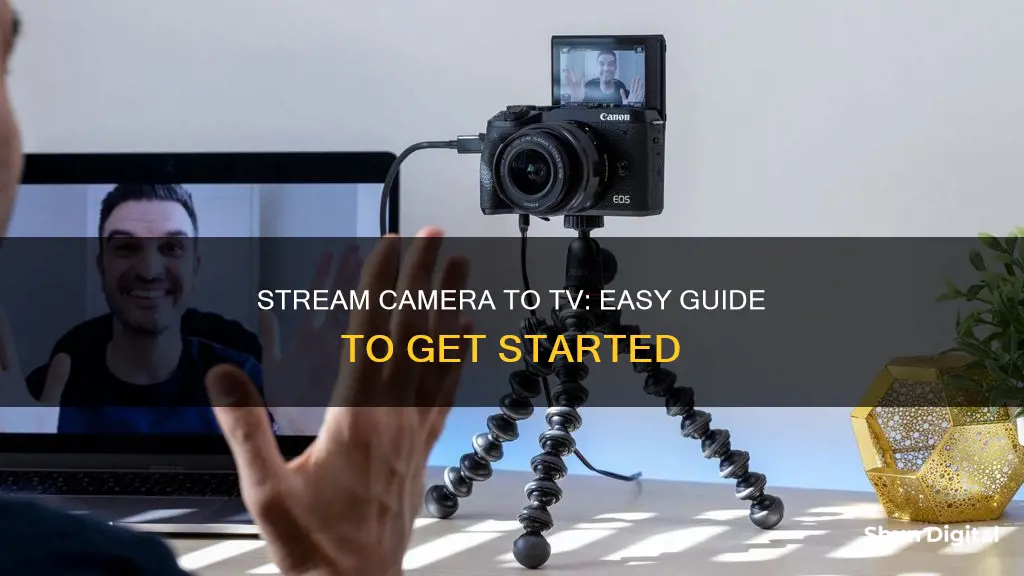
Streaming a camera to a TV can be done in several ways, depending on the type of camera and TV you have. If you have a smart TV, you can use a streaming app, a web browser, or a Chromecast device. For standard TVs, you can connect the camera directly to the TV using an HDMI cable or use a decoder to convert the signal. You can also use a Google Nest speaker or display, or an Apple TV to stream your camera feed. Additionally, there are devices such as the NetcamViewer Monitor that allow you to live feed any IP security camera to your TV or monitor.
How to Stream Camera to TV
| Characteristics | Values |
|---|---|
| Camera Type | IP camera, CCTV camera, USB webcam, Google Nest camera, Smart Camera |
| TV Type | Smart TV, Standard TV, HDMI TV |
| Connection Type | Wired (HDMI, VGA, RCA, USB), Wireless (Google Chromecast, Apple TV, Firestick TV, Streaming Apps) |
| Additional Devices | Computer/Tablet, NVR (Network Video Recorder), Google Home/Alexa, Google Nest speaker, Chromecast voice remote |
| Additional Requirements | Same Wi-Fi network, Compatible security camera, Google Home app, Streaming apps (e.g., Reolink, Tiny Cam, IP camera viewer) |
What You'll Learn

Use an IP-camera-to-HDMI converter
Streaming your IP camera to an HDMI TV or smart TV is possible. One way to do this is by using an IP-camera-to-HDMI converter/decoder. There are a few options available for this.
One device that can be used is the NetcamViewer Monitor, which can live feed any IP security camera to your TV or monitor. Users can plug IP cameras into this device via an Ethernet cable and connect to the TV's HDMI port. This allows users to switch between watching TV and checking out IP camera video feeds.
Another option is to use an IP-camera-to-HDMI converter to convert video streams, commonly seen as MPEG, MJPEG or H.264, into a format that can be broadcast on TV. An example of this is the Geovision decoder.
To connect an IP camera to an HDMI TV, you will need an IP camera that supports H.264 or H.265 encoding and RTSP streaming output. You will also need an RTSP IP camera to HDMI adapter, such as the FEBON rtstp ip camera to HDMI adapter. Additionally, you will need a router and a PC browser to enter the RTSP streaming URL.
If you are connecting an HD security camera to a TV, you will need to use a BNC-to-HDMI converter. This setup is applicable to HD security cameras that use the same coax cable as analog CCTV cameras, including AHD, HD-TVI, and HD-CVI, with resolutions from 720p to 4K.
Concealing Your LG 4K TV Camera: A Step-by-Step Guide
You may want to see also

Stream to a Chromecast device
Streaming your camera to a TV using a Chromecast device is a straightforward process. Here is a detailed guide on how to do it:
Step 1: Set up your camera
If you have a Nest camera or doorbell, follow the instructions provided in the box and the app. If you have another compatible camera, follow the setup instructions provided by the device manufacturer. It's important to ensure that your camera is properly set up before proceeding to the next steps.
Step 2: Set up your Chromecast device
First, plug your Chromecast device into your TV and connect the USB power cable. Make sure to use the provided AC adapter to plug the other end of the USB power cable into a power outlet. Then, download the Google Home app on your mobile device or tablet and follow the Chromecast setup instructions within the app.
Step 3: Connect to the same Wi-Fi network
Ensure that your camera, Chromecast device, and any associated speakers or displays are all connected to the same Wi-Fi network. This is crucial for seamless streaming.
Step 4: Add your camera to the Google Home app
Open the Google Home app and verify that the Google Account shown is linked to your Chromecast device. If you need to switch accounts, you can do so by tapping on the appropriate option. Also, verify that you're using the correct home location by tapping next to the home name if a switch is necessary.
Step 5: Add your camera to the Google Home app
Tap "Devices", then "Add", and finally, "Works with Google Home". Choose your camera manufacturer from the list to finish the setup. If you have a Nest camera or doorbell, it should automatically appear in the Google Home app. If it doesn't, force-close the app and reopen it.
Step 6: Use voice commands to stream your camera to your TV
Once your camera and Chromecast device are set up and connected, you can use voice commands to start streaming. Say "Ok Google" or "Hey Google," followed by a command such as " [Camera name] on [Chromecast device name]" or "Show [camera name]". You can also say "Stop [TV or Chromecast device name]" to end the stream.
Keep in mind that live video streams will automatically stop after a certain period to save power. Live video from battery-powered Nest cameras and doorbells will stop after 5 minutes, while wired Nest cameras and doorbells will stop after 12 hours. To resume the live stream, simply repeat your voice command.
Activating Your Apple Watch Camera: A Simple Guide
You may want to see also

Use a web browser on a Smart TV
Streaming your camera to your smart TV using a web browser is a convenient way to view your camera feed on a larger screen. Here's a step-by-step guide to help you set it up:
Step 1: Check Your Camera's Compatibility
Before you begin, ensure your camera is compatible with your smart TV. Most modern smart TVs offer USB or HDMI ports for connecting external devices. Check your TV's input options and ensure your camera has the necessary cables (USB or HDMI) to connect to your TV.
Step 2: Connect Your Camera
Use the appropriate cable to connect your camera to the corresponding input port on your smart TV. If you're using a USB cable, connect one end to your camera and the other end to an empty USB port on your TV. For HDMI, you may need an HDMI adapter if your camera uses a USB connection.
Step 3: Select the Correct Input
On your TV remote, press the "Source" or "Input" button. Cycle through the input sources until you see your camera's display on your smart TV screen. This ensures that your TV is receiving and recognising the input from your camera.
Step 4: Adjust Your Camera Display
Use the camera or the TV remote to adjust the camera's settings so that you can see the desired image on your TV screen. This may involve adjusting the camera angle, zoom, or other display settings.
Step 5: Connect Your Camera to the Internet
Follow the on-screen prompts or instructions to connect your camera to the internet. This step is crucial, as it will allow you to access your camera's live feed and use any internet-based features or apps.
Step 6: Use a Web Browser or App
If your TV has a built-in web browser, open it and navigate to your camera's IP address. You may need to log in to your camera account or use a specific app associated with your camera. Ensure your camera and TV are connected to the same Wi-Fi network.
Step 7: Test Your Setup
Once you've completed the above steps, test your setup by accessing your camera's live feed through the web browser or app. You should now be able to view your camera stream directly on your smart TV.
Note: Some cameras and smart TVs may have specific instructions or requirements for streaming. Always refer to your camera's user manual or the TV's instructions for detailed information on compatibility and setup.
Connecting Your Swann Camera to a TV: A Quick Guide
You may want to see also

Connect an NVR to the TV via HDMI
There are several ways to connect an NVR to a TV, and the easiest way is via an HDMI cable. Here is a step-by-step guide:
Step 1: Gather the Necessary Equipment
You will need an NVR (Network Video Recorder), a TV with an HDMI port, an HDMI cable, and a power adapter for the NVR. Ensure that your NVR and TV are powered off before beginning the setup process.
Step 2: Connect the NVR to the TV Using an HDMI Cable
Use an HDMI cable to connect the NVR to the TV. Plug one end of the HDMI cable into the HDMI output port on the NVR, and plug the other end into the HDMI input port on your TV. If your NVR is located far from your TV, you may need to purchase a longer HDMI cable or consider using an HDMI extender solution, such as an HDMI over Ethernet kit.
Step 3: Power the NVR
Connect the power adapter to the NVR and plug it into a power outlet. Ensure that the NVR is turned on.
Step 4: Switch the TV to the Correct Input Source
Turn on the TV and press the "Source" or "Input" button on your TV or remote control. Scroll through the options until you reach the HDMI input source that matches the HDMI port you connected the NVR to. The live view from your NVR should now be displayed on your TV screen.
Additional Tips:
- If you are using a long HDMI cable or an HDMI extender, ensure that it is compatible with the resolution and version of your NVR's HDMI output. For example, if your NVR outputs 4K resolution at 60Hz, you may need a Cat6 Ethernet cable for longer distances.
- If you want to view multiple cameras on the same screen, you may need to use an HDMI splitter or a separate computer to view the cameras individually.
- If you encounter a "No Signal" warning, ensure that all connections are secure and that both the NVR and TV are powered on.
Is My Camera Watching Me?
You may want to see also

Use a CCTV app on a Smart TV
There are several ways to stream a CCTV camera to a smart TV, and one of the most common methods is to use a CCTV app. Here is a step-by-step guide on how to do this:
First, check if your smart TV has a CCTV app available for download. Some smart TV brands, such as Samsung and LG, offer CCTV apps that can be downloaded directly onto the TV. However, be cautious when downloading third-party apps, as they may not adequately protect your privacy. Always check the ratings and privacy information before installing.
If your smart TV does not offer a suitable CCTV app, you can use an Android TV box. This device allows you to download apps that connect your IP camera to your smart TV. One recommended app is VLC Media Player, which can be used to log in and access the RTSP stream from your IP camera.
To use an Android TV box, you will need the following equipment:
- An IP camera
- A PoE injector or 12V DC Power Adapter to power the camera
- Network cables to connect the camera to your computer network
- An Android TV Box, purchased from any online shopping marketplace
- A computer network to connect the camera and Android TV Box
- An internet connection to set up and install apps on the Android TV box (this can be removed after setup)
- A Smart TV or Computer Monitor with an HDMI input
Once you have gathered all the necessary equipment, follow these steps:
- Set up your IP camera by connecting it to your computer network and verifying its accessibility.
- Set up your Android TV box on the same network and consult the manufacturer's instructions for any specific steps.
- Open the VLC Media Player app and navigate to adding a video source. Select the "Network Stream" option.
- Input the RTSP stream information for your camera's IP address and type it into the media player URL. An example URL is provided below:
Rtsp://192.168.1.109:554/cam/realmonitor?channel=1&subtype=0
- After entering the correct RTSP stream, log in to your camera stream using your username and password.
- If you encounter an error, double-check your network connection and credentials.
By following these steps, you should now be able to view your CCTV camera stream on your smart TV using the VLC Media Player app on your Android TV box.
Apple Watch Camera: Where is it?
You may want to see also
Frequently asked questions
There are several ways to stream your camera to your TV, including:
- Using a Google Nest speaker, display, or Chromecast voice remote.
- Connecting your camera to a recorder (NVR) and then connecting it to your TV using an HDMI cable.
- Using a camera with an HDMI output and connecting it to your TV using an HDMI cable.
- Using a decoder to connect your camera to your TV.
- Installing a CCTV app on your Smart TV and adding your camera to it.
- Using a web browser on your Smart TV to display the video stream.
- Streaming the video to a Chromecast or Apple TV device connected to your TV.
- Downloading a streaming app on your Smart TV.
The best method depends on the type of camera and devices you have. If you have a Google Nest camera, using a Google Nest speaker, display, or Chromecast voice remote is a straightforward option. If you have a camera with an HDMI output, you can simply connect it to your TV using an HDMI cable.
Yes, you can use your phone to stream your camera to a Chromecast or Apple TV device connected to your TV. You can also use apps like CamStream to live stream and broadcast your camera video to any device on the same network.
Yes, you can stream your camera to your TV wirelessly using methods such as Chromecast, Apple TV, or streaming apps on Smart TVs.
No, you need a camera with a video output, not USB. You can use a USB webcam with an Android TV stick, or you'll need a device like a computer or tablet to convert from USB to video (HDMI, composite, etc.).


