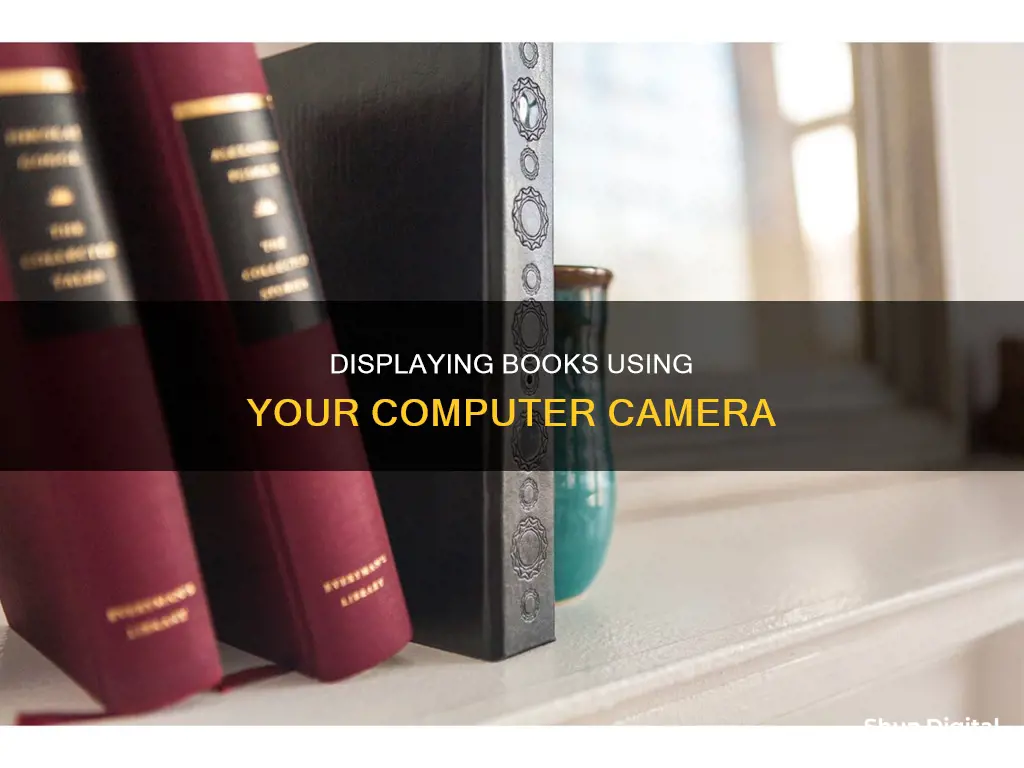
Document cameras are a great way to display books on a computer screen. They are often connected to a projector or other display but can also feed directly into a computer. They are similar to overhead projectors but are much more flexible and portable. Document cameras can be used to zoom in on documents, books, or small objects and display them on larger screens. They can also be used to capture images or videos, making them a convenient tool for presentations, meetings, and teaching. With additional features like zoom capabilities, image manipulation, and annotation tools, document cameras offer a versatile way to showcase books and other materials effectively.
| Characteristics | Values |
|---|---|
| Purpose | Bring your subject to life, display and project images of documents, objects, or other items onto a screen or monitor |
| Use Cases | Presentations, meetings, teaching, demonstrations, and other educational purposes |
| Types | Portable, cheap, cross-platform, extreme close-ups, detachable, and webcam mode |
| Connection | USB, HDMI, Wi-Fi |
| Resolution | 3264 x 2448 (USB mode) |
| Frame Rate | 30fps at 1080p |
| Zoom | 16X (Win/Mac), 8X (Chrome) |
| Shooting Area | 420 x 315 mm (16.53 x 12.40 inches) |
| Weight | 1kg (2.35 lb) |
| Additional Features | OCR scanning capabilities, autofocus, image manipulation, annotation tools |
What You'll Learn
![]()
Use a document camera
Document cameras are a great way to display books on a computer screen. They are highly versatile and can be used for a variety of purposes beyond just scanning documents. Here are some detailed instructions on how to use a document camera effectively:
Choose the Right Document Camera:
Document cameras come in a variety of price ranges and offer different features. Consider your specific needs and budget before making a purchase. Some factors to consider include portability, image quality, zoom capability, additional features (such as annotation tools, curve-flattening technology, or OCR capability), and compatibility with your computer and display setup.
Set Up Your Document Camera:
Place the document camera at the front of the classroom or presentation space, preferably on a surface like a table, teacher's desk, or podium. This allows you to work at the document camera while facing your audience. Ensure that you have the necessary cables to connect the document camera to your computer and/or display. Most document cameras use a standard USB cable for connectivity.
Annotate and Interact:
Combine your document camera with an interactive whiteboard or a projector with a whiteboard surface. This allows you to annotate directly on the displayed image. If you don't have access to an interactive whiteboard, a low-tech option is to place a wipeable plastic sheet over the document and use whiteboard markers.
Connect to Your Computer or Display:
Document cameras can be connected directly to a display or via a computer. Connecting directly to a display is generally quicker and has less lag. However, connecting via a computer offers added functionality through software or apps. For example, you can freeze an image, use split-screen mode, or annotate using digital tools.
Display Your Book:
Place the book under the document camera and adjust the camera as needed to ensure the entire page is visible. If your document camera has zoom capabilities, you can use them to focus on specific details or illustrations in the book.
Record and Share:
Most document cameras allow you to capture photos and videos of your book pages. You can then share these digital copies with your students, colleagues, or even on platforms like YouTube. This is especially useful for absent students or for remote learning scenarios.
Smartphone Camera: Focus by Tapping Screen
You may want to see also
![]()
Connect to a projector
Connecting your computer to a projector can be done in a few simple steps. First, ensure that your laptop is turned on and connected to the projector via a video cable (usually VGA). Depending on your laptop model, you may need an adapter to connect, for example, from the HDMI port on your laptop to the VGA port on the projector.
Next, plug your projector into an electrical outlet and turn it on. If you are using VGA and need audio for your presentation, connect your laptop's audio output port to the projector. If you are using a different sound system, you will need to use an audio cable regardless of the cable type used to connect the laptop and projector.
Your laptop should automatically detect the projector. Press the Windows logo key + P to quickly switch through the different display modes. If your laptop doesn't automatically detect the projector, you may need to go to your device's Display Settings and prompt it to detect the display. Here are the options you can choose from:
- PC screen only: You will see everything on your PC.
- Duplicate: You will see the same things on both screens.
- Extend: You will see everything across both screens, and you can drag and move items between the two.
- Second screen only: You will see everything on the connected screen, while your laptop screen will be blank.
Alternatively, if your PC and the projector both support Miracast, press the Windows logo key + K, choose a projector, and you're set.
Charging Your Hover Camera: Battery Basics
You may want to see also
![]()
Zoom in on fine print
To zoom in on fine print while showing a book on your computer camera, there are a few methods you can use. Here are some detailed instructions:
Using a Document Camera:
The best option for zooming in on fine print in a book is to use a document camera. Document cameras are designed specifically for this purpose and offer several advantages. They can capture images or videos of documents, display them on larger screens, and even function as document scanners. Some advanced models also offer optical zoom capabilities, allowing you to zoom in on fine print without losing clarity.
When choosing a document camera, consider factors such as resolution, connectivity options (USB, HDMI, or wireless), and whether it has zoom capabilities. The Epson ELPDC21, for example, offers a 12x optical zoom and a 10x digital zoom, providing exceptional detail when needed.
Using a Regular Webcam or Built-in Camera:
If you don't have access to a document camera, you can still zoom in on fine print using your regular webcam or built-in camera. Most modern webcams and built-in cameras have digital zoom capabilities that allow you to magnify the image.
For Windows users, you can use the Camera app to access the zoom feature. Simply open the Camera app, and if your device has a touchscreen, use two fingers to pinch or stretch the image on your screen to zoom in or out.
Alternatively, you can achieve a similar effect by cropping the image. Take a photo using the Camera app, then open it in the Photos app. Select "Crop & Rotate," adjust the borders to zoom in on the desired area, and save the cropped image.
Using a Digital Camera:
If you're looking for a more dedicated solution, you can set up a digital camera on a tripod to capture images of the book pages. This method requires more time and equipment but can produce high-quality results.
Here's a basic setup guide:
- Place the tripod in a stable position with two legs in front and one leg behind for support.
- Attach the digital camera to the tripod, ensuring it faces directly downward.
- Adjust the camera so that it is centred and straight above the book. Zoom in enough to capture both pages of the book in a single shot.
- Set up lighting to ensure consistent illumination across the book. Experiment with different lighting setups to minimise shadows and highlights, especially if the book has glossy pages.
- Use a remote control or cable release to capture images without touching the camera, reducing blur and shake.
- After capturing the images, you can process them further on your computer using software like Snapter to crop and convert them into a readable PDF file.
By following these methods, you can effectively zoom in on fine print while displaying a book on your computer camera, ensuring that even the smallest details are visible to your audience.
Focus-Free Cameras: Easy, Sharp, and Creative Photography
You may want to see also
![]()
Use a light source
When showing a book on a computer camera, lighting is crucial. Here are some tips on how to use a light source effectively:
Choose the Right Light Source
Select a suitable light source for your setup. You can use a strobe, speed light, or video light as your primary light source. If you're looking for an inexpensive option, consider a ring light or a simple LED panel, which can provide adequate illumination for your book.
Positioning the Light
The placement of your light source is essential. Aim the light at a bounce source, such as a reflector or a wall, to create indirect lighting. This will help you avoid harsh shadows and create a softer, more diffused light on your book. The light should be positioned at an angle of approximately 45 degrees to the bounce source.
Diffuse the Light
To further soften the light and reduce any harsh shadows, use a diffusion material. This can be something as simple as a white bed sheet or a white towel placed between the light source and the book. You can also use dedicated diffusion panels, such as white diffuser sheets or frosty shower curtains, for more specialised results.
Adjust Distance for Softness
Experiment with the distance between your light source and the diffusion material. By increasing the distance, you can make the light even softer. This technique allows you to control the quality of light and create the desired effect for your book presentation.
Consider Multiple Light Sources
If you want to capture the feel of old paper and bring out the texture, consider using multiple light sources. Place lights at a low angle, raking across the paper to enhance the surface detail. For capturing text or illustrations, you might want to position the lights higher to reduce glare and reflections.
Use Natural Light
If you have access to a well-lit room with plenty of natural light, utilise it! Position your setup near a window to benefit from soft, diffused daylight. You can use reflectors to fill in any shadows and ensure even lighting on both sides of the book.
Unleashing Adobe Camera Raw: Editing Powerhouse for Photographers
You may want to see also
![]()
Capture still images
Capturing still images of a book using a document camera is a straightforward process. Here is a step-by-step guide:
Step 1: Set Up Your Document Camera
Place the book you want to capture images from on the flat stage beneath the camera. Adjust the camera's position and angle to ensure the book is within the camera's field of view. If your document camera has adjustable lighting, ensure it is set to provide even illumination on the book.
Step 2: Connect Your Document Camera to a Computer
Most document cameras offer USB connectivity, allowing you to connect them to a laptop or desktop computer. Some models also support HDMI output, which can be useful if you want to connect to a larger display or a projector.
Step 3: Capture Still Images
Once you have the book in view, use the document camera's software to capture still images. Depending on the software, you may be able to capture individual images or sequence through pages automatically.
For example, if you are using the Inswan INS-2 document camera, it offers a user-friendly interface for capturing images. Its software also includes Optical Character Recognition (OCR) capabilities, which can be useful for converting book pages into editable text, although this feature may not be available on all document cameras.
Alternatively, if you are using a Mac with Microsoft Photos, follow these steps:
- Launch Microsoft Photos.
- Open the video feed from your document camera in Microsoft Photos.
- Right-click on the video and select "Edit & Create," then choose "Save Photos."
- Locate the frame you want to capture by pausing the video feed.
- Click the "Save Photos" button to capture the still image.
- Access your captured images by opening the Pictures library folder on your computer.
Step 4: Review and Edit Your Images
After capturing your images, review them to ensure they are clear and properly focused. Depending on your software, you may be able to make basic edits, such as adjusting brightness, contrast, or cropping the images.
Additionally, if you are using a more advanced image editing program like Photoshop, you can enhance your images further. Photoshop allows you to use an image sequencing mode, where you can pick specific frames, adjust their size and format, and even align multiple frames as layers to create a sharper and more stabilized final image.
By following these steps, you should be able to effectively capture still images of a book using your document camera and computer.
Troubleshooting Lytro Camera Charging Issues
You may want to see also
Frequently asked questions
A document camera is a type of video camera that projects images of documents or objects onto a larger screen. It is often used in classrooms, conference rooms, and business settings for presentations, demonstrations, and teaching purposes.
First, connect the document camera to a projector or display. You can also feed the images directly into a computer. Place the object you want to project under the camera. Adjust the lighting, zoom, and focus as needed.
You can use a document camera to display flat documents, such as books or magazines, or more substantial objects like archaeological artifacts. You can also zoom in on fine print or small objects, such as postage stamps or insects. Additionally, you can use it to record videos or capture still images for later use.
You can use a document camera to show students how to read a scientific instrument, graph with a compass and protractor, or work out a math problem. You can also use it to manipulate a room layout design using pieces of paper, fill in country names on an outline map, or act out a scene with clay figures or finger puppets.