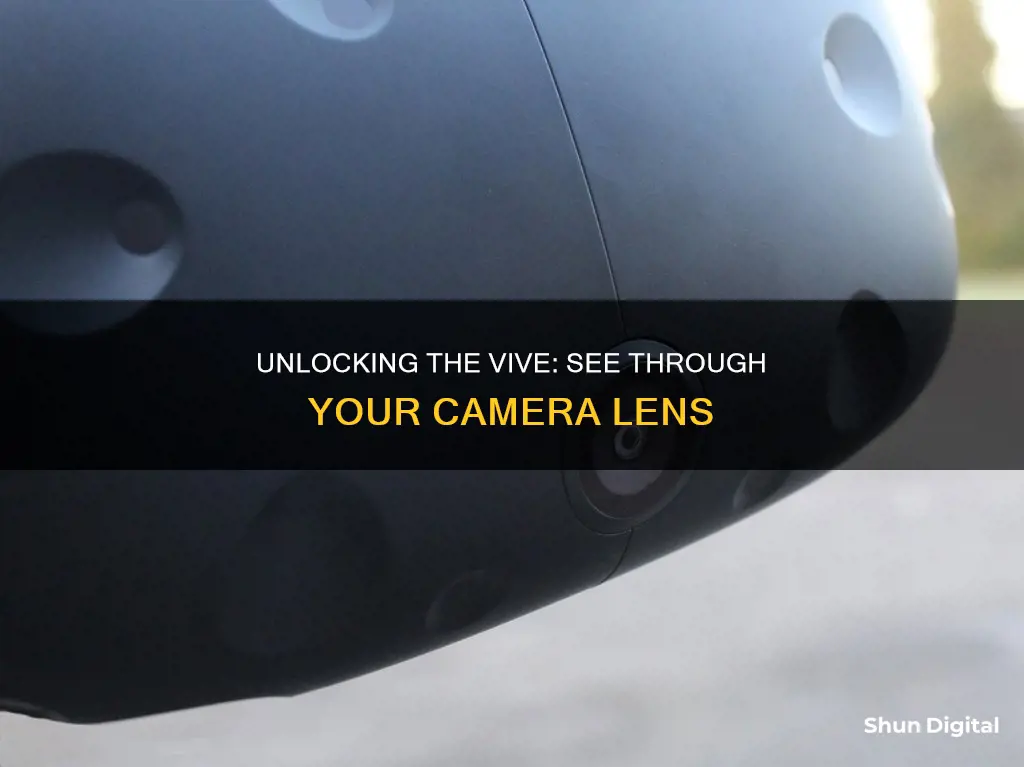
The HTC Vive comes with a front-facing camera that can be used to see the real world while wearing the headset. This can be useful for finding your phone, picking up a drink, or even just answering the phone. To enable the camera, you must first open the SteamVR app on your computer and click on Settings > Camera. From there, you can click Enable Camera and close and reopen the SteamVR app. You can also select Allow Camera in Dashboard to have the camera automatically turn on when the SteamVR Dashboard is opened. Alternatively, you can use the Allow Camera for Room View option, which will show a full-screen, colorized feed of the camera when you double-click the system button.
| Characteristics | Values |
|---|---|
| How to enable the camera | Open the SteamVR app on your computer, click Settings > Camera, then click Enable Camera. Close and reopen the SteamVR app, then select Allow Camera in Dashboard. |
| How to change the refresh rate | The refresh rate can be altered by adjusting the Camera Rate slider found in the Camera section of SteamVR settings. |
| How to use the camera | The camera can be used in three modes, activated through the checkboxes found in the Camera section of SteamVR settings. |
| How to record footage | With the Vive plugged into your PC, launch OBS Studio and follow the steps to record the Vive camera's footage. |
What You'll Learn

How to enable the camera
To enable the camera on your HTC Vive, you must first launch the SteamVR app on your computer. From there, you can follow these steps:
- Click the dropdown arrow next to SteamVR.
- Click "Settings" > "Camera".
- Click "Enable Camera".
- Close and reopen the SteamVR app.
- Click the dropdown arrow again, then "Settings" > "Camera".
- Select "Allow Camera in Dashboard".
If you are using the VIVE Cosmos, you can also open the VIVE Console app on your computer and select "Settings" > "Camera". Then, to show your real surroundings, press the VIVE button on the right controller twice.
For the VIVE Pro, you can also access the camera settings by clicking the "Enable Camera Enable/Disable" switch, then restarting the SteamVR app.
The Ultimate Camera Spot on the 65 UK6090PUA Smart TV
You may want to see also

How to change the refresh rate
To see through the camera in a Vive headset, you will need to activate the front-facing camera. This can be done by opening the SteamVR app on your computer and selecting Settings > Camera. From there, you can click "Enable Camera" and select "Allow Camera in Dashboard".
Now, to change the refresh rate of your headset, follow these steps:
- Open the VIVE Console app on your computer.
- Click on Settings > Display Settings.
- Disable the auto display settings by clicking the Auto On/Off switch.
- Choose the mode that corresponds to your desired resolution and refresh rate.
- If your graphics card supports it, you can select the Extreme mode, which offers a refresh rate of 120 Hz.
- Alternatively, you can choose from other available modes, such as High or lower-resolution options.
It is important to note that the available refresh rates will depend on your specific Vive model and your graphics card capabilities. The latest Vive Pro 2, for example, boasts a 120Hz refresh rate, while the original Vive Pro had a 90Hz refresh rate.
Additionally, when using the VIVE Wireless Adapter with the VIVE Pro 2, ensure you are using the recommended power bank to support the desired refresh rate.
Finding Cameras on Your Network: A Comprehensive Guide
You may want to see also

How to use the camera
To use the camera on your HTC Vive, you must first enable it. To do this, open the SteamVR app on your computer and click on Settings > Camera. From there, click "Enable Camera" and then close and reopen the SteamVR app.
Once the camera is enabled, you can use it in three modes, each designed for different scenarios. These can be activated through the checkboxes found in the Camera section of the SteamVR settings.
The Allow Camera for Dashboard option activates the camera when the SteamVR Dashboard is opened. Upon pressing the Home button, a small colour feed of the camera will appear next to the right-hand controller.
The Allow Camera for Chaperone Bounds setting will automatically activate the camera when you approach the edges of your play area. This is a simplified representation that highlights the edges of surrounding objects when exiting your VR boundaries.
The Allow Camera for Room View setting will manually activate the same simplified camera view as "Chaperone Bounds". If selected, double-clicking the System button will activate the camera view. This is most convenient for briefly interacting with the real world without removing your headset.
You can also bind the camera to a controller. Once you do this, you'll see a tiny screen attached to your controller on the pause menu that shows what the camera sees.
Strategic TV Camera Placement for Soccer: Capturing the Action
You may want to see also

How to record camera footage
To record camera footage from your HTC Vive, you will need to download third-party software as the Vive doesn't have a built-in recording program. A recommended option is OBS Studio, which is a free and reliable program. Once you have downloaded OBS Studio, follow these steps:
- Launch OBS Studio from your desktop, Start menu, or taskbar.
- Click the + button in the Sources section.
- Click Video Capture Device.
- Click the dropdown menu next to Device. If the Vive is the only video capture device plugged in, it should already be displayed here.
- Click Start Recording.
Another option is to use the VIVE Console app. Here are the steps to enable this feature:
- Open the VIVE Console app on your computer.
- Click Settings > Camera.
- Show your real surroundings by pressing the VIVE button on the right controller twice.
- Automatically show your real surroundings when you step over the play area boundary.
- While in VR, enable or disable the camera settings by going to Lens settings.
To record footage from your HTC Vive Pro, follow these steps:
- Open the SteamVR app on your computer.
- Click Settings > Camera.
- Click the Enable Camera Enable/Disable switch to turn it on.
- Click the Restart SteamVR button to restart the SteamVR app.
- Click Settings > Camera again.
- Turn on the options you want.
Note: When you turn on "Show Camera at Room Edge" or "Enable Room View", you can choose how your actual surroundings will look in Room View Camera Mode.
Smart TV Cameras: Privacy and Security Concerns
You may want to see also

How to troubleshoot
To troubleshoot issues with your Vive camera, you can try the following steps:
Check your camera settings:
- Open the SteamVR app on your computer.
- Click on the menu and select "Settings > Camera".
- Ensure that the "Enable Camera" option is turned on.
- Close and reopen the SteamVR app.
- Click on the menu again, select "Settings > Camera", and ensure "Allow Camera in Dashboard" is selected.
Verify your headset connection:
- Ensure that the power, USB, and HDMI cables from the headset are plugged into the correct slots on the link box.
- Check that the link box's USB and HDMI cables are plugged into your PC, and the power cord is plugged into a power outlet.
- Once properly connected, the LED on the headset should be green, indicating it's ready for use.
Power cycle the link box:
- Shut down SteamVR.
- Unplug the power and USB cord from the PC side of the link box (not the orange side).
- After a few minutes, plug the power and USB cord back into the link box.
- Relaunch SteamVR. You may need to repeat this process a few times.
Restart your computer:
Quit SteamVR and reboot your computer.
Try a different USB port:
- If you're using a USB 3.0 or 3.1 port, try switching to a USB 2.0 port instead.
- If you have a working USB port (e.g., one used for your keyboard or mouse), try moving the Vive connection to that port.
Reset your USB devices:
- Unplug the link cables from your PC.
- In SteamVR, go to "Settings > General" and ensure the "Developer Settings" box is checked.
- Click "Reset" in the sidebar.
- Double-check that the link box's USB cable is unplugged from the PC, then click "Remove all SteamVR Devices" and confirm.
- Quit SteamVR, plug the link box back into your PC, and relaunch SteamVR.
Update your graphics card drivers:
If you're encountering errors related to your display, update your graphics card drivers.
Check your headset calibration:
- If you're experiencing issues with your headset's tracking or calibration, you may need to reset your headset to force a reinstall of the drivers.
- Unplug your headset.
- In SteamVR, go to "Settings > Reset" and click "Remove all SteamVR devices".
- Plug your headset back in and wait for the drivers to install.
Disable power saver settings (for Windows 10):
- Open the Device Manager on your computer.
- Under "Universal Serial Bus controllers", find and right-click on "Generic SuperSpeed USB Hub RI", then select "Properties".
- Click on the "Power Management" tab and deselect the option "Allow the computer to turn off this device to save power".
Unveiling the Invisible: Capturing Auras with a Camera
You may want to see also
Frequently asked questions
First, open the SteamVR app on your computer. Then, click the dropdown arrow next to SteamVR, and select Settings > Camera. Click Enable Camera, and then restart the SteamVR app.
You can activate the camera by double-clicking the System button, or by clicking the SteamVR button and selecting the camera from the circle buttons on the lower right side of the menu. You can also double-click the SteamVR menu button on either controller to toggle TRON mode on/off.
With your Vive plugged into your PC, download and launch OBS Studio. Click the + button in the Sources section, and then click Video Capture Device. Click the dropdown menu next to Device, and then click Start Recording.


