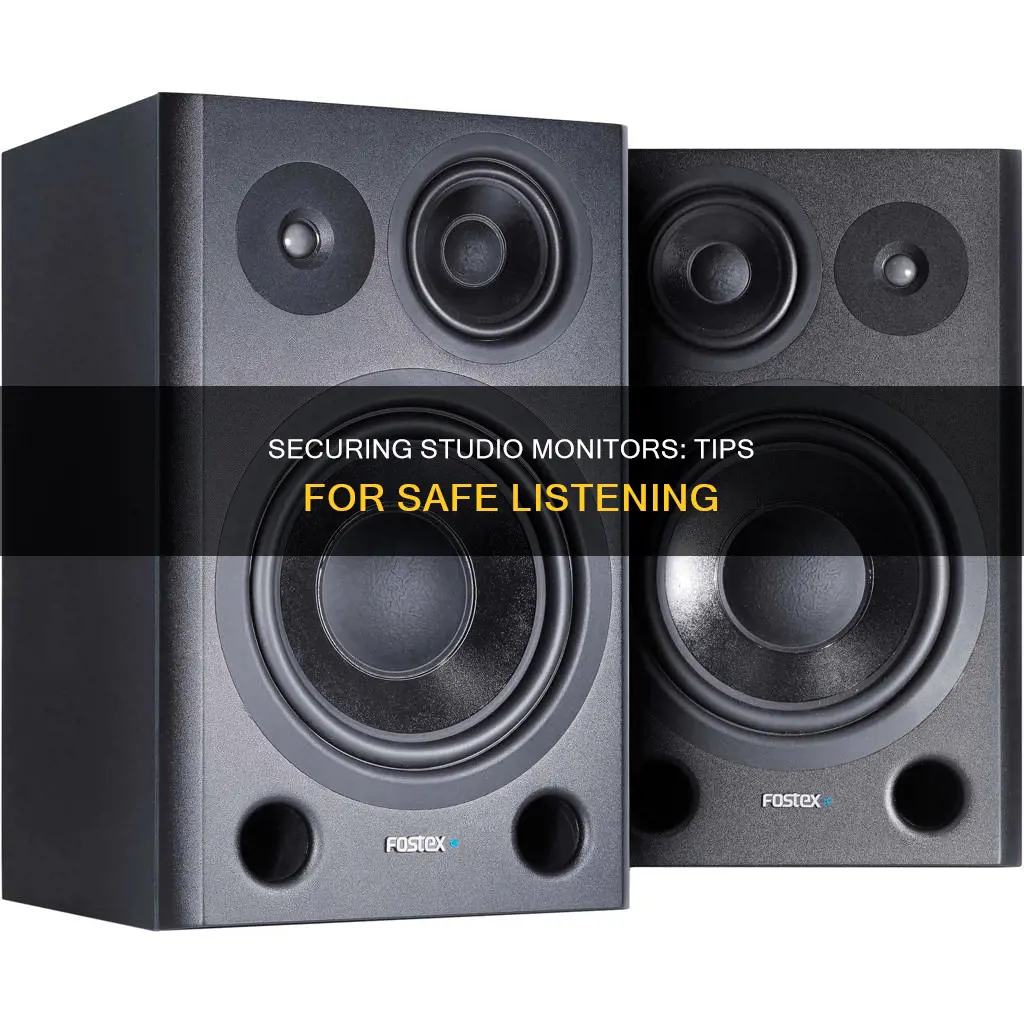
Studio monitors are a significant investment, and it's important to know how to secure them properly to ensure they don't get damaged or stolen. Here are some tips to help you secure your studio monitors:
- Use studio monitor stands: Placing monitors directly on your studio desk can cause sound reflection issues and unwanted vibrations. Studio monitor stands help isolate your monitors, improve sound quality, and reduce the risk of them being knocked over.
- Choose the right type of stand: There are floor stands, desk stands, and isolation pads. Floor stands are ideal for larger speakers, while desk stands and isolation pads are better for smaller monitors.
- Positioning: Place your monitors away from walls and corners to reduce sound wave reflection issues. Centre your monitors and listening position between sidewalls for a balanced stereo image.
- Secure with cables: If your monitors don't have security slots, you can use security cables and fasten them to the desk or stands.
- Use heavy-duty stands: Opt for stands made from heavy-duty materials like steel to provide more stability and reduce the risk of tipping.
- Fill stands with sand: Adding sand or other dense materials to the stands can improve stability and reduce vibrations, enhancing the performance of your monitors.
- Consider the environment: If you have pets or children, take extra precautions to secure your monitors. Keep them out of reach, and consider using bolts or glue to secure them to stands or surfaces.
What You'll Learn

Use heavy stands
Using heavy stands is a great way to secure your studio monitors. This is especially important if you live in an area prone to earthquakes or have pets or children who might knock them over.
When choosing a heavy stand, look for ones made from durable materials such as steel or heavy-duty, high-tensile steel. These materials will ensure that your monitors are securely anchored to the stands and won't topple over easily. Some stands also come with additional features like screw mountings or levelling spikes and rubber glides that provide extra stability.
In terms of weight capacity, look for stands that can comfortably accommodate the weight of your studio monitors. For example, the Hola! Music HPS-600MS stands have a load-bearing capacity of 80 lbs, while the Pyle PSTND32 stands can hold up to 90 lbs.
If you're looking for a stand with height adjustability, consider the K&M 21300 Heavy Duty stands, which offer unrestricted height flexibility with a hand crank and push-button system. On the other hand, if you need a stand with a wide base for added stability, the K&M 21300 Heavy Duty stands feature a large, tripod-style base with steel construction tube legs and double cross-braces.
Additionally, some heavy-duty stands come with internal cavities that can be filled with sand or shot to increase their weight and improve stability. This is a great option if you're looking for a stand that can be easily adapted to your specific needs.
When choosing a heavy stand, it's also important to consider the size and weight of the upper plate. A stand with a small upper plate may not provide enough stability for larger monitors.
Lastly, don't forget to measure your studio space and choose stands that will fit comfortably without taking up too much room.
How Far Can GPS Ankle Monitors Reach?
You may want to see also

Attach speakers to stands with adhesives or straps
Attaching speakers to stands with adhesives or straps is a great way to ensure your speakers are secure and stable. Here are some detailed instructions on how to do this:
First, it is important to choose a suitable adhesive or strap that is strong enough to bear the weight of your speakers. For adhesives, options such as Blu Tack, adhesive clay, or QuakeHold are commonly used and can be found at hardware stores. For straps, consider using tow straps or similar straps that can be wrapped around the speaker and the stand securely.
Next, if you are using an adhesive, clean the surfaces of both the speaker and the stand to ensure better adhesion. Apply the adhesive to the bottom of the speaker and/or the top of the stand, following the instructions on the packaging. Place the speaker onto the stand, applying firm pressure to create a strong bond.
If using straps, place the speaker on the stand and wrap the straps tightly around both, ensuring that the speaker is securely attached to the stand. You may need to adjust the straps to find the right tension and ensure a snug fit.
It is important to allow the adhesive to cure or set according to the manufacturer's instructions before using the speakers. This will ensure that the bond is strong enough to hold the weight of the speakers.
Additionally, consider the weight and size of your speakers when choosing a stand. The stand should be able to bear the weight of the speakers without wobbling or becoming unstable. A wider base may be necessary for heavier speakers to provide better balance and stability.
By following these instructions, you can securely attach your speakers to stands using adhesives or straps, ensuring a safe and stable setup for your studio monitors.
Monitoring Data Usage on Android: Tips and Tricks
You may want to see also

Position speakers away from walls
Sound waves bouncing off walls and other surfaces can cause phase cancellation and frequency buildup issues. To avoid this, place your studio monitors at least eight inches away from walls. This will help to reduce sound wave reflection problems.
If your room is small and narrow, try to centre the monitors along the widest wall to reduce sidewall reflections.
If you have a large rectangular room, consider positioning the monitors along the shorter wall. The further your listening position is from the back wall, the better. This allows sound waves reflecting off the rear wall to dissipate before reaching you.
However, if your room is small and the shorter wall is narrow, place your monitors on the widest wall to minimise sidewall reflections.
You can also try the 38% rule. For example, if your room is 10 feet long, position your monitors 3.8 feet from the front wall. This is a good starting point for finding the sweet spot.
Rekordbox Setup: Choosing the Right Monitor Size
You may want to see also

Angle speakers towards ears
Studio monitors must be angled towards the listening position, with the tweeters elevated to ear height for the widest sweet spot. This is to ensure you hear high frequencies accurately.
Positioning the tweeters at ear level is important because high-frequency content is more directional than low-frequency content. Directing the tweeters at your ears will allow you to hear higher frequencies more accurately. You can also tilt the monitors down to direct the tweeters towards your ears if they are too high.
The ideal position is to keep an equal distance between your monitors and your head, forming an equilateral triangle with your listening position.
To achieve this, you can use studio monitor stands to prop up your monitors. Aside from proper placement, studio speaker stands decouple the speakers from objects that might resonate along with them, altering their frequency response. They also keep table or console reflections to a manageable level.
Why G-Sync Monitors are Worth the Investment
You may want to see also

Use stands with vibration-reducing features
Studio monitors should be placed on stands to prevent sound wave reflection issues and achieve a balanced stereo image. Stands with vibration-reducing features are essential to prevent surface reflections and vibrations.
The IsoAcoustics ISO-200, for instance, is a desktop stand that decouples the monitor from the desk to prevent vibrations and excess resonant bass from reaching the listener's ears. The stand also has an adjustable height, which is important for taller users who need the tweeters elevated to ear level.
The Gator Frameworks Clamp-On is another example of a desktop stand with vibration-reducing features. Instead of taking up space on the desk, it clamps onto the edge of the desk, freeing up space for other items. The stand has a solid and stable clamp assembly, which makes it a worry-free addition to any desktop studio setup.
The K&M 26772 is a simple yet sturdy tabletop stand that provides a measure of isolation. Its height can be adjusted, allowing for some extra space under the speakers.
For floor stands, the Hola! Music HPS-600MS is a durable and affordable option. It has a load-bearing capacity of 80 lbs and includes non-slip isolation pads for the secure decoupling of speakers. The stand also has good adjustability, allowing for precise positioning.
The Pyle PSTND32 is another versatile and portable floor stand that can also be used as a PA speaker stand. It has a load capacity of 90 lbs and features rubber grip speaker pads to prevent slippage and distribute the weight of the speaker evenly.
Orienting Studio Monitors: The Optimal Setup Guide
You may want to see also
Frequently asked questions
There are several ways to secure studio monitors to stands, including using sandbags, epoxy, screws, glue, and clamps. You can also use adhesive clay, Blu Tack, or Velcro tape to keep them in place.
Cats are notorious for knocking things over, so it's important to take precautions if you have cats in your studio. Some ways to secure your monitors include using bolts or epoxy to secure them to a surface, placing them on a table with fold-up legs, or getting heavier monitors that are less likely to be knocked over.
To prevent theft, you can use security cables similar to those used for laptops. You can also install fastener points on the speakers and the desk to keep them secure.
To prevent damage from earthquakes, use heavy-duty stands and make sure they are stable and secure. You can also use straps or adhesive clay to keep the monitors in place.
There are several types of wall mounts available for studio monitors. You can also use stands with wall brackets or clamps to secure the monitors to the wall.


