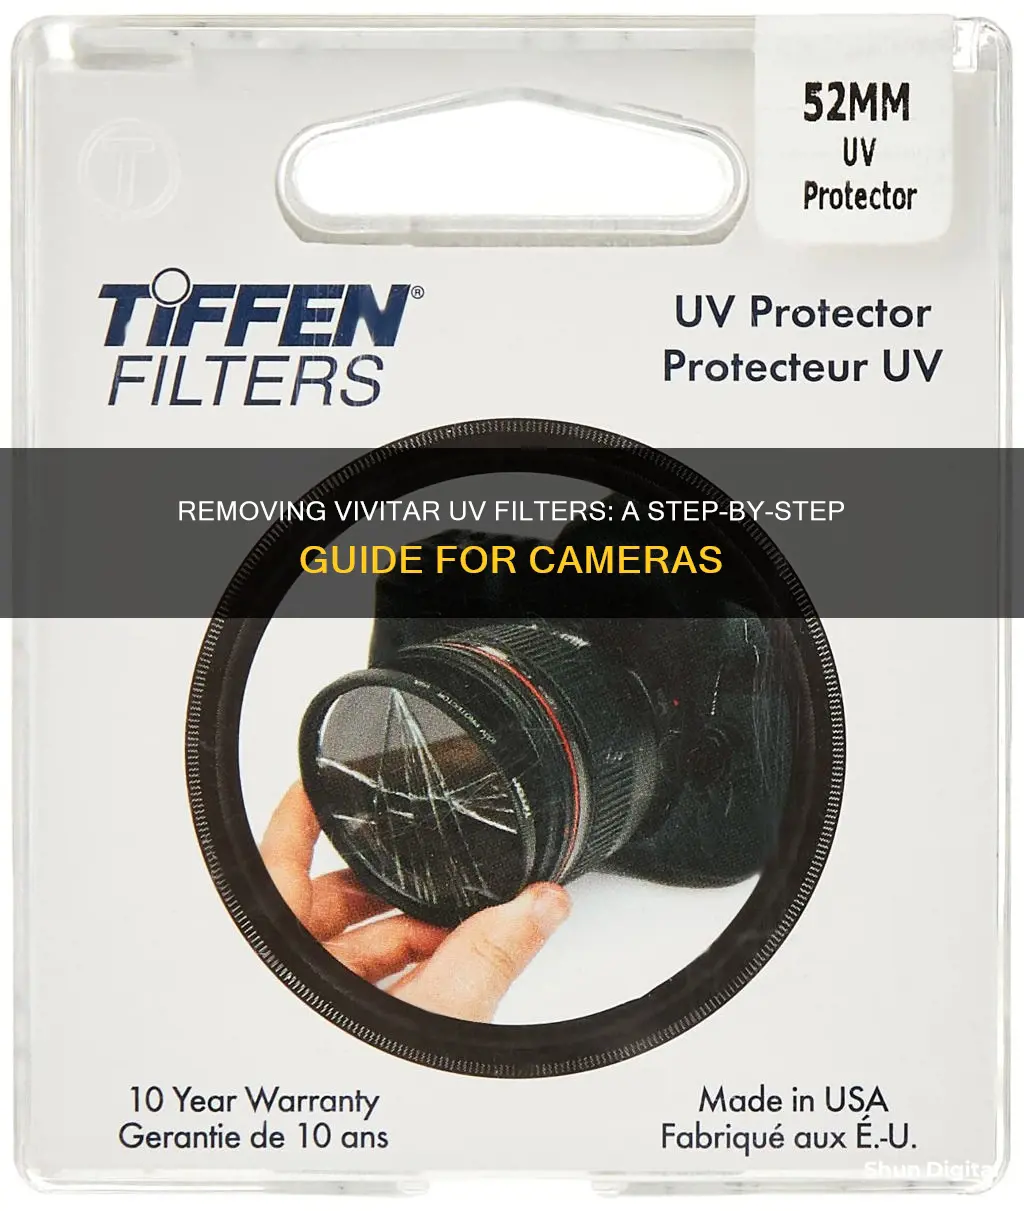
Vivitar UV filters are manufactured from high-quality solid optical materials. Each individual filter is heat-treated to avoid any rare movement or distortion. They remove and absorb ultra-violet rays, giving sharper contrast to your digital images. They also minimize the bluish cast sometimes found under daylight conditions, making your photos clearer and sharper.
If you're looking to remove a Vivitar UV filter from your camera, you'll need to unscrew it from the lens. Simply hold the filter with your fingers and turn it counter-clockwise until it comes loose. Be careful not to drop the filter or cross-thread it as you're unscrewing.
| Characteristics | Values |
|---|---|
| Filter type | UV |
| Filter size | 30.5mm, 49mm, 52mm, 55mm, 62mm, 67mm |
| Filter effect | Removes and absorbs ultra violet rays |
| Image quality | Sharper, crisper, better balanced |
| Lens protection | Protects from dust, scratches, moisture, fingerprints, and impact |
| Fit | Fits perfectly on camera lens |
| Value | Good value for money |
What You'll Learn
- How to remove a Vivitar UV filter from a camera without damaging the lens?
- How to hold a Vivitar UV filter when removing it from a camera?
- Tools that can help remove a Vivitar UV filter from a camera
- How to avoid damaging a camera lens when removing a Vivitar UV filter?
- What to do if a Vivitar UV filter is stuck on a camera lens?

How to remove a Vivitar UV filter from a camera without damaging the lens
Removing a Vivitar UV filter from a camera lens without damaging the lens can be tricky, but it is possible. Here are some step-by-step instructions to help you safely remove the filter:
- Inspect the filter for damage: Before attempting any removal methods, carefully inspect the UV filter to determine if it is damaged. If the filter is cracked or warped, the removal process will be more difficult and may require different tools or techniques.
- Try non-destructive, non-tool methods first: Start with gentle methods that do not require any tools. Try tapping the filter with your fingernail or a semi-hard object while gently twisting it. You can also try using a rubber band, a microfiber cleaning cloth, or an anti-slip mat/mouse pad to improve your grip and help loosen the filter.
- Use a lens filter wrench: If the filter is still stuck, a lens filter wrench can provide extra grip and leverage without damaging the lens. Place the wrench around the filter, being careful not to grip the lens itself. Apply gentle pressure and twist counterclockwise to remove the filter.
- Try temperature changes: If the lens has been in a hot environment, allow it to cool down naturally in an air-conditioned space. You can also try placing the lens and filter in a freezer, being sure to protect the lens from moisture. The goal is to cool the filter more than the lens, creating separation between the two.
- Seek professional help: If all else fails, take your camera to a local camera store or a photography expert. They have experience dealing with stuck filters and can help remove it without damaging your lens.
- Clean the threads: Before attaching a filter, clean both the filter and lens threads to prevent debris from getting stuck and causing the filter to become stuck.
- Avoid over-tightening: When attaching a filter, tighten it just until it stops. Overtightening can make it difficult to remove the filter later.
- Choose quality filters: Consider using brass filters instead of aluminum. Brass filters are less prone to sticking and expanding.
- Protect your lens: Always remove the lens from the camera body before attempting to remove a stuck filter. This will reduce the risk of dropping the camera and damaging the lens or other components.
Snap Camera Filter Woes: Why is My Filter Missing?
You may want to see also

How to hold a Vivitar UV filter when removing it from a camera
To hold a Vivitar UV filter when removing it from a camera, follow these steps:
- Place one hand on the camera body to stabilise it.
- With your other hand, grasp the edge of the UV filter. Be sure to hold it firmly, but not too tightly, to avoid accidental damage.
- Begin twisting the UV filter in a counter-clockwise direction. This will loosen it from the camera lens threads.
- Continue twisting gently until the UV filter is completely disengaged from the lens.
It is important to hold the UV filter securely when removing it to prevent it from slipping and falling, which could result in damage to the filter or the camera.
Additionally, when re-attaching the UV filter, ensure that the threads on the filter and the lens align properly before twisting it clockwise to secure it in place.
Smart TV Camera: Where is it?
You may want to see also

Tools that can help remove a Vivitar UV filter from a camera
There are a variety of tools that can help you remove a Vivitar UV filter from your camera lens. Here are some options:
Non-destructive, non-tool methods:
- Tapping with a finger or hard object: While gently applying a twisting force with one hand, gently tap or flick the filter with your fingernail or a semi-hard object. This method often jars the filter enough to allow it to turn.
- Using another filter or step-down ring: Screw another filter onto the stuck filter, but not too tight. Then, use squishing force to elongate the second filter and attempt to unscrew it. This method works by elongating the second filter into an elliptical shape, causing its threads to grip into the stuck filter threads.
- Freezing: Place a plate in the freezer with a small amount of water and allow it to freeze. Then, place plastic wrap over the filter to keep it dry, and place the lens filter-side down on the ice for about 15 seconds. The filter should cool down and slightly shrink, making it easier to unscrew.
Non-destructive, tool methods:
- Filter wrench: Filter wrenches are inexpensive tools designed specifically for removing stuck lens filters. They come in a variety of sizes and types, with some providing more grip than others.
- Anti-slip mat/mouse pad/oven mitt: Place the lens filter-side down on the backside of a rubber mouse pad or silicone oven mitt. Apply a slight downward force and turn. The evenly applied friction should help turn the lens filter off.
- Rubber band: Place a rubber band on the filter, being careful not to overlap onto the lens portion. This will give you more grip and allow you to remove the filter without applying as much force.
- Gaffers tape: Wrap the tape around the lens filter and leave about four inches of tag at the end. Firmly hold the lens and give the tag end of the tape a sharp yank. You can also use the tape to get a better grip on the lens filter and loosen it.
Other methods:
Sawing or filing: This is a last resort for broken or dented filters. It involves sawing or filing through the filter, removing or breaking the glass, and then using pliers to bend and remove the filter.
Viewing Zmodo Cameras on LG Smart TV
You may want to see also

How to avoid damaging a camera lens when removing a Vivitar UV filter
To avoid damaging a camera lens when removing a Vivitar UV filter, there are several steps you can take. Firstly, it is important to handle the camera and filter with clean hands to avoid transferring dirt, dust, or oil to the lens or filter surfaces. Before attempting to remove the filter, ensure you have a secure and stable surface to place the camera on. This will prevent accidental drops or knocks that could damage the lens.
Next, locate a clean, soft cloth, preferably a microfiber cloth, to gently wipe the outer surface of the filter. This will remove any dust, fingerprints, or other debris that could cause scratches during the removal process. Ensure the camera lens cap is securely attached before beginning, as this will provide a protective barrier between your hand and the lens surface.
To remove the filter, gently but firmly grasp the edges of the filter and turn it counter-clockwise. You may need to apply some force, but be careful not to use excessive force, as this could damage the filter threads or the lens itself. If the filter is tight, you can try using a rubber jar-opening grip pad to get a better grip and avoid leaving fingerprints on the filter.
Once the filter is removed, use the microfiber cloth to gently wipe down the lens surface, removing any dust or debris that may have accumulated. Be gentle and avoid applying too much pressure to the lens. Finally, store the filter safely in a protective case to avoid scratches or other damage.
Attaching PS Camera to Your TV: Easy Steps
You may want to see also

What to do if a Vivitar UV filter is stuck on a camera lens
If your Vivitar UV filter is stuck on your camera lens, try the following methods to remove it:
- Try using a filter wrench to unscrew the filter. You can purchase a filter wrench online or at a camera store. Place the wrench on top of the filter and turn it counter-clockwise to loosen the filter.
- If you don't have a filter wrench, try using a rubber glove or rubber band. Place the rubber glove or band on top of the filter to improve your grip and turn it counter-clockwise.
- If the filter is still stuck, try using a small amount of lubricant, such as WD-40, on the threads of the filter. Let the lubricant sit for a few minutes, then try turning the filter counter-clockwise again.
- As a last resort, if the filter is still stuck, you can try using a filter cutter. A filter cutter is a small tool that cuts through the filter, allowing you to unscrew it. However, this method may damage the filter, so it should only be used as a last resort.
Remember to be gentle when trying to remove the stuck filter to avoid damaging your camera lens or filter. If you're unsure about any of these methods, consider taking your camera to a professional for assistance.
Removing the Tailgate of a Tacoma: A Step-by-Step Guide for Camera Models
You may want to see also
Frequently asked questions
Try using a rubber glove or rubber band to get a better grip and turn the filter anti-clockwise. If that doesn't work, try using a filter wrench as a last resort.
If you notice glare, a greenish spot, or light leaks in your photos, you may need to remove the filter.
You can use a top-quality microfiber cloth to clean your UV filter. Be sure to remove the filter from the camera lens before cleaning.
A Vivitar UV filter is used to absorb ultra-violet rays, resulting in sharper, crisper, and better-balanced photos. It also protects your camera lens from dust, scratches, and moisture.
Vivitar UV filters are generally well-regarded for their image quality, lens protection, and overall value for money. However, some users have reported issues with glare and light reflection when using the filter.


